Raspberry Pi Print Server: Setup a Network Printer
In this tutorial, I will be going through the steps on how to set up a Raspberry Pi Print Server.
The process of getting the software installed is pretty simple, but configuring it and getting a Windows network to find the print server is a bit more of an involved process.
Setting up a print server is a simple way of bringing your regular USB printer to more modern standards without you having to shell out hundreds of dollars.
The software allows you to move the printer to wherever you want and have it accessible by multiple computers rather than having it connected straight into a single computer.
It’s also a great way to share a printer without needing a costly tower computer running all the time.
To make this all work, we will be making use of a piece of software called CUPS. CUPS stands for Common Unix Printing System and is the backbone of most Linux printing software.
Basically it is the software that communicates with your printer and gets it to print files correctly.
If you want to make sure the CUPS printing software supports your printer, then go to their website at open printing and look up your specific model number.
Equipment List
Below are the pieces of equipment that you will need for this Raspberry Pi print server tutorial.
Recommended
Optional
- Raspberry Pi Case
- USB Keyboard
- USB Mouse
Installing the Raspberry Pi Print Server Software
Installing the print server for the Raspberry Pi is a simple process since it is available through the Debian Jessie packages.
I will be using the latest version of Raspbian throughout this tutorial so if you need to install it then be sure to check out my how to install Raspbian tutorial.
1. To get started we should first update the Raspberry Pi to ensure we are running the latest software.
You can do this by entering the following commands into the terminal.
2. Once the Raspberry Pi has been updated, we can now start installing the print server software.
In this case, we will be installing CUPS. This software manages printers connected via USB or over the network, and it has the bonus of providing a management interface that you can view over the internet.
Install this software by typing the following command into the terminal.
3. When CUPS has finished installing there are a few extra things that we will need to do.
The first thing to do is add the pi user to the lpadmin group.
This group will allow the pi user to access the administrative functions of CUPS without needing to use the superuser.
4. There is one other thing that we will need to do to CUPS to ensure that it runs well on the home network and that is to make CUPS accessible across your whole network.
At the moment Cups is set up so that it will block any non-localhost traffic.
We can get it to accept all traffic by running the following two commands:
5. Now we should be able to access the Raspberry Pi print server from any computer within the network.
If you are unsure on what your Raspberry Pi’s local IP Address is then you can make use of the following command.
6. Once you have your Raspberry Pi’s IP Address, go to the following web address in your favorite web browser.
Make sure to swap out my IP address (192.168.1.105) with your own.
Below we look at setting up SAMBA correctly to ensure Windows can properly identify the print server running on the Raspberry Pi.
We will also show you how to add a printer using the CUPS interface.
Setting up SAMBA for the Pi Print Server
If you intend on using your print server with Windows, then setting up SAMBA correctly is necessary.
We will need to install SAMBA and make a few changes to its configuration to ensure that it runs correctly and utilizes the CUPS print drivers.
1. Now firstly, we should make sure we have SAMBA installed, the easiest way to do this is simply run the install command in the terminal.
We can do that by entering the following command in the terminal.
2. With SAMBA now installed to our Raspberry Pi, we will need to open its configuration file and make several edits.
We can open the file with the nano text editor by using the following command:
3. Now with the file open, we will need to scroll to the bottom of the file. The quickest way to do this is to use the following key combination: CTRL + V.
Once at the bottom of the file you should add or change the following lines.
In my case, the “[printers]” and the “[print$]” sections were already in the file, so I just needed to change the values to match the following.
Save the file by pressing CTRL + X and then pressing Y and then ENTER.
4. We can now restart SAMBA to get it to load in our new configuration.
To restart SAMBA, all we need to do is type the following command into the terminal.
Adding a printer to CUPS
1. Adding a printer to CUPS is a rather simple process, but first, we need to load up the CUPS web interface.
If you’re unsure what your Raspberry Pi’s IP address is, then run the hostname command in the terminal.
2. With your Raspberry Pi’s IP address in hand, you need to go to the following address in your web browser.
When typing in this address make sure that you swap out our IP address (“192.168.1.105“) with your own.
3. You should be greeted with the following homepage.
On here we need to click “Administration” in the navigation menu at the top of the screen.
4. You will be taken to the Cups administration page.
On here, we need to click on the “Add Printer” button.
5. With the “Add Printer” screen now loaded, we can select the printer we want to set up Cups for.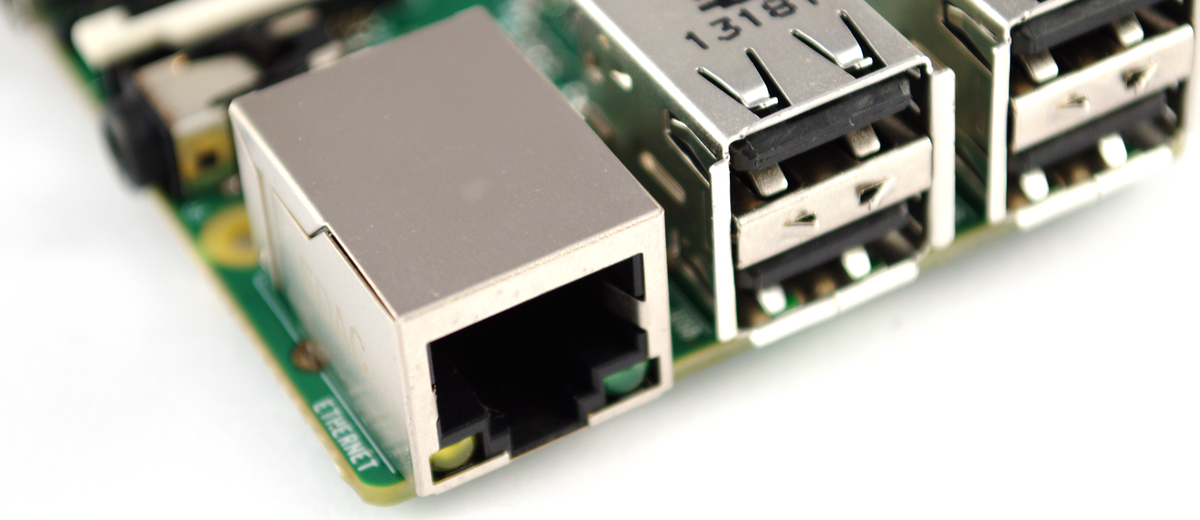
In our case, that printer is the “Canon MG2500 series” printer.
Once you have your printed selected, click the “Continue” button.
If your printer is not showing up on this screen, ensure that you have plugged it into one of the USB ports on the Raspberry Pi and that it is turned on.
You may need to restart your Raspberry Pi if it is still refusing to show up, ensure the printer is turned on and plugged in when you restart.
6. On this screen, you need to select the model of your printer. CUPS will try and automatically detect the model and pick the correct driver.
However, in some cases this will not function correctly, so you will have to go through the list yourself and find the most relevant driver.
Once you are satisfied everything is correct, click the “Add Printer” button.
7. Now, this is the last screen you need to deal with before the printer is successfully added.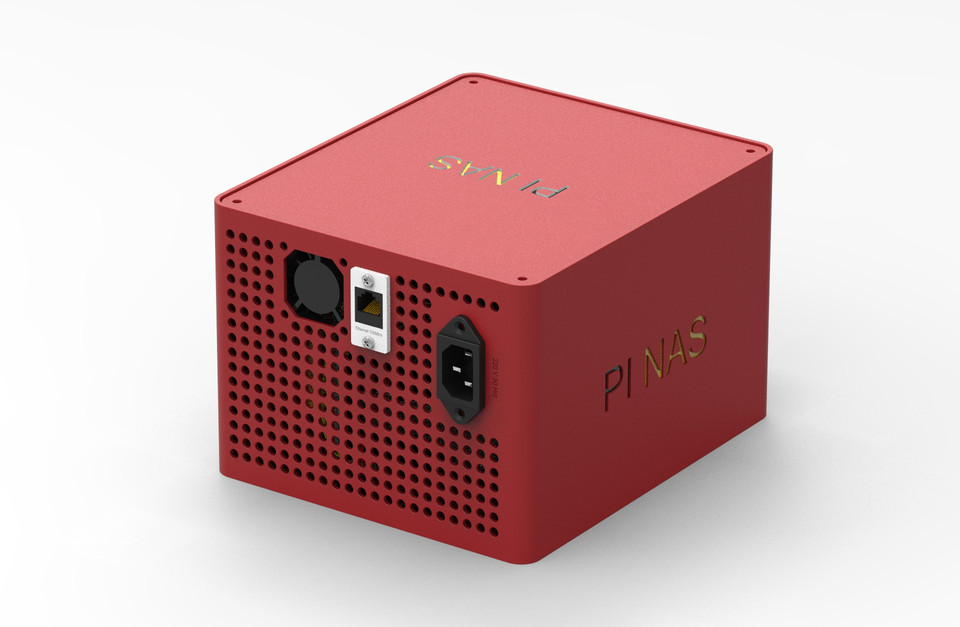
On this screen you can set the name and description to whatever you want.
It is helpful to set the location if you have multiple printers in your house that you need to deal with.
Also, make sure you enable “Share This Printer“, otherwise other computers will not be able to access it.
Once you are happy with the settings, feel free to click the “Continue” button.
8. The final screen that you will be presented with after setting up your printer is pictured right below.
This screen allows you to change a few of the printer’s specific settings. Such as the page print size, the print quality, and various other options.
Now we will go over how to add our newly setup Raspberry Pi print server to Windows.
It should be a relatively easy process thanks to setting up SAMBA earlier in the tutorial.
Adding a Raspberry Pi Print Server to Windows
1. Adding a CUPS printer to Windows can be a bit of work, mainly because you need to select the driver for Windows to be able to connect to and understand the printer.
To get started, first go to the network page in Windows, one of the fastest ways to get to this is to load up “My Computer” or “This PC” and click on “network” in the sidebar.
Once there you should have a screen that looks like the one below with your Raspberry Pi’s hostname there, in my case it is RASPBERRYPI.
Double click on your Raspberry Pi’s share, it may ask for a username and password.
If just pressing enter doesn’t work, try entering pi as the username.
2. You should now be greeted with a screen displaying the printers available on your Raspberry Pi print server.
Double click on the printer you want to have connected to your computer.
3. Upon double clicking this, you will likely be greeted with the warning message below.
Just click the “OK” button to continue with the tutorial.
4. Now you will need to find your printer within this list, on the left is a list of all the brands, and on the right, is a list of all the printers for that brand that Windows has drivers for.
If you don’t find your printer on here, then try looking up your printer’s model online and download the appropriate drivers for it.
In my case, I had to look for the Canon MG2500 series as shown below.
Once you have selected your printer, click the “Ok” button to continue.
5. This process will now load up a connection with your printer.
If you want to make this the default printer for the computer, then click “Printer” -> “Set as Default Printer“.
6. The printer should now be successfully added to your computer and be available for any program to use.
You can ensure the printer is correctly set up by printing a file.
If you have any issues with the file printing, ensure that you have selected the correct printer driver in both CUPS and Windows.
Make sure your printer is also switched on, some printers like the Canon MG2500 series don’t automatically turn back on when a file is sent to it to be printed.
You can extend your Raspberry Pi print server further by adding Apple AirPrint support to it.
Conclusion
I hope that this tutorial has shown you how to set up a Raspberry Pi print server and that you haven’t run into any issues.
If you have some feedback, tips or have come across any issues that you would like to share, then please don’t hesitate to leave a comment below.
How I Made a DIY Print Server with a Raspberry Pi
I’ve had an old HP printer since college without wireless features. It works great, and I have a dragon’s hoard of ink for it. But, ever since I stopped using Windows, I have not had any luck installing the drivers for it on my MacBook. HP’s official support site doesn’t offer raw driver downloads, only a flakey setup wizard application. Over the last few years, my workaround has been to boot up my ancient Windows laptop, share files to it in one way or another, and then print from there. When I moved into a new house, it felt like a good time to make the printer work for my and my partner’s Macs, and why not make it wireless too? I’ve had a Raspberry Pi lying around unused for years that seemed fit for the job. In this post, I’ll walk you through how I set up a DIY print server with a Raspberry Pi.
Admittedly this post is intended for a very specific reader. But for that specific reader, I hope this walkthrough can save you a lot of the research I had to do. I’ve only attempted this configuration for my specific HP DeskJet. I imagine that, with just a little modification, it will work for any HP printer. A bit more effort might be able to adjust it for most makes and models.
What You’ll Need
First, of course, you’ll need a printer that isn’t properly installing drivers on your laptop. Mine is an HP DeskJet 1112. You’ll also need a Raspberry Pi, and almost any model will do. One that is wireless will be the most versatile, but as long as it’s network capable, it will work. I used a Raspberry Pi 3 Model B. I’ll assume that you’ve already set up your Raspberry Pi with an OS of your choice (Raspbian is fine). I configured mine to be in headless mode with SSH; that’s not strictly necessary but will prevent needing to plug in a monitor and peripherals for performing maintenance and troubleshooting.
Step 0: Physical Setup
Plug the Raspberry Pi and printer into wall power. You’ll also need to plug the printer into the Raspberry Pi. My printer is conveniently USB connected. Other types of connectors with adaptors may or may not work.
Step 1: Installing and Configuring CUPS
The Raspberry Pi is going to be running the Common Unix Print System (CUPS). Install it with the following commands.
> sudo apt update
> sudo apt install cups
You’ll need to add your user to the list of users that can print with CUPS. Unless you’ve explicitly changed the user, it will likely be the Raspberry Pi’s default “pi” user.
> sudo usermod -a -G lpadmin pi
Next, we’ll make the CUPS service accessible across the network with this command.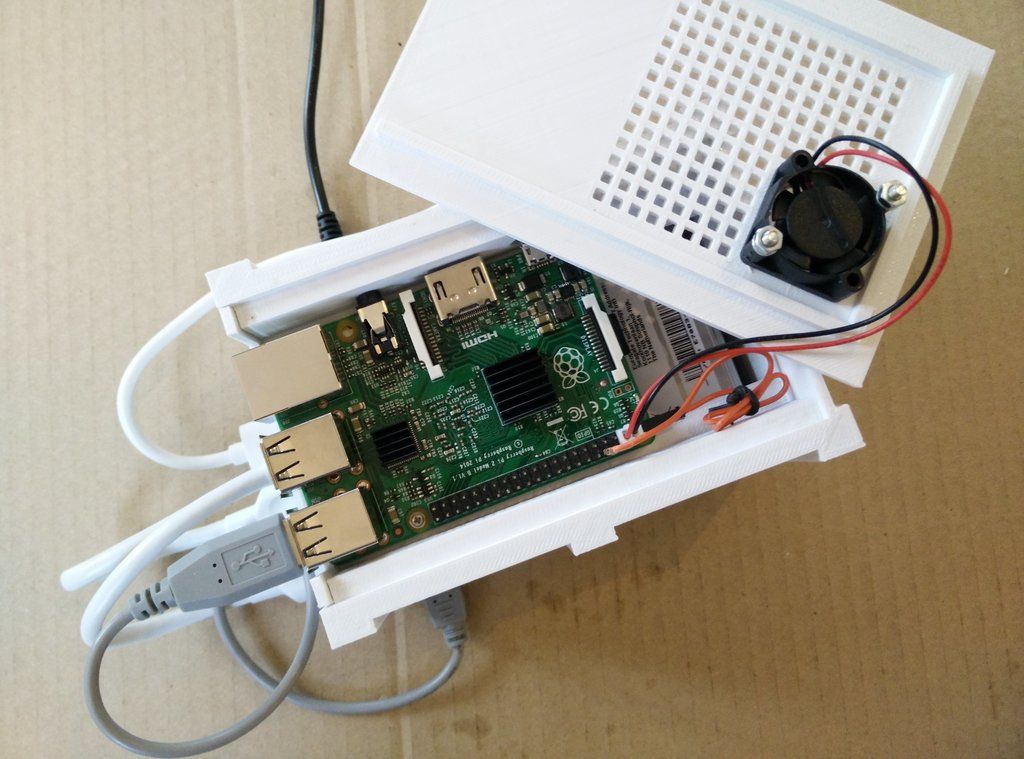
> sudo cupsctl --remote-any
Finally, we’ll disable CUPS’s default SSL so that we can use the CUPS GUI from a remote machine without fussing with SSL. With your favorite editor on the Raspberry Pi, modify “/etc/cups/cupsd.conf” to include the line “DefaultEncryption Never”. For this to take effect you’ll need to restart CUPS.
> sudo /etc/init.d/cupsys restart
Step 2: Installing Drivers
CUPS comes with many modern drivers pre-installed, so you may want to skip this step and come back only if the defaults don’t work for you. I found a great way to install older HP drivers. I’m not sure how to accomplish this for other printer manufacturers, but if you’re not using an HP, you should be looking for a “.ppd” file that corresponds with your make and model.
If you’re using an HP printer, try the HP Linux Imaging and Printing library that I found. It can be installed onto the Raspberry Pi along with a collection of “.ppd” files using the first two of the following commands. The last command runs the setup utility, it will ask for some basic information. Follow the prompts when requested.
> sudo apt-get install hplip
> sudo apt-get install hplip-ppds
> sudo hp-setup -i
Step 3: Verifying Setup with CUPS
From another laptop, you should now be able to access the CUPS GUI by using a browser to visit “raspberrypi.local:631”. Note that “raspberrypi.local” is the reserved hostname for Raspberry Pi and CUPS runs on port 631. Go to the “Printers” tab and verify that the printer you just set up is present in the list.
If you click on the printer, you can change some of the default options. For example, make sure that the printer is listed as “Shared.” If you’re based in the U.S., you will likely also want to reset the default media from A4 paper to Letter.
If the hp-setup utility failed or used an incorrect driver you may have to go through the manual “Add Printer” process. You can access this through the “Administration” tab. The process looks very similar, except you’ll have to select your own driver from the list. Most recent printers should be happy to use the HPCUPS drivers, but if it’s a slightly older model or HPCUPS isn’t working, then try an “hpijs” driver.
Step 4: Pointing the Laptop to CUPS server
The last step is to make sure that your laptop can recognize the CUPS server. On a Mac, you go to printer settings through System Preferences and add a new printer. Depending on your network configuration, it may already appear in the defaults and you can simply add it from there. Otherwise, you can manually add it on the IP tab. In the address field, enter “http://raspberrypi.local:631/printers/”. Click “Add” to complete the process. Try printing a test page and you should be all set.
DIY Print Server with a Raspberry Pi
This was an interesting project to research. I learned way more about printers than I ever anticipated needing to know. At the outset, I would have been happy to simply be able to print from my MacBook, but I’m thrilled that I was able to configure it wirelessly.
How to Turn a Raspberry Pi into a Google Cloud Print Server ?
Google Cloud Print is a fantastic way to link your printers to the cloud and access printing from anywhere, but there’s a catch. If you don’t have one of the latest Cloud-Print-Ready-enabled printers, you’ll need to leave your computer on to enable remote access. Read on as we set up the tiny, spirited raspberry-sipping Pi for the task.
Why do I want to do this?
There are currently two ways to access Google Cloud Print in your home: you can buy a cloud printer-enabled printer that links itself directly to your Google account and cloud printer service, or you can use a PC (which has access to the printers you want to add to the cloud printer) to act as a Cloud Print server.
The first situation is ideal because the printer itself connects directly to the cloud and there is no need for an intermediary. However, it should still be your goal to make sure that the intermediary wastes as few resources as possible. Leaving your desktop 24/7 for the sole purpose of acting as a Cloud Print server is a lot of resources for a job that requires very little power.
To cut down on wasted resources, we decided to turn our tiny, low-powered Raspberry Pi into an ultra-lightweight Cloud Print Server. The best part about this setup is that the Raspberry Pi can continue to fill other roles. For example, our Raspberry Pi Cloud print server is also the same device as our raspberry weather indicator. It takes so little resources to complete both tasks (unwind a random print job and run a simple script to check the weather and toggle the LED) that there’s no reason not to stack the tasks and get more out of our Raspberry purchase. Here are some of the projects you can easily stack with the Raspberry Pi Cloud Print Server:
- Build an LED with a Raspberry Pi (for email, weather or whatever)
- How to turn a Raspberry Pi into a low power network storage device
- How to turn a Raspberry Pi into a persistent BitTorrent bot box
- How to install NZBGet to facilitate Usenet downloads on your Raspberry Pi
What do I need?
For this tutorial, we will assume that you already have the following:
- Installed Raspbian Pi with Raspbian
- Printers available for Pi
- Google Account
If you haven’t set up your Raspbian Pi with Raspbian or added printers to it, be sure to check out these two links above to get up to speed . it’s critical that you followed (or at least checked your own printer setup notes) of our Raspberry Pi guide. If your Pi does not have access to printers (local or network), you will not have any success with this guide.
You may also want to check out our Google Cloud Print guide to familiarize yourself with the system’s capabilities.
Installing Chromium
The secret sauce in our Raspberry Pi as a Cloud Print Server model is the open source Chromium browser. One of the official ways to add Cloud Print capabilities to a PC is to use the Google Chrome browser as a print server. Unfortunately, even though some Linux distributions have an official release of Chrome, it only supports the x86/x64 architecture and not the ARM-based architecture that drives the Raspberry Pi and Rasbian. This is where Chromium comes in, as we can still access the relevant Chromium features that we need to pair with our Raspberry Pi with Google’s cloud printer system.
To get started, open a terminal on your Raspberry Pi and type the following command:
s udo apt-get install chromium-browser
When prompted, type Y and hit enter to continue with the installation. The setup isn't huge, but it's big enough; A ten minute trip to the break room to grab a cup of coffee is definitely a smart way to kill setup time.
Once Chromium is installed, we need to launch it from the desktop environment. You can find it in the Raspbian web start menu -> Chromium Web Browser:
After starting Chromium, go to the menu icon in the top right corner, click on it, and then select Settings. Scroll down in the Settings window until you see Advanced Settings, and after clicking this button, continue scrolling down through the advanced options options until you see the entry for Google Cloud Print:
Click Add Printers. You will be taken to the authorization page as follows:
Fill in the Google account credentials of the account you use to manage cloud printers. Make sure the "Stay signed in" checkbox is enabled as this will be a separate print server that we don't normally interact with.
Once you have logged in to your account, you will see the "Add Printer(s)" button. No matter what printers can access the Raspberry Pi (whether local or network), you will be added to your Google Cloud Print account. If these printers were previously added in other ways, you'll want to visit the cloud print management page to remove old entries.
After clicking the Add button, you will see a confirmation page indicating that the printers have been added and you are ready to start printing. Now is the perfect time to knock down the test print:
About 10 seconds after we issued the print job, it connected to the network printer:
Although initially we had problems that the Cloud-to-Pi-to-printer will be slow (not that swelling speed is really important in most printing situations), these issues have never been tested. Even with large PDFs, the process will only be slightly longer than your typical long print-a-big-PDF time.
After starting the test print, you can close Chromium on the Pi as the print server will continue to run in the background. Now you can enjoy the convenience of printing anywhere for a quarter of a month (the Raspberry Pi consumes so much power that the average annual operating cost is about $3).
Tweet
Share
Link
Plus
Send
Send
Pin
Installing and configuring the CUPS print server on Raspberry Pi 3
The print server is a software and hardware system that allows you to share a printer over a local network.
Routers with ports for connecting USB devices can act as a print server. Print servers are sold as separate devices with USB and Ethernet ports. And some advanced printer models themselves have wireless printing support.
You can also make a print server yourself using a Raspberry Pi single-board computer and a CUPS (Common UNIX Printing System) print server. This article is devoted to creating a print server based on Raspberry Pi.
Table of Contents
- 1 What We Need
- 2 Installing and Configuring the CUPS Print Server
- 2.1 Connecting a Printer to the CUPS Print Server
- 2.2 Connecting a Network Printer to a Windows Device
- to a Network Sub Device 2. running iOS
- 3 Adding a PDF printer to the system
- 4 Conclusion
What we need
To carry out the steps described in this article, you will need:
- Raspberry Pi 3 Model B
- USB printer
- Local network
Installing and configuring the CUPS print server
The CUPS package is included in the standard Debian repositories, so you just need to run the console command to install:
sudo apt-get install cups avahi-daemon avahi-discover
Install Foomatic in addition to CUPS.
Speaking in the language familiar to a Windows user, we can say that Foomatic is such a database of printer drivers that significantly expands the standard CUPS driver database:
sudo apt-get install foomatic-db foomatic-db-engine
to the group lpadmin that allows you to manage printers:
sudo adduser pi lpadmin
And edit the configuration file:
sudo nano /etc/cups/cupsd.conf
With default CUPS settings, the administrative web interface is only available locally, i.e. You can only enter it from the Raspberry Pi itself. Let’s make it so that it is accessible from any device via the local network. To do this, find and comment out the line Listen localhost:631 and add a new line Port 631 :
 # Only listen for connections from local machine.
#Listen localhost:631  /// comment this line
Port 631  /// add this line
I think it’s clear from the text what changes with this change in settings: if by default CUPS listened to port 631 assigned to itself only from the local machine, now it will listen to calls to this port from any device.
It was — now:
But that’s not all.
Now we need to add a few more new lines in the same file to allow access to the admin panel over the local network.
If this is not done, then when trying to access the web interface, an error 403 Forbidden:
# Restrict access to the server... will be displayed.
order allow,deny Allow @Local /// add this line # Restrict access to the admin pages... order allow,deny Allow @Local /// add this line # Restrict access to configuration files...AuthType Default Require user @SYSTEM order allow,deny Allow @Local /// add this line
Before — now:
This completes the setup. Restart CUPS to apply the changes:
sudo service cups restart
If done correctly, the CUPS web interface will be available at http://ip-address-raspberry-pi:631 from the browser.
Connecting the printer to the CUPS print server
The CUPS print server is installed and configured, now it remains to connect our printer to it.
Make sure the printer is turned on and connected to the Raspberry Pi via USB, then go to the CUPS web interface:
Go to the Administration tab:
connected to this system» and click on «Add a printer»:
In it, select your printer from the list detected by the system. In my example, this will be the Brother HL-2132R. Click «Apply» and select the appropriate driver:
You need to select a driver for your printer model from the list, but if there are none, most likely a driver from a neighboring model of the same model range will do. In this example, I am installing the driver from the HL-2135 model on the HL-2132 printer.
After the installation is completed, go to the Printers tab, select the added printer there and try to print a test page through the Maintenance menu:
Successful printing of a test page is a sign that the driver for the printer is selected correctly. If there are problems with the test page, if the printer does not print it at all or gives out blank sheets without text, then the problem is in the selection of the driver. You need to remove the installed printer and install it again, while specifying other drivers.
Here again I want to draw attention to the importance of installing the Foomatic package, mentioned at the beginning of this manual. Without it, the chances of not finding drivers for your printer in the list are quite high, because. the standard set of CUPS drivers is very poor.
Connecting a network printer to a Windows device
Assume that the driver installation for the printer connected to the CUPS print server was successful. Now you need to make friends with this printer computer running Windows.
If Samba is installed on the Raspberry Pi, then the printer shortcut will automatically appear in the «Network Places» along with other resources shared on the «raspberry». However, I was not able to connect the printer to the computer from this shortcut: time after time, Windows gave an access error. I did not understand how to solve this problem, but it turned out that there is an easier and faster way to add a printer to the system.
Forget about the presence of Samba. Instead, go to the CUPS web interface to our printer page:
And copy the network path to it from the address bar.
After that, open «Devices and Printers» in the control panel, click «Add a printer», then «The required printer is not listed» in the window that opens, and then specify the network path to our printer — the same one copied from the browser’s address bar:
This completes the installation and the printer can be used as if it were connected directly to this computer.
Access to a network printer from devices running iOS
Any printer shared through the CUPS print server can be used from any iOS device, as well as from Mac computers without installing drivers at all.
This is because CUPS supports Apple’s AirPrint wireless printing technology:
This is what the print window looks like on an iPhone.
What else is there to say? The printer just shows up and just works.
Adding a PDF printer to the system
I will write separately how to connect a virtual PDF printer to the CUPS print server.
What is a PDF printer? This is a virtual device that is added to the system as a regular printer and, when sending a document for printing, generates a pdf file from it. Using a PDF printer is convenient for saving articles from the Internet or individual pages of a multipage document as a separate file.
To install a PDF printer, you need to install a separate package:
sudo apt-get install cups-pdf
Then create a folder on the Raspberry Pi to store the resulting pdf files and assign access rights to it:
sudo chown pi:lpadmin /mnt/usbstorage/PDF
sudo chmod 777 /mnt/usbstorage/PDF
And edit the configuration file:
sudo nano /etc/cups/cups-pdf.conf
We are interested in the following lines:
#Out /var/spool/cups- pdf/${USER}
#AnonDirName /var/spool/cups-pdf/ANONYMOUS
#Spool /var/spool/cups-pdf/SPOOL
#TitlePref 0
They need to be uncommented (remove sign # ) and changed as follows:
Out /mnt/usbstorage/PDF
AnmonDirName /usbstorage/PDF
Spool /mnt/usbstorage/PDF
TitlePref 1
The first 3 lines change the ways to save pdf files to the directory we created on external media, and the fourth line changes the format for generating the name of the output file.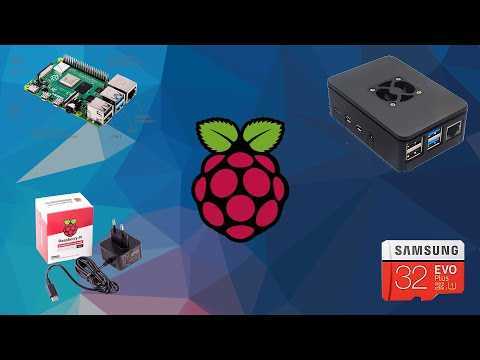 The fact is that with the default setting, CUPS-PDF does not handle long Russian-language document names and, as a result, does not save the generated pdf files to disk. After changing this setting, the problem goes away.
Then it remains to restart the CUPS server:
sudo service cups restart
And then install a new printer and connect it to a Windows computer, these steps are identical to the steps for installing and connecting a regular printer described above.
Conclusion
This is how you can create a print server in half an hour.
And if this topic is irrelevant for offices (they usually have their own server and printers are shared to the entire local network through it), then for the home this is a very convenient solution.
By the way, industrial print servers cost about the same as the Raspberry Pi itself. Only by buying a print server you get a device with one single function, and Raspberry Pi is a multitasking device that, in addition to network access to printers, can also store your media content, act as a private cloud, keep an electronic library on you, and do much more useful features.