How To Install Drivers For Your Creative Sound Card
Its necessary to install device drivers and applications to use the Sound Blaster Audigy. The following instructions – applicable to all supported Windows operating systems – describe how to install these drivers and associated bundled applications:
- After installation of the Sound Blaster Audigy card and (optional) Joystick/MIDI bracket, turn on your computer. Windows will automatically detect the audio card and device drivers.
- When prompted for the audio drivers, click the Cancel button.
- Now insert the Sound Blaster Audigy Installation CD into the CD-ROM drive. The disc supports Windows AutoPlay mode and should start running automatically.
- Follow the instructions on the screen to complete the installation.
- When prompted, restart your system.
If it doesn’t, it probably means that the CD-ROM drive’s auto-insert notification feature needs to be enabled.
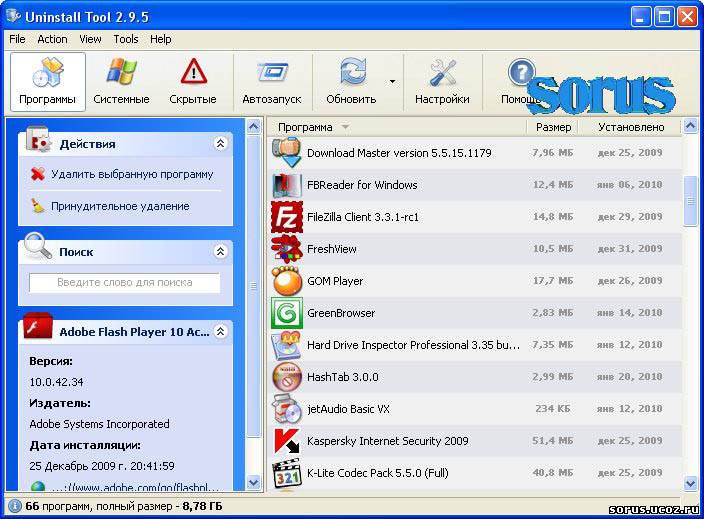
You may at times need to uninstall and then reinstall the applications to correct problems, change configurations, or make version upgrades. The following instructions describe how to do this:
- Close all audio card applications. This includes Creative Taskbar. Applications that are still running during the uninstallation will not be removed.
- Click Start > Settings > Control Panel.
- Double-click Add/Remove Programs.
- Click the Install/Uninstall tab and select Sound Blaster Audigy. Click the Add/Remove button.
- When the Creative Uninstaller dialog box appears, click the check boxes of the items you want to delete and click the Next button. The selected applications will be uninstalled.
- Click the OK button.
- If prompted, restart your computer.
If you want to reinstall only the device drivers, for example, because of driver corruption:
- Insert the Sound Blaster Audigy Installation CD into your CD-ROM drive.
- Follow the instructions on the screen until the Setup Options dialog box appears.
- Click the Drivers only button.
- Follow the instructions on the screen to complete the installation of the device drivers.
You can confirm the drivers have been installed successfully, via Device Manager.
Right-click My Computer > Properties > Hardware > Device Manager
This time, expanding the Sound, video and game controllers item reveals the absence of the on-board Realtek divers and the presence of the newly installed Creative drivers.
- Disabling and Uninstalling Soundcards
- How To Install a New Sound Card In Your PC
- Soundcard Optical Connections
- How To Connect Speaker Systems to Your Sound Card
- Connecting a Creative Audigy Soundcard to Peripherals
- Soundcard Consumer Info
- How To Install Drivers For Your Creative Sound Card
- Updating Your Creative Soundcard Drivers
Filed Under: How to Upgrade Your Audio Subsystem
Latest Articles
Click Start followed by Run . ..
..
… type msconfig in the Open box, and then click OK.
On the General tab, select Normal Startup — load all device drivers and services.
Click OK …
… and then Restart to restart your PC.
Click OK when the message warning you that you have … [Read More…]
You got that brand new shinny toy and chances are you have already put it to use. It’s likely you are reading this on that nice sexy piece of technology. We have your back when it comes to selling your phone for the most amount of cash.
First the Options Out there.
Sell Iphone Special … [Read More…]
The DollarSaver application promises to save you money when you shop online. However, it proves to be a bunch of empty promises while loading your computer up with a bunch of junk that you do not want on there. You may find a discount here and there, but it will not be worth all the trouble you are … [Read More. ..]
..]
Creative Worldwide Support — Sound Blaster Z
Creative Worldwide Support — Sound Blaster Z
Ansehen aller Knowledgebase Lösungen für Ihr Produkt
|
|
||||
|
 48 MB
48 MB
Sound Blaster Command for Windows
This download contains the Sound Blaster® Command application for Windows® operating systems. For more details, please read the rest of this web release note.
Details anzeigen »
Veröffentlichungsdatum:
1 Feb 21
Dateigrösse:
140.19 MB
Download
Sound Blaster Z Series Treiber
Dieser Download enthält den Sound Blaster® Z Series-Treiber für Windows®-Betriebssysteme. Weitere Informationen finden Sie im Rest dieses Web-Versionshinweises.
Details anzeigen »
Veröffentlichungsdatum:
6 Nov 20
Dateigrösse:
4.63 MB
Download
Sound Blaster Z-Series Software
Dieser Download enthält die original Software und Anwendungen für Sound Blaster® Z-Series. Weitere Informationen finden Sie in diesem Web-Release.
Details anzeigen »
Veröffentlichungsdatum:
25 Sep 19
Dateigrösse:
157.6 MB
Download
Creative Smart Recorder
Dieser Download umfasst die Anwendung Creative Smart Recorder für Windows® 10, Windows 8.1, Windows 8, Windows 7, Windows Vista® und Windows XP. Weitere Informationen finden Sie in diesem Web-Release.
Details anzeigen »
Veröffentlichungsdatum:
18 Dec 15
Dateigrösse:
31.45 MB
Download
Creative ALchemy
Dieser Download ist eine Anwendung für Creative-Audioprodukte. Dabei werden 3D-Audio- und EAX®-Effekte für bestimmte DirectSound®3D-Spiele unter Microsoft® Windows® 10, Windows 8.1, Windows 8, Windows 7 und Windows Vista® wiederhergestellt. Weitere Informationen finden Sie in diesem Web-Release.
Details anzeigen »
Veröffentlichungsdatum:
30 Jun 14
Dateigrösse:
7.48 MB
Download
Creative WaveStudio 7.14.01
Dieser Download enthält die Anwendung Creative WaveStudio für Windows® 10, Windows 8.1, Windows 8, Windows 7, Windows Vista® und Windows XP. Weitere Informationen finden Sie in diesem Web-Release.
Details anzeigen »
Veröffentlichungsdatum:
22 Feb 13
Dateigrösse:
14.19 MB
Download
Alle Downloads ansehen >
«Bridge encountered a display driver problem»
Last update
Feb 08, 2022 04:53:13 AM GMT
|
Platform |
Description |
|---|---|
|
Applicable operating system |
Windows and macOS |
|
Applicable product versions |
October 2018 Bridge CC Release (Version 9. |
 0)
0) Notice
When launching the October 2018 release of Bridge CC (Version 9.0), the following error message appears: “Bridge encountered a display driver problem. GPU rendering using graphics hardware is disabled.»
Each time Bridge starts in the background, a utility will run to check for a corrupted, unsupported, or incompatible graphics processor or graphics driver.
If Bridge detects a corrupted, unsupported, or incompatible GPU or driver, the above message will be displayed and the Use Software Rendering option on the Advanced tab of the Settings menu will be selected. After you resolve the issue by replacing the graphics card or updating the driver and launching Bridge, the Use GPU option is automatically disabled and GPU or driver usage resumes.
Solution
Update the graphics driver and troubleshoot the video adapter hardware.
macOS :
Graphics drivers are updated through operating system updates. To make sure you have the latest updates for macOS, select Software Update from the menu or from the Updates tab in the App Store app.
Windows :
Download the latest driver directly from the graphics card manufacturer’s website:
- NVIDIA drivers
- AMD/ATI Drivers
- Intel
drivers
Performing a clean install of the video driver
When updating the video driver, it is recommended that you uninstall any previous versions of the driver before installing the new one. This is called a clean install.
Once you have identified the make and model of the graphics card in your computer, refer to your card manufacturer’s documentation and resources below:
- NVIDIA drivers: How do I clean install Nvidia drivers?
- AMD Drivers: AMD Clean Uninstall Utility
- Intel: Intel Driver & Support Assistant (Intel DSA)
Restart Bridge after installing updates.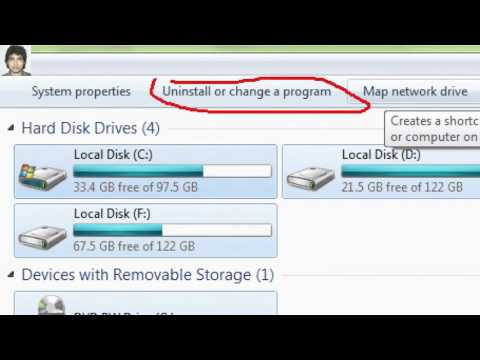
- Windows Update does not always provide the latest and greatest drivers. You must go directly to the card manufacturer’s website to check for driver updates.
- Be sure to select the required driver. Notebook drivers sometimes have different names than desktop drivers.
- If you use video adapters from some manufacturers, you need to update additional software in addition to the video card driver. Read the update instructions carefully and contact the video adapter manufacturer directly if the instructions are not clear.
Account login
To come in
Account management
Manual installation of graphics drivers in Windows
Last update
Aug 01, 2022 10:32:18 AM GMT
Having a compatible GPU and graphics driver can greatly improve your device’s performance when using Lightroom Classic. If you need to manually install the Windows graphics driver for Lightroom Classic, follow these steps.
Manual installation of the Intel and NVIDIA graphics driver on Windows 10
If you are logged in as a guest or standard user, Windows will not allow you to install the driver. Some organizations don’t let users decide what they can install and how they manage system and application settings. You may need to contact your system administrator for help installing the driver in this situation.
- Installing the Intel Graphics Driver
- Installing NVIDIA graphics driver
Before you install the graphics driver
Before you manually install the graphics driver on your device, it is recommended that you back up your boot volume. See How to create a system image in Windows 10 for more information.
Installing the Intel Graphics Driver
Follow the steps below if you want to install the Intel graphics driver on a Windows device.
-
Sign out of all Adobe applications currently running on your computer.
-
Click here to download driver version 27.20.100.8476, recognized by Adobe as a base driver.
Adobe recommends that the driver version be at least 27.20.100.8476.
-
Most users will require a manual installation. This includes removing the drivers provided by the PC manufacturer before installing the drivers provided here. Adobe strongly recommends that you back up your system first. Intel instructions for manually installing drivers can be found here.
If you already have the Intel Generic Driver installed, continue to follow the instructions below to update the Generic Driver.
-
Unpack the downloaded zip file, and then double-click the unpacked driver file (file name: igxpin.exe).
-
Click Yes when prompted for permission from User Account Control
. -
Follow the instructions on the installation screen.
-
After installing the drivers, click OK and then Next to restart the computer.
-
Restart your computer even if you are not prompted to do so.
Installing the NVIDIA Graphics Driver
Adobe highly recommends using the latest Studio Driver provided by Nvidia. See the Nvidia documentation for more information and driver updates.
NVIDIA has also stopped supporting mobile Kepler GPUs. If you are using one of these devices, Premiere Pro 14.0’s System Compatibility Report will alert you to a driver update. However, there are no driver updates for this series. See the NVIDIA documentation for more information.
Before downloading the appropriate driver, determine the make and model of your NVIDIA GPU to ensure you have the correct drivers.
If you want to manually install the NVIDIA graphics driver on your computer, follow these steps.
Nvidia has discontinued Studio drivers for older GPUs (9 series and below).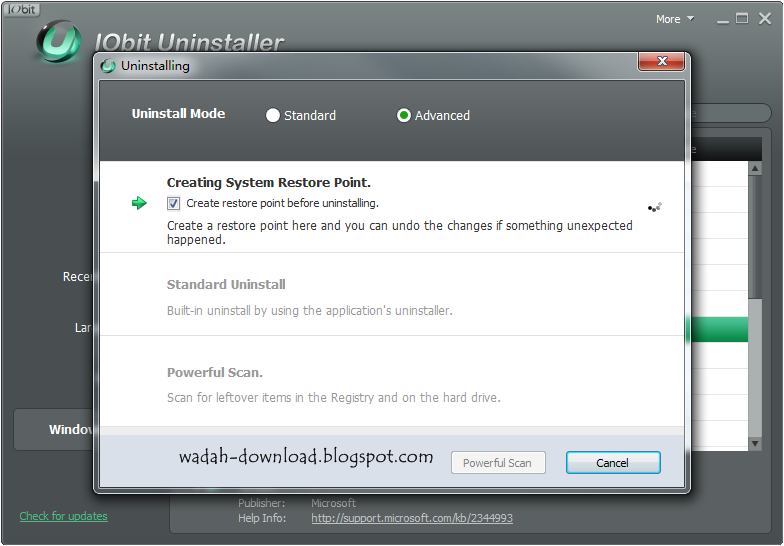 However, the latest Game Ready Drivers are still available and can be installed from the Nvidia driver download page.
Follow these steps to download and install the Nvidia driver.
-
Sign out of all Adobe applications currently running on your computer.
-
Please confirm the type of driver you have. There are two options: standard and DCH. To determine the driver type, open the NVIDIA Control Panel and click System Information in the lower left corner of the Control Panel. In the System Information dialog box, locate the driver type next to the Driver Type field. If you do not see this field, then most likely you are using a standard driver.
- NVIDIA DCH display drivers are supported on Windows 10 x64 April 2018 Update (Version 1803 OS Build 17134) and later. Click this link to learn more about driver types.
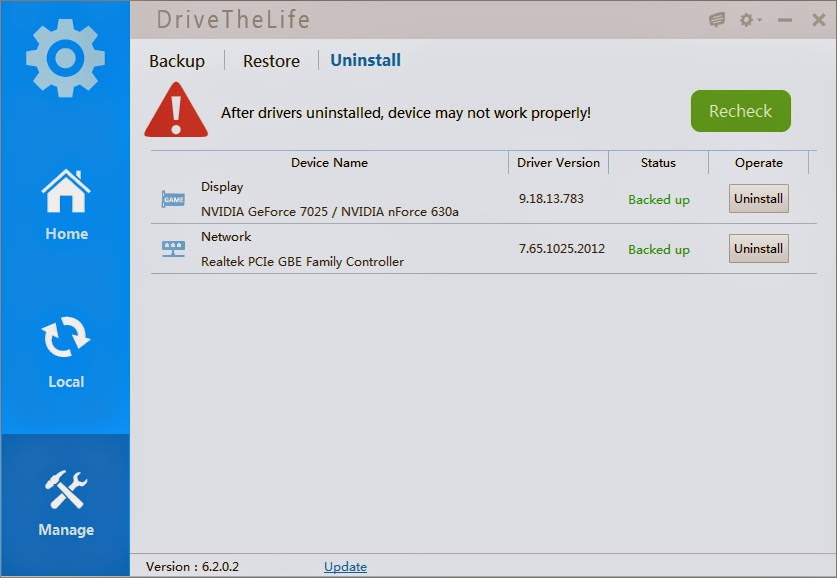
- Follow these instructions to uninstall the Nvidia driver.
- Before downloading and installing Nvidia drivers, follow these steps to select the correct drivers for your Nvidia GPU.
-
Open the NVIDIA driver download page and select the product type, product series, and product that matches your GPU.
-
Select the Windows Driver Type that matches the type you determined in step 2.
-
Select the Boot Type that best matches the Product Type you selected in step 3:
- For Quadro GPUs, select the Optimal Enterprise Driver (ODE)
- For GeForce or TITAN GPUs, select the Studio (SD) driver
-
Select the required language.
-
Click Search to go to the corresponding page and click Download to download the driver installer.
-
Once the driver installer has downloaded, double-click the installer .exe file to begin installation as instructed in this Nvidia
article.
Verifying the driver installation
To verify that the driver installation was successful, follow these steps:
-
Open Device Manager.
