Product Comparison: Compare Products
Product Comparison: Compare Products
Search
|
Dell
Dell Precision 490 Windows 10 Pro Desktop Computer Xeon 8gb 500gb Dual Video Out
|
Dell
Dell Precision T3500 Workstation PC Windows 10 Pro Xeon 2.93GHz 16GB 1TB HDMI Dual Out Graphics and WIFI
|
Dell
Dell Precision T1600 Workstation Computer PC Core i3 8GB 500GB Windows 10 Pro and WIFI
|
|
|---|---|---|---|
| Choose Options | Choose Options | Choose Options | |
| Description | Powerful Xeon workstation with dual output graphics card. Perfect for AutoCAD, Photoshop and video editing The Dell Precision 490 is designed to deliver top-quality performance at a great price… | Powerful Xeon workstation with Dual Out graphics card. Perfect for AutoCAD, Photoshop and video editing The Dell Precision T3500 is designed to deliver top-quality performance at a great price… | Operating System: Genuine Windows 10 Pro Installed and Ready to Use! CPU: Intel Core i3 3. 3GHz Memory: 8GB Hard Drive:500GB Optical:DVD-RW Drive (Plays and Writes DVD’s, CD’s, Movies,… 3GHz Memory: 8GB Hard Drive:500GB Optical:DVD-RW Drive (Plays and Writes DVD’s, CD’s, Movies,… |
| Rating | No Reviews |
|
No Reviews |
| Availability: | Ships within 3-5 business days | Ships within 3-5 business days | Ships within 3-5 business days |
| Other Details |
|
|
|
 0 GHz
0 GHz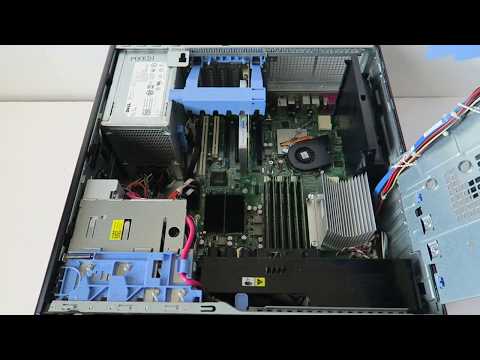 3 GHz
3 GHz
Not finding what you are looking for? Try our new Category Directory!
Page not found — Technical City
Page not found — Technical City
We couldn’t find such page: /en/cpu/celeron-dual-core-t3500-vs-pentium-dual-core-t3400%23general-info
Popular graphics cards comparisons
GeForce RTX
3060 Ti
vs
GeForce RTX
3060
GeForce RTX
3060 Ti
vs
GeForce RTX
3070
GeForce GTX
1050 Ti
vs
GeForce GTX
1650
GeForce GTX
1660 Super
vs
GeForce RTX
3050 8 GB
GeForce RTX
2060
vs
GeForce RTX
3050 8 GB
GeForce GTX
1660 Ti
vs
GeForce GTX
1660 Super
Popular graphics cards
GeForce GTX
1050 Ti
GeForce RTX
4090
Radeon RX
Vega 7
GeForce RTX
3060
Radeon RX
580
GeForce GTX
1650
Popular CPU comparisons
Ryzen 5
5600X
vs
Core i5
12400F
Ryzen 5
3600
vs
Core i5
10400F
Core i5
1135G7
vs
Ryzen 5
5500U
Ryzen 5
5600X
vs
Ryzen 5
5600G
Ryzen 5
3600
vs
Ryzen 5
5600X
Core i5
10400F
vs
Core i3
12100F
Popular CPUs
Ryzen 5
5500U
EPYC
7h22
Core i3
1115G4
Core i5
1135G7
Ryzen 5
3500U
Ryzen 3
5300U
Dell Precision T3400 CPU Replacement 8 Step Repair ⚙️ [Instruction with photo]
» ‘Be sure to check’ ‘Dell Precision T3400 manufacturing guidelines and your new processor specifications to ensure compatibility.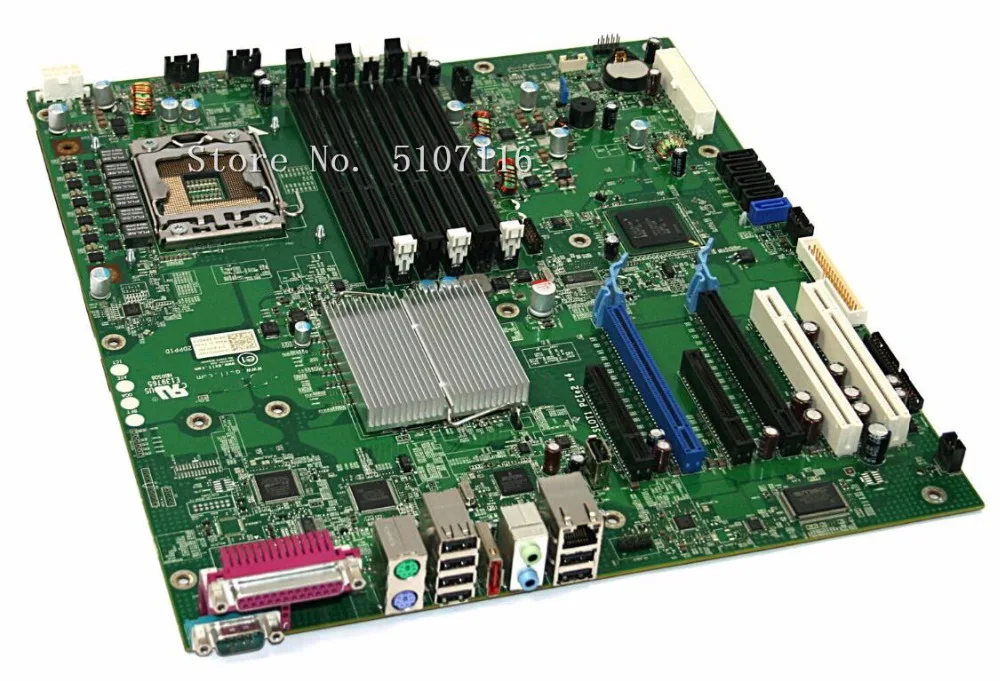
Navigation
- Step 1: Turn off your computer.
- Step 2: Remove the side panel of the computer.
- Step 3: Remove the
- Step 4: Remove heatsink
- Step 5: Remove processor
- Step 6: Carefully place the processor into the empty socket
- Step 7: Protect the new
- Step 8: Reinstall Radiator Assembly
floppy drive ribbon cable
processor
If your computer is on, turn it off.
Disconnect the PC from the wall.
Disconnect the power cable from the tower, disconnect keyboards, monitors or any other devices, and disconnect all USB devices.
Press the power button after the computer has completely shut down. This will «ground» the motherboard, preventing any short circuit.
Lay the computer on its side with the panel facing up.
Press the cover latch on the back of the computer. The cover should come off the computer.
Make sure the computer is on its side before replacing any parts.
If you have a floppy drive, it has a ribbon cable that goes through the heatsink assembly, which must be removed from the path. To remove it, first unplug it from the system board «by» pulling on the plastic tension ring «».
The ribbon cable is attached to the heatsink unit with four clips. Just »’pull the ribbon cable out from under these clips»’ and tuck the cable aside.
» ‘WARNING:’ » Although the heatsink assembly has a protective plastic cover, be careful when touching it — the unit may still be hot if your PC has just been turned on.
Release the blue plastic locking lever under the heatsink assembly by pressing the tab and rotating the lever down and away from the block.
Remove the two screws located on the top and bottom of the heatsink assembly using a standard Phillips screwdriver.
Remove the heatsink assembly from the board as if it were a right hinged door.
Clean the old thermal grease from the contact points on the heatsink
The processor is held in place by a small metal door. The door is closed by a lever with a hook. Push this lever down towards the motherboard, prying it out from under the latch.
Once the lever is free, pull it back away from the door — this will release the door from the latch latch.
Open the door and carefully pull the processor chip out of the socket.
» ‘WARNING:’ » Handle the processor with care. Damage may cause it to malfunction.
Be sure to align the front and back of the CPU with the front and back of the socket. Improper placement of the processor in the socket can cause permanent damage to both the motherboard and the processor.
» ‘TIP’ »: The CPU and CPU slot have notches on both sides that must match.
Close the metal door carefully after installing the processor.
Gently push the lever down towards the motherboard and to the right so that it falls back under the latch.
If you feel resistance, do not press the lever. Make sure the processor is secure and try again.