Guide: Overclocking The Core i5-3570K To 4.5GHz On The Maximus V GENE | ROG
HOMEArticlesguides
An Intel Core i5-3570K and Maximus V GENE is arguably the ideal combo for gamers and overclocking enthusiasts on a budget. The GENE motherboard suits those looking for ROG innovations like USB BIOS Flashback, the mPCIe Combo card, GameFirst (on Intel GigE) and SupremeFX III, while and importantly here — the Extreme Engine DIGI+ II — provides essential, powerful hardware for reliable CPU overclocking. But how do we make the best use of this hardware? WHAT BUTTONS DO I NEED TO PRESS? OK, OK, we hear you! So you’re eyeing up an overclock on that i5-3570K. How about an extra 1.1GHz on all four CPU cores? 4.5GHz is a nice round number, after all.Well, this guide is for you. We take you through basic installation, to setup, to UEFI BIOS settings needs to reach the magic 4.5Gs.
Start from the top: Installing the CPU
- Pop off the protective cover cap from your Maximus V GENE
- Release the CPU socket tension arm and lift the socket lid
- Drop in the CPU straight downwards (be sure to note the keying) — avoid touching the socket pins at all cost
- Hook the socket lid under the screw and secure tension arm
- Add thermal paste (if your CPU cooler doesn’t come with it pre-applied)
- Use a flat edged item such as an old credit card to smooth the thermal paste flat and even
- Fit your CPU cooler of choice.
We’ve selected Intel’s bundled LGA 1155 cooler, roughly equivalent to any £20 cooler on the market. Better coolers offer more thermal capacity to keep the CPU cooler, or, often use larger, quieter fans.
- Make sure the fan is plugged into the CPU_fan header at the top.
- Install your memory: remember to push down firmly and clip in on the one end. Use the outer two DIMM slots if you’ve got a dual-channel kit, as we’ve shown here on some Corsair Dominator Platinum’s. Mmmm soooo shiny!
- Now install this backbone into your case, adding flavorings of storage, power supply and graphics to suit your taste.
Next: Heatsink & Memory
Be sure to download the latest BIOS and extract it to the root directory of a flash drive. It’s also well worth downloading monitoring apps such as CPUZ, Asus’ AI Suite II (which allows you to monitor voltages and CPU temperatures) and Prime 95 to check the stability of your overclock.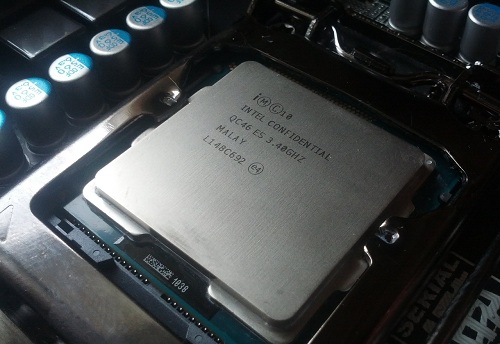 Now click page 2 for some overclocking.
- Start the system and enter BIOS
- Press F5 to load optimized BIOS defaults
- Hit F10 to save the BIOS and restart
- Go back into Windows and open CPU-Z, you’ll find the CPU has clocked itself down to 1,600MHz when idle — this is normal.
- Run Prime95 and select the CPU intensive Small FFT test – the CPU should clock up to 3.8GHz, the maximum Turbo Boost frequency for this chip.
Before starting, it’s important to note that there can be a great deal of variation between each i5-3570K CPU, so when it comes to both maximum attainable frequencies and the voltages required to reach them, your results may vary. We’ve tested two samples here, one of which was very pliable about would achieve an OC without much effort at all, and the other which required a good deal more encouragement to reach the magic 4.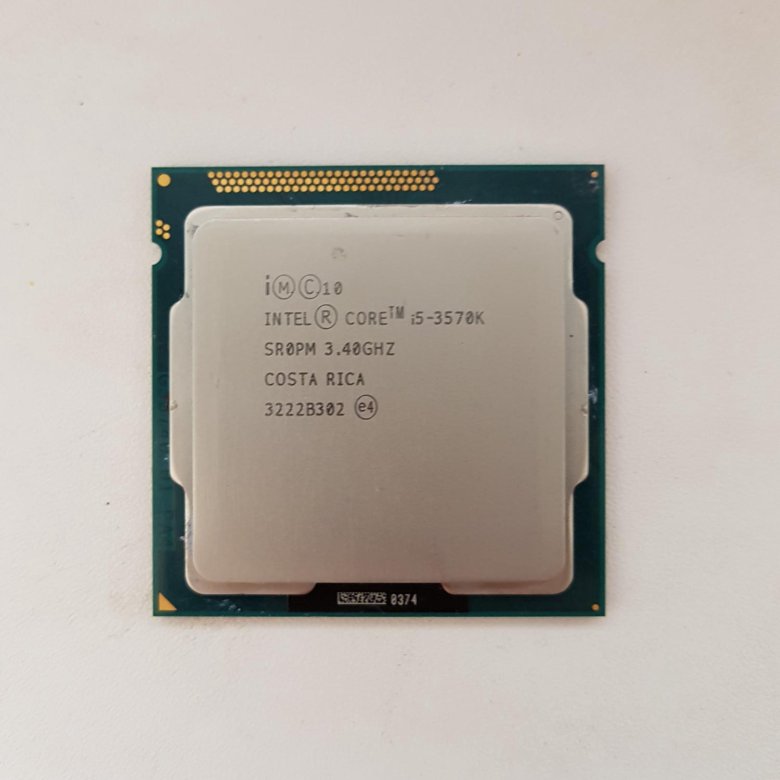 5GHz. However, the good news is that almost all i5-3570K’s should be able to reach 4.5GHz with the Maximus V GENE.
- Start by setting the AI Overclock tuner to Manual
- You may also wish to set this to XMP if you want the board to automatically configure your memory to its rated speed, but you can do this manually.
- Ensure Ratio Synchronising control is Enabled
- Set the 1-Core Ratio Limit to 45, the other three ratio limit values should change automatically.
- This is the multiplier (45). Be sure to leave the BCLK/PEG frequency at 100.0.
- Adjust your Memory Frequency to match the frequency of your system RAM. By default this will be 1,333MHz, so set it to whatever specification your memory is rated to (Note that if you selected XMP, this will be automatically selected)
Be prepared for some trial and error due to variations between each CPU and the required voltage to reach 4. 5GHz:
5GHz:
- Scroll down to CPU Voltage and switch it to Manual Mode.
- Set the required CPU voltage. Start high to reach your stable target frequency and then decrease it gradually. Remember more voltage = more heat, so you ideally want to find the lowest voltage at which your CPU can run 4.5GHz stably.
- 1.25V is a good starting value that should be enough to get any i5-3570K to 4.5GHz, but this CPU was able to run stably at 1.21V. We’ll come back and adjust this down as needed later.
- Adjusting the voltage up will automatically increase the CPU current capability to 140%, but you may also need to increase the Load Line Calibration setting. Some stubborn i5-3570K’s will require 1.25V and Extreme LLC to reach 4.5GHz.
- To start, go into DIGI+ Power Control and set CPU Load-line Calibration to Extreme, but bear in mind that CPU temperatures will go up. (The CPU’s max temperature is 105°C, but ideally you want to keep it below 80C).
- Hit F10 to save and restart your PC and boot to Windows. Fire up CPU-Z, Prime 95 and your monitoring software of choice (we’ve used AI Suite II, but be sure no to press any of the auto options otherwise it will attempt to reset the values).
- Run Prime 95’s small FFT test. Leave this running in the background whilst performing some simple tasks such as web browsing. If your PC freezes, blue-screens or applications crash for no reason, return to the BIOS to tweak the voltage settings.
- Be aware that with 1.25V and Extreme LLC CPU voltage will sometimes push the CPU to around 1.29V under load, and temperatures will rise accordingly too. Don’t worry, this is just the first part to make sure the chip can hit 4.5GHz.
- 1.25V and Extreme LLC should be more than enough for any i5-3570K (in fact, arguably too much, but we just wanted to make sure it would work), but if you encounter stability issues at this voltage, don’t increase the CPU voltage further.
 Instead, check your temperature readings, reduce the CPU multiplier down to 44x (4.4GHz) or perhaps reduce your memory frequency if it is above 1,333MHz.
- Once you’re stable at your desired frequency, begin to gradually reduce the core voltage and LLC settings until you can reach a happy medium between stability, frequency and temperatures. There’s a great deal of variation between chips; one i5-3570K might be happy to reach 4.5GHz with 1.21V and Auto LLC, while another might require 1.25V and Ultra-high LLC. There’s no magic setting, but it’s easy enough to adjust the three required settings to find that sweet spot.
- Somewhere between 1.21V with automatic load-line calibration and 1.25V with Ultra-high load line calibration, you’ll find a stable environment for your CPU to boost to 4.5GHz. As we’ve not adjusted any of the Intel C-states or Speed-step technology, the CPU will still clock down when idle, but boost to 4.5GHz when under load. These ‘frequency reducing at idle’ settings need to be disabled for even higher overclocks as they can affect stability.
 Be aware that overclocking dramatically increases power consumption; our test system here went from a system power consumption of 117W at stock to 155W when overclocked to 4.5GHz, so be sure your power supply is capable of handling the extra load.
- With any additional change, repeat the Prime 95 test to ensure stability. An hour of prime 95 without issue is generally a sign of a stable overclock.
- A word on temperatures: The integrated heat spreader on Intel Core 3xxx series CPUs is relatively poor at dispersing overclocked heat versus the previous generation, so they can run hotter under the same overclock than their respectively older Core 2xxx series brothers. With this 4.5GHz overclock and our modest Intel CPU cooler and with a CPU voltage of just 1.25V, temperatures remained below 85°C. However, turning LLC to maximum increases this to 1.29V under load, which causes temps to jump to around 95°C in a 21°C ambient. This is 10°C below the 105°C at which your CPU will automatically clock itself down, so if your CPU does need that much voltage to hit 4.
 5GHz, definitely consider a bigger cooler!
If you’ve any further questions or just want to show us your i5-3570K overclocks, drop them in our OC and tweaking forum!
Articles:
Guides Guides Overclocking Hands On Motherboards Overclocking
Article Tags:
3570K 4.4GHz 4.5GHz 4.6GHz 5ghz BIOS Guide BIOS Settings guide How To M5G Maximus 5 GENE Maximus V GENE overclocking Overclocking The Core i5-3570K tweaking UEFI Guide Product
Go To Top
i5 3570k — Overclocking limit
Hi all,
I’ve had my i5 3570k for nearly 5 years now (in July), and it’s been serving me good at 4.3GHz around 1.21v.
Over the years I’ve done small upgrades, new GPU, RAM and HDD/SSDs but CPU’s always been the same.
I’m at that stage where I’ve been pushing every component of my PC (in all honesty i’m just looking for a reason to build a new PC, and so pushing my PC as much as I can until it breaks).
Current specs:
i5 3570k @ 4.3GHz — 1.21v
MSI GTX 970 — 1530MHz core, 2000MHz memory, custom bios — 1.275v
RAM @ 1866MHz (from original 1600MHz XMP) — 1.64v
My goal now is to push my CPU even further.
At 4.3GHz 1.21v the temperatures usually max out around 67-70 when playing demanding games such as BF1.
I’ve managed to get it to 4.5GHz but had to push the voltage to 1.3V and that’s increased temperatures to around 77-80c. Seems stable. [BF1]
I tried to push it to 4.6 but that would blue screen until I ran it at 1.37v, the temperatures were then more around 81-83c [BF1]. I believe around 87-95c when stress testing with x264.
I want to keep pushing it more, and really not too concerned about my CPU degrading, what I’m trying to ask is how much should I keep pushing my CPU?
Would it be best that I stay under 80c when gaming and be happy with my 4. 3 > 4.5 increase, or should I push it and keep temps below 90c (when gaming) and aim for 4.6/4.7GHz. From what I’ve read around, 80c is usually the limit.
Another thing I did notice with 4.6GHz around 1.35v is under HWiNFO I did get a fair amount of Windows Hardware Errors, when stress testing with x264, but with 4.5 @ 1.3v I wouldn’t even get close to that many errors, but very very rarely got 1 (only got the error when I was running x264 & trying to do other heavy tasks (opening my chrome browser and watching TwitchTV at the same time).
Should I be concerned about this, or is this just showing the number of errors that windows could recover from and I’m not completely unstable yet but close.
I understand that I’m not really stress testing my PC the correct way, but I’d prefer to just overclock and stress test using games. If I ever do crash I know what I’ll be dialing down.
Apologies for my messy post.
Thanks for your help!
Save
Share
JavaScript is disabled. For a better experience, please enable JavaScript in your browser before proceeding.
1 — 19 of 19 Posts
Gunderman456
·
I Love this Hobby!
bhstr99
·
Registered
bhstr99
·
Registered
Moparman
·
Mr.4way SLI
bhstr99
·
Registered
prznar1
·
Registered
bhstr99
·
Registered
Cyro999
·
Premium Member
TwistedBE
·
Registered
bhstr99
·
Registered
antisocial247
·
Registered
iSilver
·
Registered
kris003
·
Registered
Gunderman456
·
I Love this Hobby!
kris003
·
Registered
ttnuagmada
·
Registered
kris003
·
Registered
ttnuagmada
·
Registered
1 — 19 of 19 Posts
- This is an older thread, you may not receive a response, and could be reviving an old thread.
 Please consider creating a new thread.
Top
Overclocking Core i5-3570K to 4.5 GHz on ASUS Maximus V GENE (Part 2) i5-3570K / Maximus V Gene — admin
We continue a small guide on overclocking the i5-3570K on the ASUS Maximus V GENE motherboard.
Before you start overclocking, you should make sure that everything is in order.
Be sure to first enter the BIOS and load the optimal settings (F5 key), and then press F10 and Enter. By doing this, you will apply known working settings for your system.
Then wait until Windows loads and run the latest version of CPU-Z. The idle frequency of the processor can be 1600 MHz (give or take) — this is normal.
If you run the Prime95 Small FFT test, the processor frequency will rise to 3800 MHz (the maximum possible frequency for this model in Turbo Boost mode).
Before starting a story about overclocking, it should be noted that the processor is different for the processor and the maximum frequency with voltage can vary greatly.
Well, now let’s get down to business.
You must first set AI Overclock to Manual.
In order for the motherboard to independently set the memory settings, you can select the XMP mode.
Ratio Synchronizing Control must be in Enabled mode.
Set 1-Core Ratio Limit to 45.
BCLK/PEG Frequency — 100.0.
Set up the RAM according to the specification. The default frequency is 1333 MHz. But if you set the XMP mode, then the settings will already be set correctly.
Keep in mind that all processors are different and settings may vary slightly.
Set CPU Voltage to Manual Mode.
Now we need to set the voltage. It is best to start with a high (but within normal limits) voltage and reduce it until you find a stable one. Remember — the higher the voltage, the hotter the processor (yes, even at the same frequency).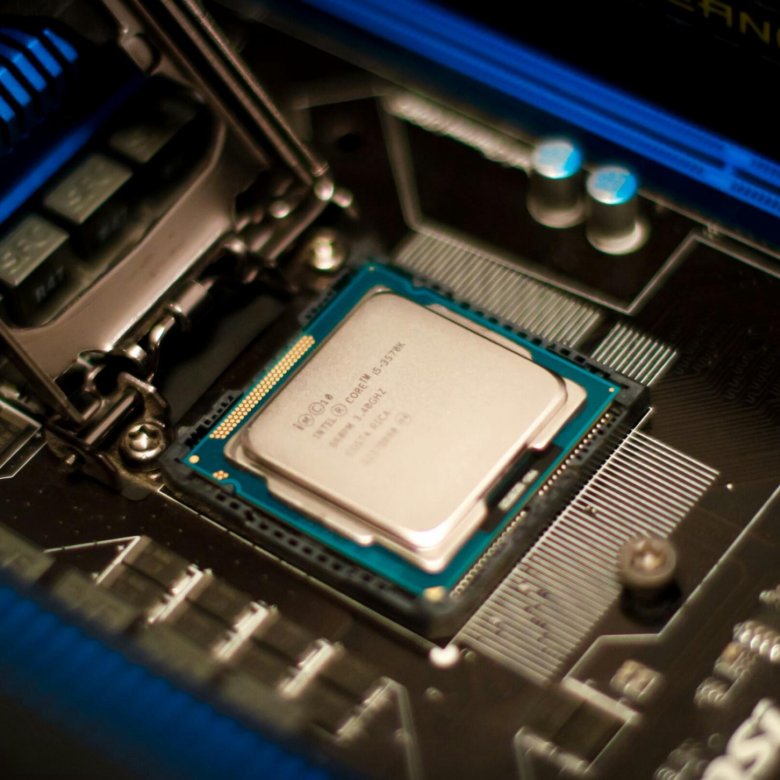
1.25V (volts) is a good start. But this processor sample remains stable at 4.5 GHz at 1.21 V.
Then go to the DIGI+ Power Control menu and adjust some settings there.
It is necessary to raise the CPU Current Capability to 140%, CPU Load-line Calibration — Extreme. In this case, it is necessary to monitor the temperature of the cores. These processors have a limit of 105 degrees, but it is advisable not to go beyond 80 degrees.
Well, press F10, confirm saving and wait for Windows to load.
Runs CPU-Z and Prime 95. Optionally run AI Suite II for monitoring.
Run the Small FFT test in Prime 95. During the test, you can use your computer for simple tasks — surfing the Internet, etc.
If you experience problems such as freezes, BSODs, application crashes and the like, then you need to adjust the voltage settings in the BIOS.
Be aware that 1.25V and LLC Extreme can actually deliver 1.29V per processor. As a result, the temperature will be higher.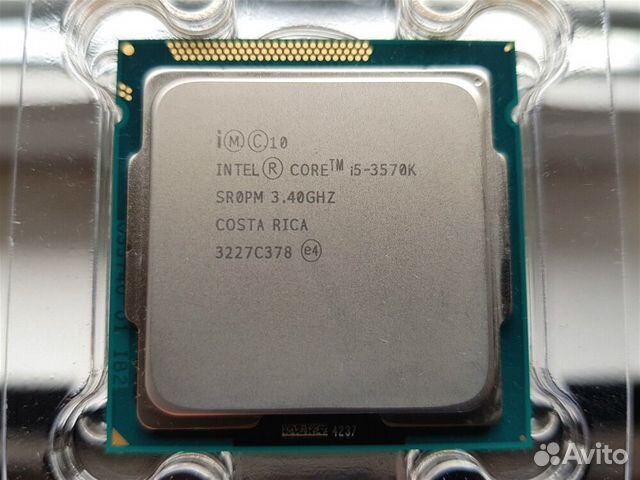 But this is only the beginning. Over time, you will reduce the voltage to the lowest possible.
1.25 V and LLC Extreme should be enough for almost any i5-3570K (in fact, it’s even a lot). But if you have problems at this voltage, then it is better to check the temperature, reduce the multiplier to 44 (4.4 GHz) or reduce the memory frequency to 1333 MHz. That way you can figure out exactly what the problem is.
As soon as you find a stable frequency, then try to reduce the voltage and reduce the LLC level — you need to find the «golden mean» between stability, frequency and temperature.
For some i5-3570K at 4.5 GHz, 1.21 V and LLC in Auto mode is sufficient, while for others 1.25 V and LLC Ultra-high. Everything is simple and no magic. It is enough to select these three parameters.
So look for suitable settings from 1.21V and LLC Auto to 1.25V and LLC Extreme. Since we did not change the Intel C-state or Speed-step parameters, the idle frequency will decrease, but our cherished 4. 5 GHz will be in the load. If you plan to overclock the processor even more, then these options should be disabled to increase stability. Don’t forget about power consumption. The power consumption of the system during overclocking to 4.5 GHz has risen from 117 W to 155 W, so you should take care of the power supply reserve.
After changing the overclocking settings, test the system in Prime 95. Usually, an hour of testing is enough. And if there are no errors, then everything should be in order.
And a little about temperature. The standard thermal interface of Core 3xxx processors is not very good, so Core 2xxx processors also have lower overclocking temperatures and, accordingly, they can be overclocked more strongly. Under a standard cooler, the processor temperature at 4.5 GHz and 1.25 V can reach 85 degrees. And if LLC is also set to Extreme, then all 95 degrees — and this is only 10 degrees below the temperature limit. At 105 degrees, the processor will throw off the frequency. So be sure to get good cooling!
Based on instructions from http://rog.asus.com/.
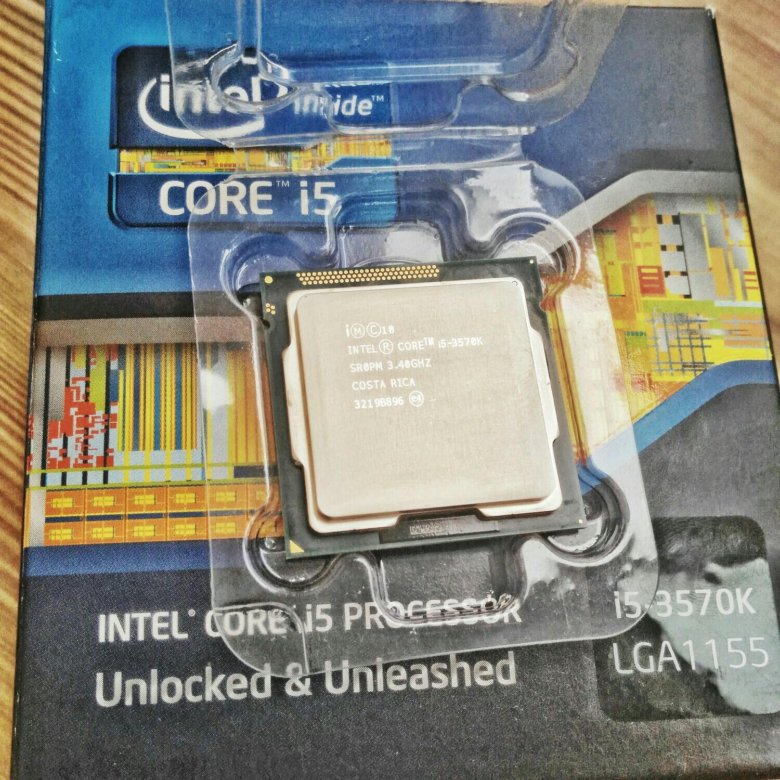
Processor Intel Core i5 3570K
Home / Processors / Intel Core i5 3570K
- Edelmark rating — 8.2 out of 10;
- Release date: April, 2012;
- Number of cores: 4;
- Frequency: 3.4 GHz;
- Power consumption (TDP): 77W;
- Maximum RAM: 32,768 MB.
Characteristics Intel Core i5 3570K
General parameters
| Clock frequency | 3.4 GHz |
|---|---|
| Maximum clock frequency | 3.8 GHz |
| Cores | 4 |
| Socket | LGA 1155 |
| Unlock cores | Yes |
Functions
| NX-bit (XD-bit) present | Yes |
|---|---|
| Trusted computing support | No |
| Virtualization support | Yes |
| Instructions supported | MMX EM64T SSE4.  2 2 Supplemental SSE3 SSE4.1 AVX SSE SSE4 AES |
| Support for dynamic frequency scaling (CPU Throttling) | Yes |
Integrated graphics
| Graphics core | GPU |
|---|---|
| Brand | Intel® HD Graphics 4000 |
| Latest DirectX | 10.x |
| Number of displays supported | 3 |
| Graphics core clock speed | 650MHz |
| Maximum clock frequency | 1.150 MHz |
| 3DMark06 | 5,339.9 |
Memory module
| Memory controller | Integrated |
|---|---|
| Memory type | DDR3-1600 DDR3-1333 DDR3 |
| Channels | Double channel |
| ECC support (error correction) | No |
| Maximum flow | 25,600 MB/s |
| Maximum memory | 32. 768 MB 768 MB |
Parts and features
| Architecture | x86-64 |
|---|---|
| Threads | 4 |
| L2 cache | 1MB |
| Second level cache per core (L2) | 0.25 MB/core |
| L3 cache | 6MB |
| Level 3 cache per core (L3) | 1.5 MB/core |
| Process | 22 nm |
| Number of transistors | 1,400,000,000 |
| Maximum processors | 1 |
| Processor multiplier | 34 |
| Operating temperature | Unknown — 67.4°C |
Overclocking Core i5 3570K
| Overclock review core | 4 |
|---|---|
| Overclocking clock | 4.59 GHz |
| Water-cooled boost clock | 4.7 GHz |
| PassMark (Overclocked) | 5,406. 6 6 |
| Air cooled boost clock | 4.59 GHz |
Power consumption
| Power consumption | 77W |
|---|---|
| Annual cost of electricity (NON-commercial use) | $38.81/year |
| Annual cost of electricity (commercial use) | $106/year |
| Capacity per W | 4.69pt/W |
| Standby power consumption | 67W |
| Peak demand | 121W |
| Average energy consumption | 107.5W |
Busbar
| Architecture | DMI |
|---|---|
| Transfer rate (transactions per second) | 5,000 MT/s |
Comparison of Core i5 3570K with similar processors
Performance
Performance using all cores.
| Core i5 3570K | 6.7 out of 10 |
|---|---|
| FX 8350 | 7.1 out of 10 |
| FX 6300 | 5.7 out of 10 |
 0 Accelerated, PassMark, Geekbench 3 Multi-Core.
 Performance per core
Base performance per processor core.
| Core i5 3570K | 7.6 out of 10 |
|---|---|
| FX 8350 | 5.8 out of 10 |
| FX 6300 | 5.5 out of 10 |
Integrated Graphics
Integrated GPU performance for graphics tasks.
| Core i5 3570K | 4.9 out of 10 |
|---|---|
| FX 8350 | 0.0 out of 10 |
| FX 6300 | 0.0 out of 10 |
Integrated graphics (OpenCL)
Integrated GPU performance for parallel computing.
| Core i5 3570K | 4.7 out of 10 |
|---|---|
| FX 8350 | 0.0 out of 10 |
| FX 6300 | 0.0 out of 10 |
 5 Bitcoin mining, CompuBench 1.5 Face detection, CompuBench 1.5 Ocean Surface Simulation, CompuBench 1.5 T-Rex, CompuBench 1.5 Video composition.
 Performance per W
How efficiently the processor uses electricity.
| Core i5 3570K | 8.9 out of 10 |
|---|---|
| FX 8350 | 5.0 out of 10 |
| FX 6300 | 5.3 out of 10 |
Price-performance ratio
How much you overpay for performance.
| Core i5 3570K | 6.8 out of 10 |
|---|---|
| FX 8350 | 6.3 out of 10 |
| FX 6300 | 6.5 out of 10 |
Total Edelmark rating
Total processor rating.
| Core i5 3570K | 8.2 out of 10 |
|---|---|
| FX 8350 | 5.3 out of 10 |
| FX 6300 | 5.2 out of 10 |
Benchmarks Core i5 3570K
CompuBench 1.5 (Bitcoin mining)
| Core i5 3570K | 11.75 mHash/s |
|---|---|
| FX 8350 | no data |
| FX 6300 | no data |
CompuBench 1.
 5 (T-Rex)
| Core i5 3570K | 1.23 fps |
|---|---|
| FX 8350 | no data |
| FX 6300 | no data |
PCMark 8 Home 3.0 Accelerated
| Core i5 3570K | 2.999 |
|---|---|
| FX 8350 | no data |
| FX 6300 | no data |
Sky Diver
| Core i5 3570K | 2.138 |
|---|---|
| FX 8350 | no data |
| FX 6300 | no data |
Cloud Gate
| Core i5 3570K | 5.791 |
|---|---|
| FX 8350 | no data |
| FX 6300 | no data |
GeekBench 3 (Multi-core)
| Core i5 3570K | 10.311 |
|---|---|
| FX 6300 | 7.871 |
| FX 8350 | 11.483 |
GeekBench 3 (Single Core)
| Core i5 3570K | 3. 213 213 |
|---|---|
| FX 6300 | 2.053 |
| FX 8350 | 2.193 |
GeekBench 3 (AES single core)
| Core i5 3570K | 2,650,000 MB/s |
|---|---|
| FX 6300 | 2,290,000 MB/s |
| FX 8350 | 2,470,000 MB/s |
Video Reviews0005
Intel Core I5 3570 review and testing this he plays at a frequency of 3.5 Hz and says that his 2 cores are loaded at 100% when I have a 3570 without overclocking more than 70% do not boot not in the witcher not in the crisis not in the lark .