How to Safely Overclock Raspberry Pi 4 in 2022 [Guide]
Raspberry Pi 4 and the latest Raspberry Pi 400 share the same Broadcom BCM2711 processor with four Cortex-A72 cores. However, the Pi 4 is clocked at 1.5GHz and the Pi 400 can go up to 1.8GHz. So it’s clear that the processor onboard here is capable of operating at a higher clock speed. But due to heat management on the smaller board, the Pi Foundation has limited its clock speed. So if you have a cooler and a heatsink, you can overclock Raspberry Pi 4 to 2GHz and improve the performance significantly. On that note, let’s learn how to overclock Raspberry Pi 4.
Guide to Overclocking Raspberry Pi 4 (2022)
In this guide, we have demonstrated the steps to overclock Raspberry Pi 4 from 1.5GHz to 2GHz, both on Raspberry Pi OS and Windows 11/ 10. We have also included a few things you should keep in mind before overclocking the CPU on your Raspberry Pi 4 board. You can expand the table below and move to any section at your convenience.
Table of Contents
Notable Points to Remember Before You Overclock Raspberry Pi 4
Before we delve into the steps to overclock the Raspberry Pi 4, it’s strongly recommended to install a heatsink and a cooler on your Raspberry Pi. As you overclock the CPU, it gets hot, and I mean, really hot. In some instances, it can touch temperatures up to 70-degree Celsius, which is not good for the computer board.
On top of that, using an overclocked board without a cooler is counter-productive. As the temperature rises, the CPU throttles, and you will face freezing issues. The performance will, in fact, be worse than the board with a 1.5GHz base clock. So yeah, if you want to use an overclocked Raspberry Pi 4 for longer and want a performance boost, make sure you get a cooler and a heatsink.
A word of caution, the two methods explained below are safe and will work as intended if you have a cooler and a heatsink. We will not be responsible for any damage that may be caused to your Raspberry Pi due to overclocking.
Overclock Raspberry Pi 4 to 2GHz Using Raspberry Pi OS
I am assuming you have already set up your Raspberry Pi 4 with Raspberry Pi OS. If you haven’t done it yet, go through our tutorial on how to set up Raspberry Pi without a monitor or Ethernet cable. After that, follow the steps below:
1. First, open the Terminal and run the below command to update all the packages and dependencies.
sudo apt update && sudo apt upgrade -y
2. Next, run the below command to upgrade the distro to the latest version. This process will take considerable time, so keep patience.
sudo apt dist-upgrade
3. Having done that, we need to update the Raspberry Pi firmware to the latest version so we can overclock the Raspberry Pi 4. If the Terminal reads – “rpi-update is already the newest version”, you are good to go. In case it updates the firmware, you need to reboot your Raspberry Pi by typing the command – sudo reboot.
sudo apt install rpi-update
4. Once you restart your Raspberry Pi 4, it’s time to overclock it from 1.5GHz to 2GHz. Open the Terminal and run the below command. It will allow us to modify the config file through the GUI Geany editor.
sudo geany /boot/config.txt
5. Now, a Geany window will open up. Here, scroll down and look for #arm_freq=800. We need to modify this line. First, remove the # from the line to enable the command. After that, change the arm-freq value from 800 to 2000.
This is the step that will increase the clock speed of your Raspberry Pi 4 board to 2GHz. You also need to add a line to increase the voltage, which I have shown below. Basically, the config file should look something like this.
over_voltage=6
arm_freq=2000
6. In case you want to overclock the GPU as well, add the below line to the config file. Now, save the file and close the Geany editor.
over_voltage=6
arm_freq=2000
gpu_freq=750
7. Restart your Raspberry Pi, and this time, it should boot up with the overclocked CPU and GPU. To test the numbers, open two instances of the Terminal and run the below commands in each of the Terminal windows. One will let you monitor the CPU clock speed in real-time, and another will display the current temperature.
Note: If your Raspberry Pi does not boot up after overclocking, follow our fix in the next section below.
- Monitor CPU Clock Speed
watch -n1 vcgencmd measure_clock arm
- Measure Temperature
watch -n1 vcgencmd measure_temp
8. Now that we have set up our monitoring system, let’s run sysbench to see if the Raspberry Pi 4 hits the 2GHz clock speed. To do so, you need to install sysbench on your Raspberry Pi by executing the below command.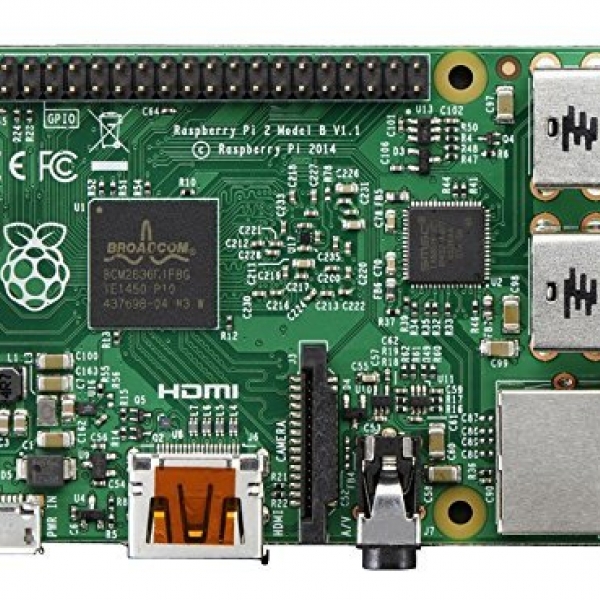 Press “y” to allow the installation.
sudo apt install sysbench
9. Next, execute the below command to run the sysbench test. When you run this command, you will notice that the CPU clock speed has touched 2GHz. In my case, I have not installed a heatsink and a cooler for demo purposes. And well, you can see that the temperature hovers around 68-degree Celsius, which is not normal in this situation. However, we strongly advise you to install a heatsink and a cooler on your Raspberry Pi 4 if you want to use the overclocked board for a longer time.
sysbench --num-threads=8 --test=cpu --cpu-max-prime=20000 run
10. To give you some numbers, the base-clocked Raspberry Pi 4 (1.5GHz) took around 15 seconds to complete the sysbench test. Whereas the overclocked 2GHz Raspberry Pi 4 only took 10 seconds. You will also find a vast difference in performance while exporting videos and while playing videos in the browser, thanks to the overclocked GPU.
11. If you want to disable the overclocked CPU and GPU on Raspberry Pi, run the below command again to open the Config file.
sudo geany /boot/config.txt
12. Move to the same section where you modified the values earlier. Here, add # to all the new lines and save the file. This will disable the commands, and your Raspberry Pi will load with the default clock speed after a reboot.
Raspberry Pi 4 Not Booting After Overclocking? Here is the Fix!
If the Raspberry Pi 4 is not booting after you overclock the CPU and GPU, you will need a PC to revert the changes in the config file. Here is how you can do it.
1. First, remove the SD card from the board and insert it into your Mac or Windows PC. Open the SD card on your PC (will be called “boot” in File Explorer) and find the config.txt file. It will be in the root directory itself.
2. Open the file using Notepad and add # to all the modified commands and save the file. Now, plug the SD card into the board, and your Raspberry Pi 4 will boot with the default clock speed (1.5GHz) this time around. Then, you can follow the steps in the section above to try and overclock the board again. Or, you can use your Windows computer, as detailed in the next section.
Overclock Raspberry Pi 4 to 2.1GHz Running Windows 11/ 10
1. We assume you have already followed our in-depth guide on how to install Windows 11/10 on Raspberry Pi. If not, you can use the linked guide to set up Windows on ARM on Raspberry Pi.
2. Next, download the Boot partition mount utility from the link here. It will let you access the config file. You can do this on Windows on Raspberry itself or a separate PC. You will have to plug in the SD card to make the changes.
3. Now, unzip the file and open the folder. Here, open WoR-Boot-Mounter.
4. After that, select the SD card where you have installed Windows on Raspberry and click “Mount“.
5. Next, click on “View contents“.
6. Here, you will find the “config.txt” file. Open it using Notepad.
7. Now, add the below lines based on your cooling system. I would suggest stable overclocking if you have a decent cooling system. If you do not have a cooling system, none of these changes will allow Raspberry Pi to even boot.
- Stable Overclocking
over_voltage=6
arm_freq=2147
gpu_freq=700
- Medium Overclocking
arm_freq=2300
gpu_freq=750
gpu_mem=32
over_voltage=14
force_turbo=1
- Extreme Overclocking (Freezing issues and might be dangerous)
initial_turbo=60
over_voltage=15
arm_freq_min=100
arm_freq=2350
gpu_freq=800
gpu_mem=512
8. Once you have added the commands, the config file will look like this. Now, save the config file and restart your Raspberry Pi.![]()
9. Now, you will find that your Raspberry Pi is overclocked to 2.1GHz if you have chosen stable overclocking.
Overclock Raspberry Pi 4 and Improve Performance
So that is how you can improve the performance of your Raspberry Pi 4 by overclocking the CPU and GPU. As we have mentioned above, the Raspberry Pi 4 handles overclocking pretty well, as the ARM Cortex-A72 is quite a capable core. However, you need a heatsink and a cooler if you intend to use the board for a longer duration without any thermal throttling issues. Anyway, that’s all from us. If you want to build an audio streaming device with Raspberry Pi, follow our linked guide. And if you have any questions, do let us know in the comment section below.
Some Raspberry Pi 4s Can Now Overclock to 2.3 GHz. Here’s How.
Skip to main content
When you purchase through links on our site, we may earn an affiliate commission. Here’s how it works.
(Image credit: Tom’s Hardware)
Leave no MHz behind. Where the previous Raspberry Pi overclocking high for the Pi 4 was 2.147 GHz, newer units, including the Raspberry Pi 4 8GB and some variations of the Compute Module 4 can now hit a full 2.3 GHz. All Raspberry Pi 4 units, except the Raspberry Pi 400, operate a stock clock speed of 1.5 GHz so this is a 35 percent speed jump you get by tweaking a few settings and, hopefully, providing active cooling.
Overclocking a Raspberry Pi is deceptively simple. We edit the config.txt file found in the boot partition and, after a reboot, we see a performance boost, for free. We spent the time testing the limits of the Raspberry Pi 4 and the Compute Module 4, deploying multiple overclocks from 2.2 GHz to 2.3 GHz to give you the data that you need to overclock your Raspberry Pi 4 / Compute Module 4.
Our tests involved the Raspberry Pi 4 4GB and 8GB, Compute Module 4 1GB and an 8GB Compute Module Lite connected to the official Compute Module 4 IO Board. For the Compute Module 4, we used its onboard eMMC flash storage as a boot device, and for the Raspberry Pi 4s and the Compute Module Lite we used a microSD card (see best Raspberry Pi microSD cards) as our boot medium. All test machines ran the latest version of Raspberry Pi OS, updated with the latest software. Our stress tests were conducted using Stressberry which runs the CPU at 100% to generate temperature data and to ensure that the CPU can cope with heavy tasks at those speeds.
Before we conducted the test we needed to prepare our devices for use.
Flashing an Image: Raspberry Pi 4 and the Compute Module 4 Lite
The Compute Module 4 Lite has no eMMC storage so we will need to write a micro SD card using the Raspberry Pi Imager. This is exactly the same process as if we were to write a card for other models of Raspberry Pi. See how to set up a Raspberry Pi for the first time or how to set up a headless Raspberry Pi for details. If you already have a microSD card set up, make sure you update your operating system by entering:
sudo apt update
sudo apt upgrade
You may also want to update your firmware to the latest version by entering
sudo rpi-update
Flashing an Image on Compute Module 4 with eMMC Storage
There are 32 variants of the Compute Module 4, but at the most basic level there are two key models.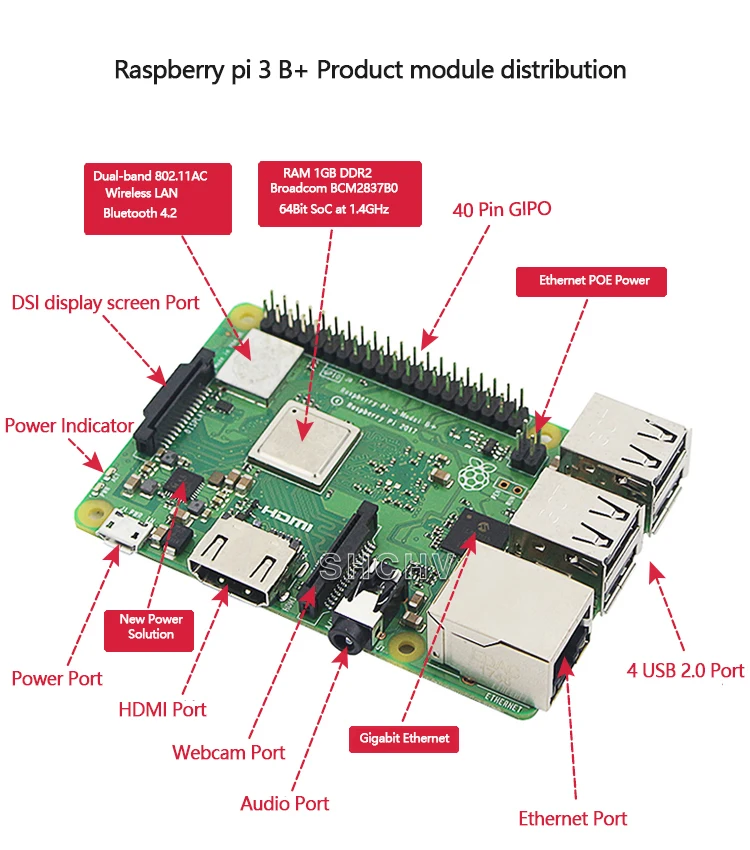 The Compute Module 4 and the Lite version. The Compute Module 4 has onboard eMMC flash storage, while the lite version omits any form of flash storage.
For the Compute Module 4, to flash the onboard storage we need to download the contents of a Git repository to a machine running Linux, or another Raspberry Pi.
1. Open a terminal and clone the repository.
$ git clone --depth=1 https://github.com/raspberrypi/usbboot
2. Change directory to enter the download repository.
$ cd usbboot
3. Install libusb, a developer tool to enable USB access in scripts.
$ sudo apt install libusb-1.0-0-dev
4. We then need to make the rpiboot application from the downloaded files.
$ make
5. Connect the Compute Module 4 to the Compute Module 4 io Board. Connect a micro USB cable to micro USB port and then connect the other end to a USB port on your Linux computer.
6. Locate pins J2 and fit a jumper to disable eMMC boot. If you do not have a jumper, then a female to female connector can be used. This will prevent the Compute Module 4 from booting and will instead enable us to mount the Compute module 4 as if it were a USB flash drive.
(Image credit: Tom’s Hardware)
In the Terminal, run the rpiboot command to mount the Compute Module.
$ sudo ./rpiboot
After a few moments the drive will appear and be accessible.
7. On your Linux computer, navigate to https://www.raspberrypi.org/downloads/ to download Raspberry Pi Imager. Install the application.
8. Open Raspberry Pi Imager and select Raspberry Pi OS (32-bit).
(Image credit: Tom’s Hardware)
9. Click on CHOOSE SD CARD and select your Compute Module 4.
10. Click on Write, to flash the OS to the eMMC storage.
With the OS written to the Compute Module 4, we can now close Raspberry Pi Imager.
Before we can use the Compute Module 4, we need to make a change to a config file in order to use the USB ports of the IO Board which are disabled by default.
1. Open the File Manager, locate the Boot partition of the Compute Module 4, or the micro SD card and open the config.txt file with a text editor.
2. At the bottom of the file add the following lines to enable the USB ports. The first line is a comment to remind ourselves as to the function of the command underneath it.
#Enable USB ports on IO Board
dtoverlay=dwc2,dr_mode=host
An optional step is to enable the use of an external antenna. The Compute Module 4 has a built in Wi-Fi antenna and a ufl connector for an official external antenna. To use this we need to add a further line to the config file, config.txt.
At the bottom of config.txt add these lines to enable the external antenna.
#Enable external antenna
dtparam=ant2
Eject the boot and root partitions from your Linux machine before removing the USB cable / micro SD card.
Booting the Compute Module 4
If you are using the Compute Module 4, remove the micro USB cable and the jumper from J2 of the IO Board. If you are using the Compute Module 4 Lite, insert the micro SD card.
For both versions, connect your keyboard, mouse, HDMI and external antenna (if you have chosen to use an external antenna). Then plug into power, which will trigger the Compute Module 4 to boot to the Raspberry Pi OS desktop.
Overclocking the Raspberry Pi 4 and the Compute Module 4
(Image credit: Tom’s Hardware)
The stock speed of the Raspberry Pi 4 and the Compute Module 4 is 1.5 GHz. As with any model of Raspberry Pi, they can be overclocked to provide a free performance boost.
(Image credit: Tom’s Hardware)
Before we even start the overclock process we will need to ensure that there is adequate cooling. For passive cooling you will need much more than some simple stick-on heatsinks. We chose to cool the Compute Module 4 with a Pimoroni Fan Shim, hacked to sit above the module and controlled from the GPIO. We also wrote a simple Python script to run on boot which started the fan at full speed. If you have access to, or a wish to use PC fans then the Compute Module 4 IO Board has a fan header at J17 which can be used with 12V PC fans.
(Image credit: Tom’s Hardware)
To cool our Raspberry Pi 4, we used a 52Pi IceTower, an extreme cooling solution which looks and acts as heatsink and fan found inside a PC case. This cooling solution runs directly from the 5V pins of the GPIO.
(Image credit: Tom’s Hardware)
To overclock a Raspberry Pi we need to edit the config.txt file, the same file that we earlier edited to add USB and external antenna support.
1. Open the config.txt file for editing in a terminal window on your Pi.
sudo nano /boot/config.txt
2. Using the keyboard, move to the bottom of the file and add a comment line to identify the overclock instructions.
#Overclock Instructions
3. Set the CPU speed by adding the arm_freq option and entering the desired speed in MHz. In this example we set the overclock to 2275MHz. Changing the value will set the maximum CPU speed, so use 2200, 2250 and 2275 etc.
arm_freq=2275
4. Overclock the GPU to 750MHz by adding this line.
gpu_freq=750
5. Overclocking requires extra voltage for the CPU. Add the over_voltage value of 8 to provide 1.4V of extra voltage.
over_voltage=8
6. Press CTRL + X and then press Y to save and exit the file.
7. Reboot the Raspberry Pi and once the reboot is complete open a Terminal and use the vcgencmd to show the current ARM CPU speed.
(Image credit: Tom’s Hardware)
vcgencmd measure_clock arm
If your Raspberry Pi does not boot, it means that your particular CPU cannot handle the clock speed you configured it for. Stick your microSD card in another computer or mount your Compute Module 4 on another computer so you can change the values in config.txt to a lower MHz.
Overclocking the Raspberry Pi 4 and Compute Module 4 to 2.3 GHz
Before we start, we need to make this very obvious. Overclocking to this level will invalidate your warranty. You break it, you bought it!
We found success with a Raspberry Pi 4 8GB and a Compute Module 4 Lite with 8GB RAM. This overclock did not work with our Compute Module 4 1GB or our Raspberry Pi 4 4GB and the maximum speed we achieved with those boards was 2275 MHz.
To overclock the Raspberry Pi 4 8GB and the Compute Module 4 to 2.3 GHz, we need to edit the config.txt file and most of the configuration is the same as before, except for the CPU speed, 2300 and an extra line which forces turbo mode frequencies even when the ARM cores are not busy. Using “force_turbo” will invalidate your warranty.
Here is our config for 2.3 GHz.
#Overclock
arm_freq=2300
gpu_freq=500
over_voltage=14
force_turbo=1
The Results: 2.
 3-GHz Raspberry Pi 4
We ran four overclock tests for each Raspberry Pi 4 and Compute Module 4. Using 2200, 2250, 2275 and 2300 overclocks.
The Compute Module 4 and Raspberry Pi 4 4GB reached 2275 MHz and ran stable. Taking them to 2300 MHz and repeating our tests caused them to lock up and crash during the cooldown period of the Stressberry test.
The same test on the 8GB Lite module and our 8GB Pi 4 ran perfectly on multiple occasions. Could RAM play a key factor in overclocking performance? Is there something about 8GB Raspberry Pi which makes them better for overclocking? We asked that question to Eben Upton, Chief Executive of Raspberry Pi Trading
“I think this is mostly a silicon lottery effect, possibly influenced by long-term process trends.
There certainly are boards out there that can do crazy speeds, and we’ve been very conservative in how hard we push (Broadcom) 2711: it’s much more important to us that the product runs reliably at 1.5 GHz than that people can get good overclocks,” he said. “We’ve done a bit of attention-to-detail work on the power planes and decoupling on recent boards…but I would expect this to have a relatively marginal effect.”
Get instant access to breaking news, in-depth reviews and helpful tips.
Contact me with news and offers from other Future brandsReceive email from us on behalf of our trusted partners or sponsors
Les Pounder is an associate editor at Tom’s Hardware. He is a creative technologist and for seven years has created projects to educate and inspire minds both young and old. He has worked with the Raspberry Pi Foundation to write and deliver their teacher training program «Picademy».
Topics
Raspberry Pi
Tom’s Hardware is part of Future US Inc, an international media group and leading digital publisher. Visit our corporate site .
©
Future US, Inc. Full 7th Floor, 130 West 42nd Street,
New York,
NY 10036.
Overclocking the Raspberry Pi: How to do it and what you need to know
The Raspberry Pi 3 is a great little computer, much more powerful than the models before it. But did you know that you can squeeze even more energy out of it? Here’s how to overclock your Raspberry Pi and take it further than you ever imagined!
Why overclock your Raspberry Pi?
The standard Raspberry Pi 3 boasts a 64-bit, 1.2GHz quad-core processor, 1GB of RAM, and a Broadcom VideoCore IV GPU as part of a Broadcom System on a Chip (SoC) BCM2837.
Overclocking the CPU will increase the Raspberry Pi’s default clock speed from 1.2 GHz to 1.5 GHz, depending on your cooling solution (such as a heatsink). Please note that since the Raspberry Pi uses an SoC, you will need to set up the RAM for overclocking.
What’s the point of overclocking a Raspberry Pi? Well, it’s simple: you want to get the most out of it. Several popular tools will perform better than intended when overclocked.
Retro games. If you’ve been having trouble running Sony PlayStation 1, Sega Dreamcast, or Nintendo N64 games on RetroPie, RecalBox, or whatever retro gaming solution you’ve chosen for, overclocking can help a lot.
Kodi: Kodi video streaming performance issues can be overcome by overclocking your Raspberry Pi. If you’re also using a VPN, a higher clock speed will also help here.
Exagear: Trying to run Windows software on Raspberry Pi? Even with the right preparation, overclocking can help here.
Desktop: Raspberry Pi 3 can be used as a standard desktop. Who doesn’t need extra performance from an overclocked processor?
Overclocking the Raspberry Pi 3 is a practical answer to some of its shortcomings (although these were addressed in the later Raspberry Pi 3 B+. ).
Overclocking is always risky
Raspberry Pi overclocking is easy, but not without risk.
Heat generated: Cooling solutions required if you plan to overclock your Pi. Heat is bad for computer systems as it slows down processing which in turn generates heat.
Component failure. Excessive heat can also cause component failure.
Data corruption. Using a higher clock frequency often results in data corruption. If you are using a hard drive for your Pi’s operating system, this shouldn’t be a major issue. However, if your Raspberry Pi uses a microSD card (most do), you may find flash media becoming increasingly unreliable.
Reliable Power Supply: With you should already be using a good quality power supply for your Raspberry Pi. Anything less than the recommended 2.5A power adapter is not suitable for overclocking. Data corruption will quickly occur with low power consumption.
At one point, overclocking your Raspberry Pi will void your warranty. However, as of September 19, 2012, this is not the case, thanks to built-in overclocking tools; however, there is one setting that will affect the device warranty, which we will discuss below.
How to overclock your Raspberry Pi 3
Still want to overclock your Raspberry Pi? While you can overclock other distributions, we’ll cover the process on Raspbian Stretch. Start with a full update and update:
sudo apt update && sudo apt install upgrade
Then install the sysbench tool:
sudo apt install sysbench
You will need this later to check how overclocking improved performance. For now, however, run sysbench to get a baseline:
sysbench --test=cpu --cpu-max-prime=2000 --num-threads=4 run
Record the results or add a target file to output the results for later comparison.
sysbench --test=cpu --cpu-max-prime=2000 --num-threads=4 run > benchmark-before.txt
Next you need to edit the config.txt file. You’ll find this in the boot directory, which is best accessed through a terminal.
Start by switching to the root directory
cd /
Then change the directory to boot.
cd boot
Confirm that you are in the correct location by listing the contents.
ls
You must define config.txt. At this point, it’s worthless that the boot directory is the only part of your Raspberry Pi’s operating system that is accessible from Windows.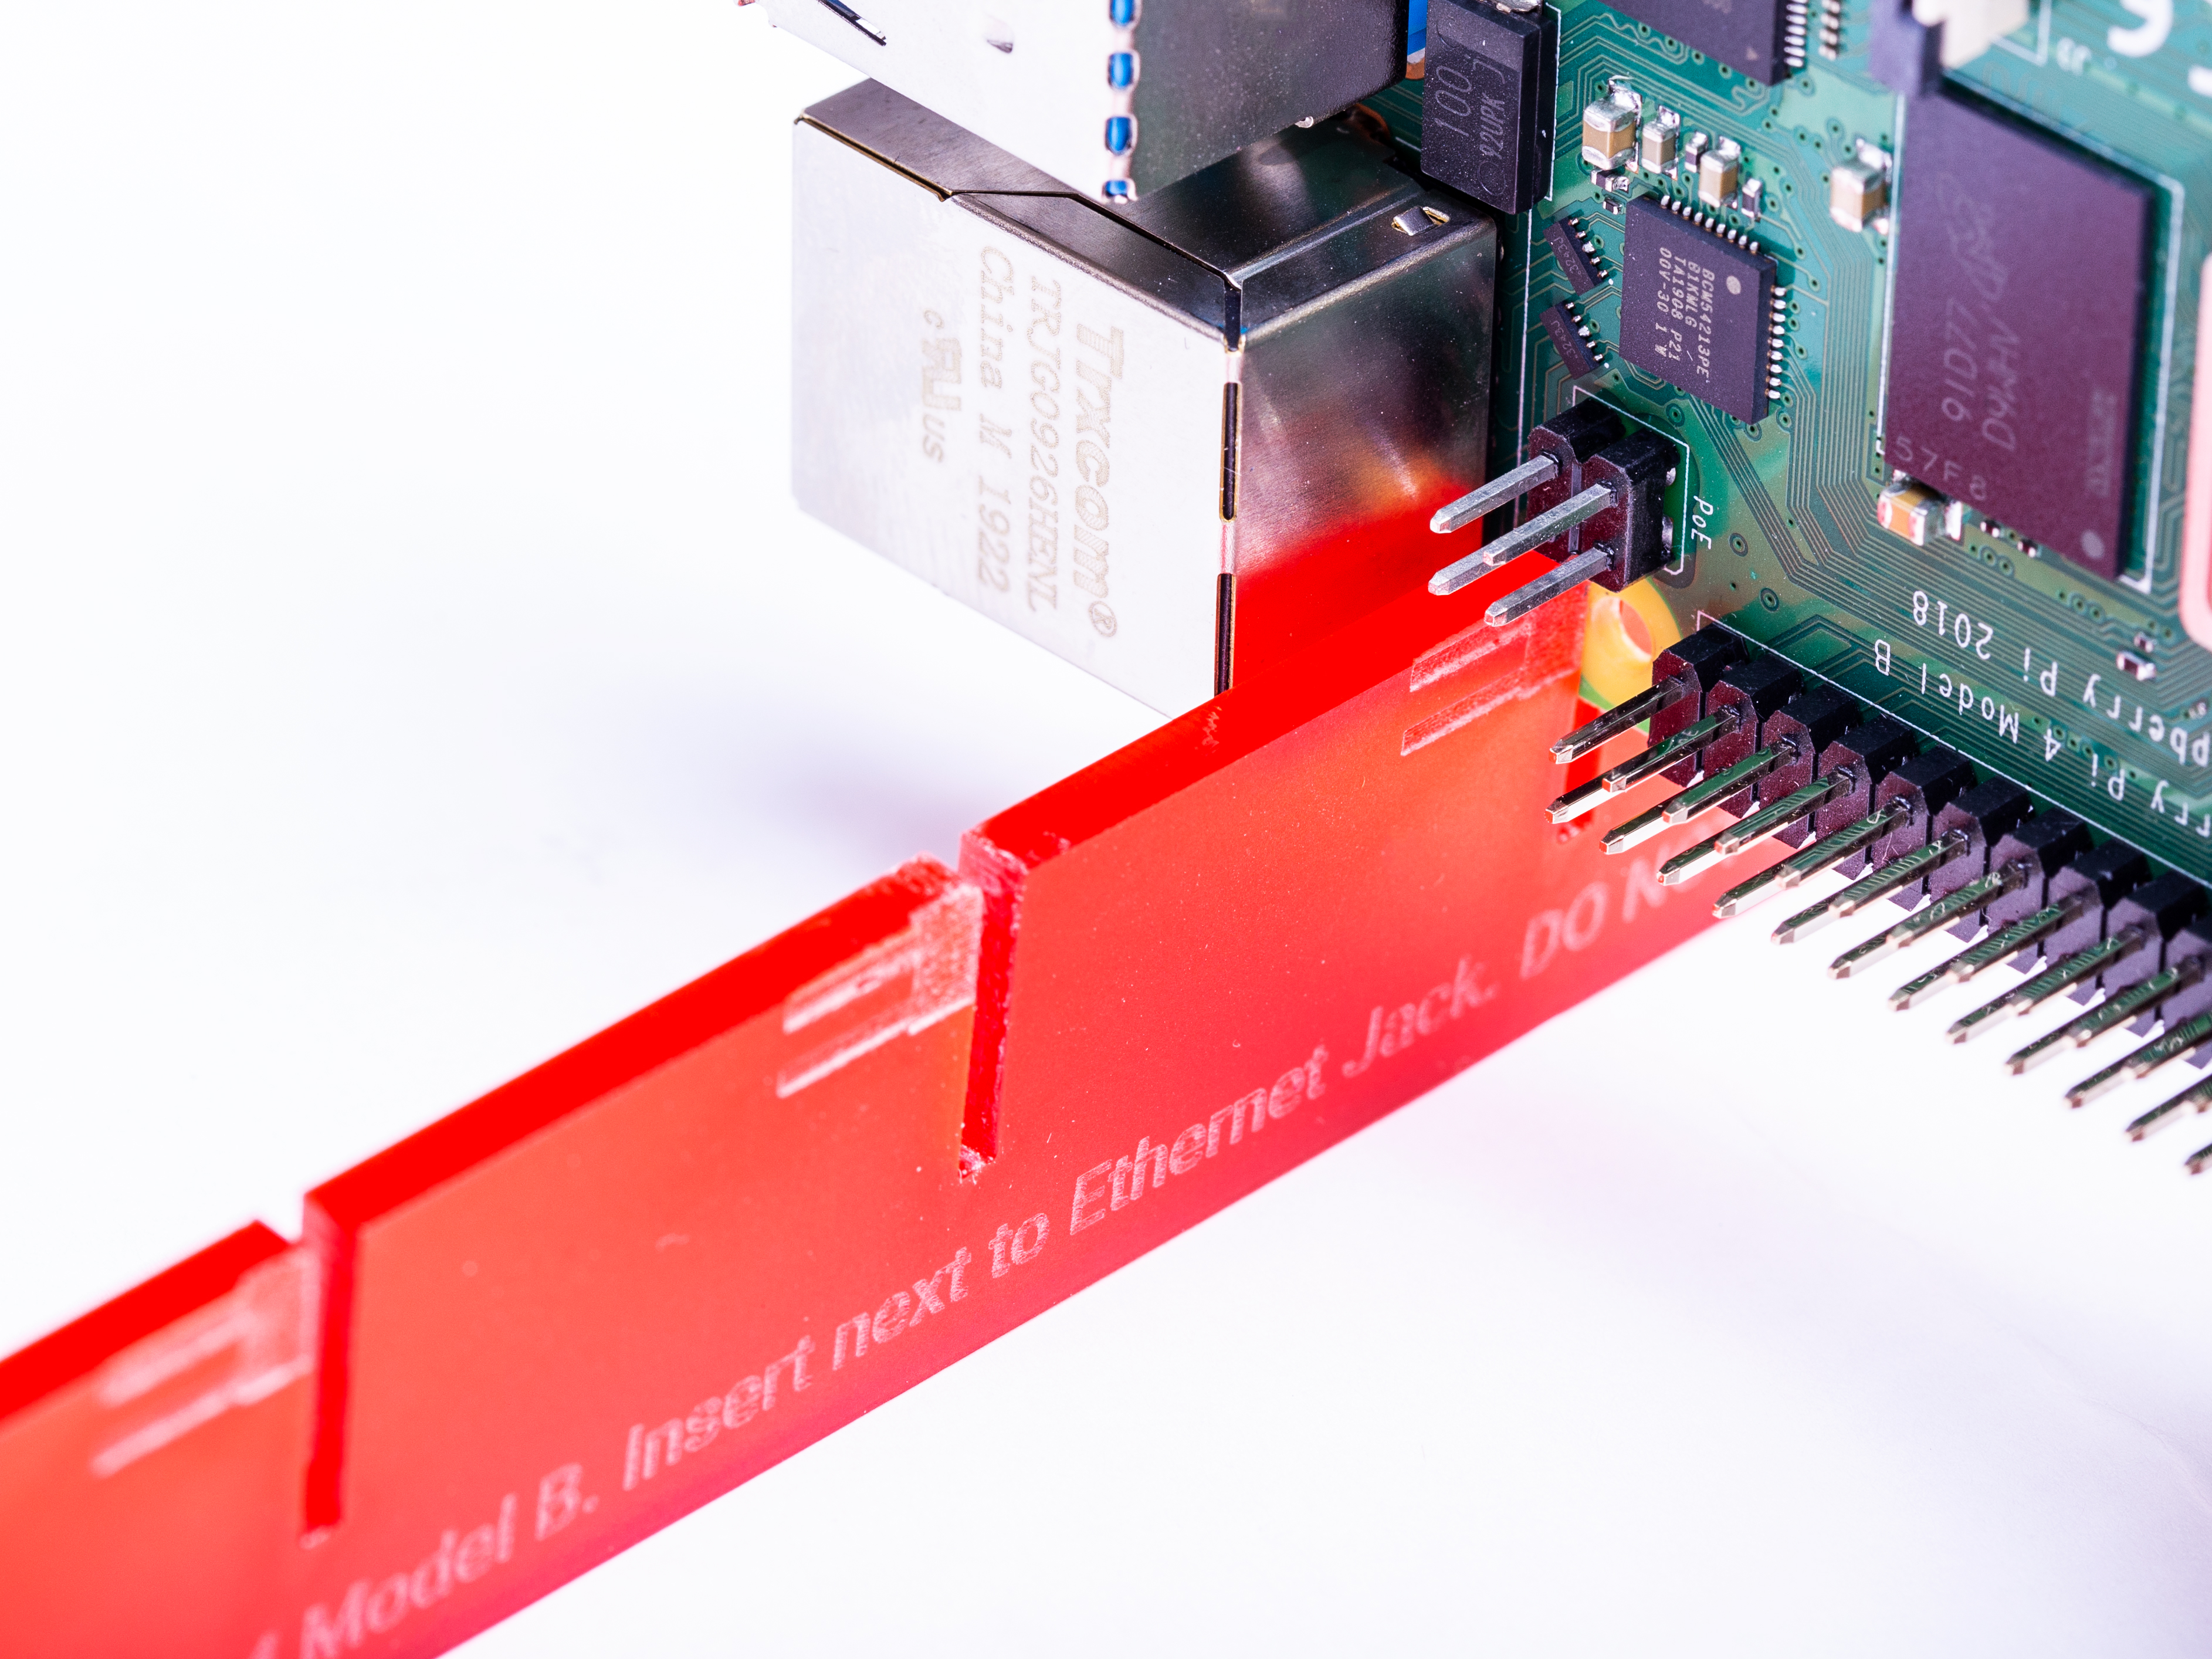 We will return to this later. For now, just copy the file:
sudo cp config.txt config.old
You should now have two configuration files. The first one is the one you can edit, config.txt ; your second backup, config.old .
To edit config.txt:
sudo nano config.txt
Here you will find a list of settings in the format «name=value». Look for «overclocking»; You should find the line that says «#Uncomment to overclock the hand». Remove the hashtag from the first line under # arm_freq = 800.
To significantly overclock your Raspberry Pi 3, you will need to enter values for the following four conditions:
- arm_freq
- core_freq
- sdram_freq
- over_voltage
Raspberry Pi 3 is most commonly overclocked with the following:
arm_freq=1300 core_freq=500 sdram_freq=500 over_voltage=600
These settings are the highest stable clock speed you can get. Lower options are available, but are somewhat pointless. However, as noted elsewhere, the software you use will determine if you’re happy with the overclocked speed or not.
Test overclocking performance with sysbench
System is now overclocked, you should run sysbench tool again:
sysbench --test=cpu --cpu-max-prime=2000 --num-threads=4 run > benchmark-after .txt
Comparing this difference should show the performance improvements you can expect when overclocking your Raspberry Pi.
Once you’ve figured out what max clock speed you’re comfortable with, you can continue as normal… or you may prefer to use the force_turbo setting to keep the Pi running at maximum speeds. While you can do this, it is one of the Raspberry Pi overclocking factors that will definitely void your warranty.
How to repair a broken overclock
If you have rebooted your Raspberry Pi with overclocked settings and find that it will not work, or it freezes, hangs, or behaves in some other undesirable way, you will have to revert the changes. It’s easy to do:
- Turn off your Raspberry Pi.
- Remove the microSD card.
- Insert the card into the card reader of your PC.
- Rename \boot\config.old to config.txt .
- Open file \boot\config.txt .
- Enter the correct clock frequency and save.
- Carefully remove the microSD card, insert it into your Pi and boot up.
Everything should now be back to normal.
Can other Raspberry Pi models be overclocked?
Overclocking is an option for older versions of the Raspberry Pi. As always, take precautions to keep your device cool. Use our comparison to check the correct clock speed for your model and do not increase the speed by more than 10 percent.
To overclock your old Raspberry Pis, everything you need is built into the Raspbian operating system. Start by opening the configuration tool either from the desktop ( Settings > Raspberry Pi Configuration) or from the command line.
sudo raspi-config
After the warning appears, select Overclocking .
In the next menu you will find a list of options. The overclocking option currently selected is None, but you will have up to five options to choose from, depending on your Raspberry Pi model. The figure below shows the Raspberry Pi 2 overclocking screen.
While on other devices overclocking is a bit of an increase and a test, with preset parameters it’s not really necessary. All you have to do is select the overclocked preset you want to use, then press OK, to apply it. However, if you are trying to use a non-standard overclock that is not available through the preset option (using the config.txt file as described above), make small careful adjustments and check the results.
Please note that overclocking can also affect the performance of connected hardware such as Adafruit’s PiTFT display. Thus, you will need to take extra precautions (such as manually tweaking the config. txt file after setting the new clock speed in the menu).
Overclocking is never an exact science. As such, you should spend some time evaluating its impact on your Raspberry Pi and any regularly used software. Our general guide to PC overclocking CPU overclocking provides a lot of background information.
How to overclock Raspberry Pi running OpenELEC?
Prerequisites
Acceleration PI
1. editing config.txt using SSH
2. Editing Config.txt using the Linux
system Acceleration
Full acceleration of Openelec
in this post, which explains how would be dispersed media center Raspberry Pi OpenELEC. In the first and second part of my comparison of Xbian, OpenELEC and Raspbmc, I came to the conclusion that Xbian was the fastest and most responsive operating system. However, after overclocking, OpenELEC compares favorably with Xbian. Raspberry Pi’s default capabilities are 700MHz for ARM, 250MHz for Core, and 400MHz for SDRAM.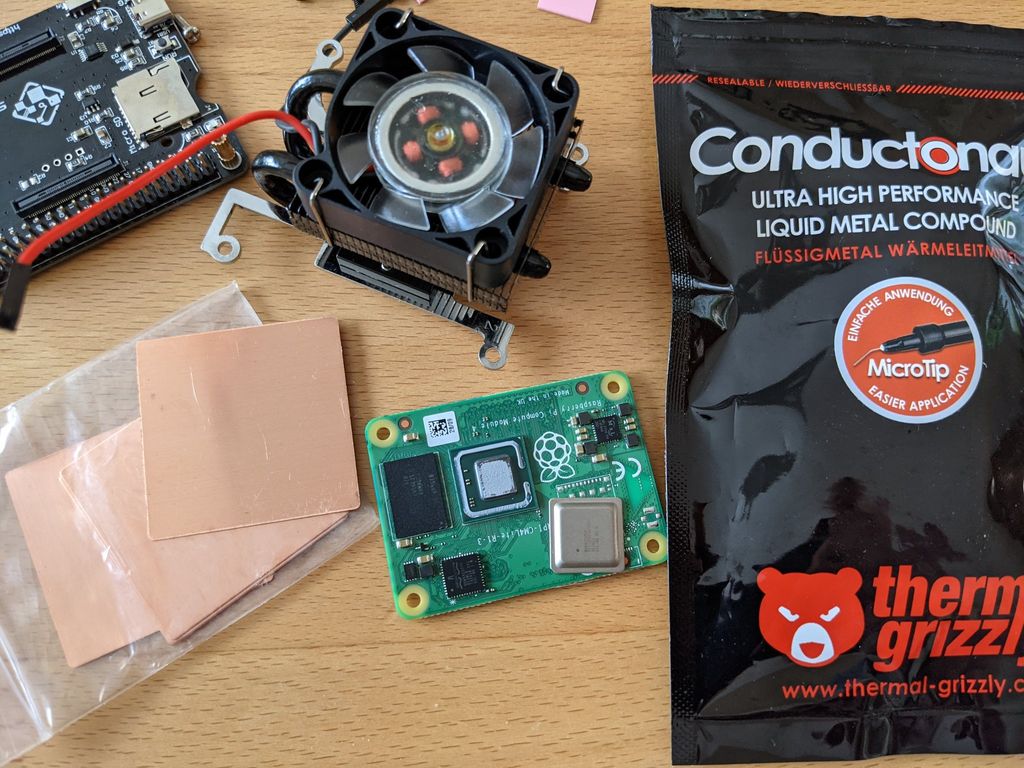 As described here By default, Xbian is overclocked to 840MHz, 275MHz and 400MHz and provides a very simple XBMC GUI option to change overclocking options. OpenELEC, however, does not make overclocking options readily available. This is no coincidence as OpenELEC aims to create a stable and stable media center operating system. But I didn’t find any harm at low to medium overclock levels. So, let’s continue overclocking Raspberry Pi running OpenELEC.
Prerequisites
Before proceeding, make sure you have or know the following:
- A fully functional Raspberry Pi running OpenELEC (installation guide here)
- Benefits and risks of overclocking a Raspberry Pi
- SSH remote access to Raspberry Pi
- Excess heat sink (recommended)
Raspberry pi overclocking
Some media center programs such as Xbian and Raspbmc provide access to overclocking settings from the XBMC interface. On OpenELEC, you will need to open and edit the «config. txt» file located on the system partition. There are two ways to do this. The first method requires SSH access. The second method requires access to a Linux system with an SD card reader.
1. Editing config.txt using SSH
If you have not already enabled SSH on your Raspberry Pi, enable it before continuing. The config.txt file is located in the «/flash» section, which is read-only by default. So first remount «/flash» with read/write permissions using the following command:
mount /flash -o remount,rw
Then go to the «/flash» folder and open the «config.txt» file for editing. The figure below shows 3 commands in sequence:
OpenELEC Remount Flash Partitioning
2. Editing config.txt using Linux system
This method can be quite complicated if you are not familiar with mounting partitions or disks in Linux. If you have access to a Linux system with an SD card reader, remove the SD card from your Raspberry Pi and insert it into the card reader. The two partitions on your SD card should automatically mount to «/media» with the system partition as «System» and the storage partition as «Storage». If not, you may need to manually mount them. Once mounted, navigate to “/media/System/flash” and open the “config.txt” file as root for editing using the following command:
sudo nano config.txt
Configure Overclocking
Once the «config.txt» file is open, scroll down to the «Overclocking Settings» section and read the instructions shown below.
 ############################################### #################################
# Overclocking settings
# WARNING: Do not change/enable if you do not know what you are doing!
# The System may become unstable or you can have data corruption or
# you can lose your warranty if you set wrong settings
#
# please read: http://elinux.org/RPi_config.txt#Overclocking_configuration
################################################### ################################
Right below the instructions, OpenELEC provides some recommended overclock settings:
# Overclock mode settings.# # default recommended values are: arm_freq | core_freq | sdram_freq | over_voltage # no overclocking: 700 | 250 | 400 | 0 # mode 'Modest': 800 | 300 | 400 | 0 # mode 'Medium': 900 | 333 | 450 | 2 # mode 'High': 950 | 450 | 450 | 6 # mode 'Turbo': 1000 | 500 | 500 | 6
Basically, there are 4 parameters you can set to overclock your Raspberry Pi: arm_freq, core_freq, sdram_freq and over_voltage. You can set only those parameters that you want to change, the rest will be at the default level (“no overclocking”). Keep in mind that overclocking can shorten the life of your device. My tests have shown that a «modest» level of overclocking is enough to run OpenELEC smoothly without excessive heat generation. For anything above this level, I recommend using good heatsinks. To set «moderate» overclocking level, modify the following «config.txt» section as below:0003
 arm_freq=800
core_freq=300
# sdram_freq=400
# over_voltage=0
I recommend not touching the rest of the Raspberry Pi’s overclocking settings, as they can corrupt data and void your warranty (especially setting «force_turbo=1»).