8 Ways to Fix Unable to Load Steam.dll
Steam.dll loading errors result from situations that cause deletion or corruption of Steam DLL file. This error can also be caused by a missing or damaged Steam.dll file.
The error can prevent you from starting up Steam or playing games. This blog will show you how to fix the Steam.dll loading error. But first;
How Does Steam.dll Loading Errors Show Up?
Here are some of the most common ways in which the Steam.dll loading error can present itself:
- “The file Steam.dll is missing” message.
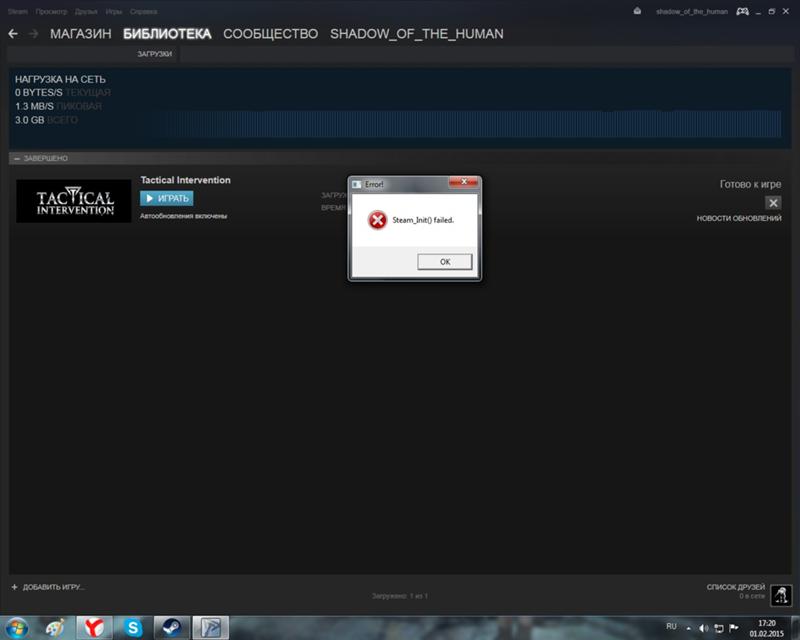
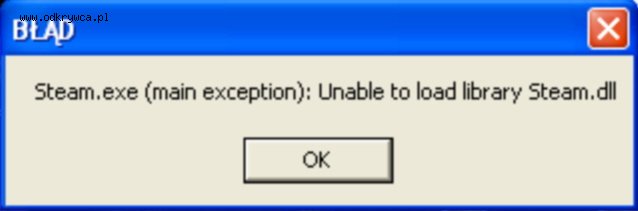
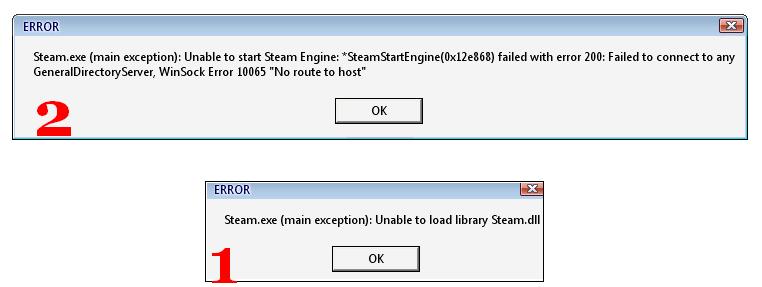
- “Unable to load Steam.dll” error message.
- Message displaying “Cannot start [APPLICATION]. A required component is missing: Steam.dll. Please install [APPLICATION] again.”
- Cannot find [PATH]\Steam.dll
- dll Not Found
The above Steam.dll error messages may appear when installing or running particular software, starting or shutting down Windows, or playing a game.
There are different measures that you can take to help fix the Steam.dll unable to load error. Bellow, we have outlined some of the common one:
1. Restart Your Computer
This is the first and easiest thing you can do to fix this problem. Sometimes, simply shutting down your computer and restarting it can resolve the issue.
If restarting your computer does not help, proceed to the next step.
2. Restore the Steam.dll file from the Recycle Bin
You may have accidentally deleted the Steam.dll file, which can cause your computer to display Steam.dll Not Found. In this case, you can restore it from the Recycle Bin.
However, if you had previously emptied the recycle bin, you must use third-party recovery programs. They can help you recover deleted files from your computer, including the Steam.dll file.
In most cases, restoring the deleted Steam.dll file will fix the Steam. dll loading error.
3. Download and reinstall Steam
In some cases, the Steam.dll file may be missing or corrupted. In this case, you will need to download and reinstall Steam.
However, before reinstalling a fresh copy of Steam, you should uninstall the older version. Using third-party program uninstallers is the best way to remove the older Steam version from your system completely.
Reinstalling a fresh copy of Steam will replace any missing or corrupted files and should fix the problem.
4. Run an anti-virus or malware
In some cases, the Steam.dll error can result from malware or viruses. In this case, you will need to run an anti-virus or malware scan on your system. This will help remove any malicious files that may be causing the error.
Once the scan is complete, restart your computer and try rerunning Steam. If the error does not clear, proceed to the next step.
5. Update your drivers
Outdated drivers related to Steam.dll can also lead to the malfunctioning of the file. For instance, if you receive a “The file Steam.dll is missing” error during a gaming session, your graphics card drivers are likely outdated. You will need to update your video card drivers in such a case.
6. Undo recent changes to your computer
If you feel that your recent computer changes, such as installing new software or hardware, may have caused the Steam.dll error, undo the changes. Updating particular drivers can also cause this error.
Use System Restore to restore your computer to an earlier point in time. This will undo any changes that may have caused the error.
7. Use a registry cleaner
In some cases, registry problems can cause the Steam.dll error. A registry cleaner can help scan and fix any registry errors, such as invalid registry entries that may cause Steam. dll errors. Once the registry cleaner has completed its scan, restart your computer and try rerunning Steam.
This solution should be your last resort, as registry cleaners can sometimes cause more harm than good.
8. Install a fresh Windows OS
If all the above measures do not clear the Steam.dll error, you may need to install a new Windows OS on your computer. This is often seen as the last resort as it will delete all your files and installed programs.
Before proceeding with a new OS installation, make sure to backup all your crucial data and files. Once you have installed a fresh Windows OS, install Steam and see if the problem persists.
If the Steam.dll loading error persists after trying all the above methods, your computer is likely experiencing hardware problems. In this case, you will need to take your computer to a qualified technician for further diagnosis.
FAQs
Q. Where is Steam. dll located?
You can locate the Steam.dll and Steam.exe in the Steam directory on your gaming PC or whichever device you use to access Steam.
Q. Does uninstall Steam delete games?
Uninstalling Steam will delete all downloadable content and files, including your games. To keep your games safe, create a backup before uninstalling Steam.
Q. Does Steam work on Windows 11?
Yes, Steam is compatible with Windows 11. If you have upgraded to Windows 11, you should not have any problems steaming, installing, or downloading from Steam on the device.
Conclusion
If you are experiencing a Steam.dll loading error, try the methods above to fix the problem. If one method does not work, try another until you find a solution that works for you. If you still have problems, take your computer to a qualified technician for further diagnosis.
Did you like this post?
Click on a star to rate it!
Average rating 5 / 5.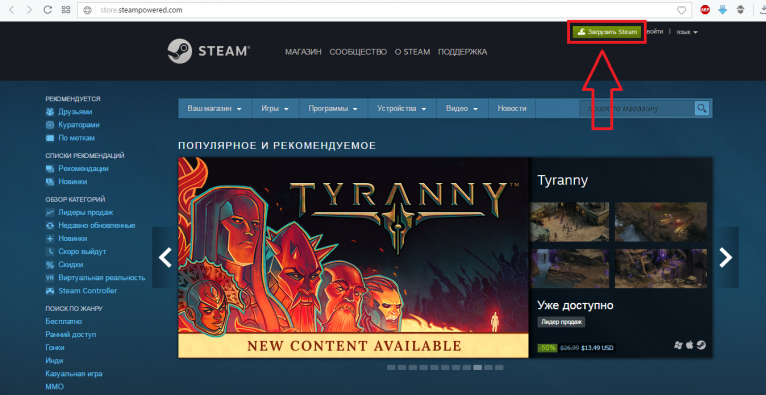 Vote count: 1
No votes so far! Be the first to rate this post.
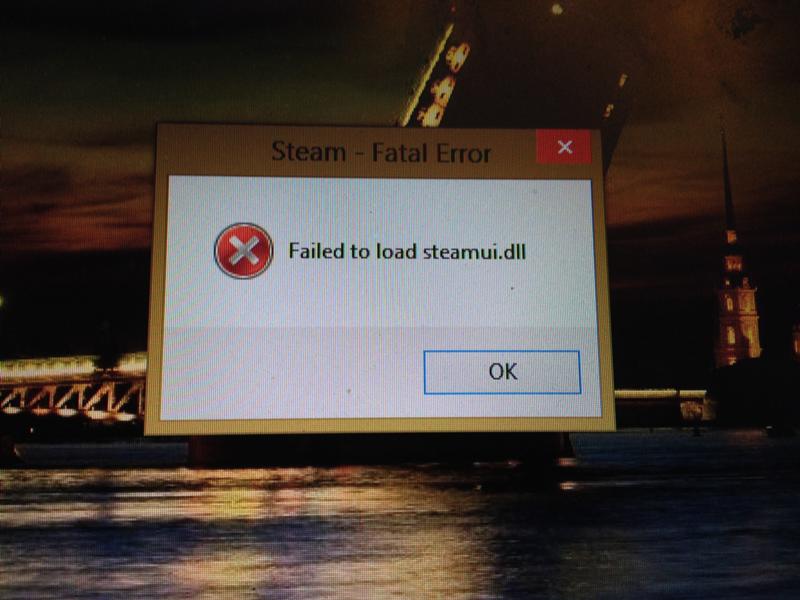
10 Methods to Fix Steam Failed to Load Steamui.dll Error
Many users reported that they encounter the “Failed to load steamui.dll” error when opening Steam or playing games on Steam. It is annoying you fail to start the application because of it. You can try the 10 methods provided by MiniTool to fix the vexing error.
What Causes Steam Failed to Load Steamui.dll
Steamui.dll is an important file in Windows OS that enables your programs and services to run properly. According to the reports we gathered, Steam failed to load steamui.dll error may happen to any programs that require the file or operating systems including Windows 10/8/7.
What causes this error? The most common reason is that your Stamui.dll file is missing or gets corrupted. There are several possible causes of Steam failed to load steamui.dll error as follows.
- You delete the steamui.dll file accidentally.

- Steam needs device drivers to run. If you are using the outdated device driver, you might encounter the steamui.dll error.
- The hardware failures like hard disk and RAM memory are also responsible for the failed to load steamui.dll fatal error.
- There is a virus or other malware on your system that damages the steamui.dll file.
Now, let’s see how to fix the Steam fatal error. Here we recommend you try the following methods one by one in order to get rid of the error.
Tip: If you are not able to access Windows normally due to the “Steam fatal error failed to load steamui.dll”, you need to start your computer in Safe Mode to complete the following methods.
Fix 1. Restore the Missing Steamui.
 dll File
Note: This method is available only if you delete the steamui.dll file mistakenly and it works properly before you do.
If you mistakenly remove the steamui.dll file, the easiest and quickest way is to restore the file from the Recycle Bin. You just need to open your Recycle Bin on the desktop, and then right-click the deleted file and select Restore.
However, if you have already emptied the Recycle Bin, professional recovery software may be your best choice. Here it is highly recommended that you use MiniTool Partition Wizard. This is a professional data recovery tool trusted by millions of users around the world.
Fix 2. Delete the Libswscale-3.dll File and Steamui.dll File
Sometimes, the “failed to load steamui.dll Steam fatal error” may not indicate that the file is really missing. It is just because the libswscale-3.dll and steamui.dll file get crashed.
For this situation, you can delete them and Steam will automatically replace the files with new ones when you run Steam next time. Here’s how:
Step 1. Right-click the Steam on your desktop and select Properties.
Step 2. Go to the Shortcut section and click Open File Location on the bottom of the window.
Step 3. Then you will open the folder of Steam. Find the libswscale-3.dll and SteamUI.dll and press Delete key on your keyboard.
Step 4. Restart your Steam and see if the error still persists.
Fix 3. Uninstall and Reinstall Steam
If you encounter the “Steam fatal error failed to load steamui.dll” when trying to start Steam, you can try uninstalling Steam from your computer and then reinstall it. After that, the corrupted steamui.dll file will be replaced with a new one.
Step 1. Press Win + R keys to open the Run box. Then type appwiz. cpl in it and hit Enter.
Note: Before you do, please back up the Steamapps folder because you need to use it later. Usually, you can find this folder in C:\Program Files (x86)\Steam\Steamapps.
Step 2. Find the Steam in the list, and then right-click and select Uninstall.
Step 3. After the uninstallation completes, download the latest version of Steam and reinstall it on your computer.
Step 4. Move the Steamapps folder you have backed up to the Steam directory. Then run Steam again and check if the error disappears.
Fix 4. Clear Download Cache for Steam File
Some users reported that they resolved the steamui.dll error simply by clearing the download cache. This is because the method is often used to solve the problems with games that fail to download and start.
Besides, this method won’t affect your currently installed games when you log into your Steam afterward. So, you can try it without concern.
Step 1. Open your Steam client, and then navigate to Steam > Settings from the top left client menu.
Step 2. In the Setting window, navigate to the Download tab on the left and click Clear Download Cache on the left pane.
Step 3. Click OK to confirm this action and you will need to login to Steam again.
Step 4. Restart your computer to save this change and see if you have resolved the Steam fatal error failed to load steamui.dll. If not, just move ahead.
Fix 5. Update Your Device Driver or Roll Back Your Driver to Previously Installed Version
The outdated device drivers can trigger various problems as exeplorer.exe system call failed, the steamui.dll error and so on. For this problem, you can try updating the device driver. Here is a quick guide for you.
Step 1. Open the Device Manager via the search box.
Step 2. In the new window, expand the Display adapters to find your device driver.
Step 3. Double click the device driver to open its Properties. In the pop-up window, navigate to the Driver tab and click Update Driver button.
Step 4. Then you have 2 options to update your device driver: automatically or manually. Choose one according to your needs. After you finish the update, check if the problem is resolved.
If the steamui.dll error just happened after you updated a particular hardware device driver, you can click Roll Back Driver to a previously installed version.
Fix 6. Run System Restore Point to Undo Recent System Changes
Some users find they fail to load Steam after updating their Windows. Probably this is because the updated features or configurations are not compatible with Steam.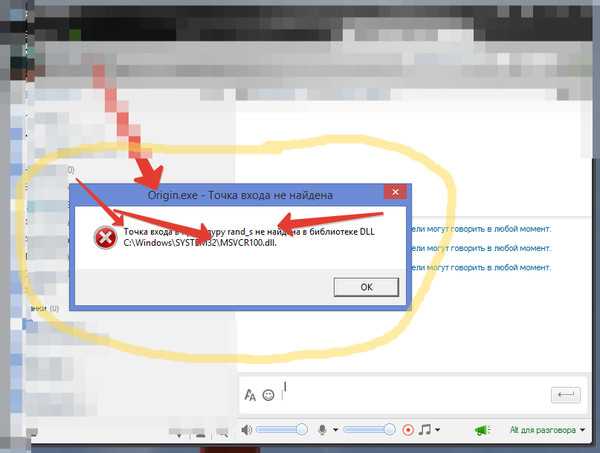 You can restore your system to undo the recent changes if you created a System Restore point.
Step 1. Open your Control Panel. Then set the View by as Category and click System and Security.
Step 2. In the new window, click the System tab.
Step 3. Select System protection on the left panel, and then you will open the System Properties window. Click System Restore.
Step 4. Check the Show more restore points. Select the Restore point you prefer in the list and click the Next button.
Step 5. Click Finish to confirm the restore.
After you have restored the system to an earlier date, see if the error is resolved.
Fix 7. Re-register the Steamui.
 dll File
Re-registering Steamui.dll file can repair the corruption. But registering files will bring potential risks, so we recommend that you make a backup of the partition with the Steam folder saved before you do in case something goes wrong.
Step 1. Right-click the Start button and select Command Prompt (Admin) from the contextual menu.
Step 2. Type the regsvr32 steamui.dll command in the elevated command prompt and hit Enter.
Step 3. Restart your computer and check if the steamui.dll error still exists.
Fix 8. Delete the Beta Version of Steam
If you are using a Steam Beta version, it is very likely that you may encounter the error. You can resolve it by deleting the Beta version.
Here’s how:
Step 1. Open your File Explorer, go to your Steam directory and find its Package folder.
Step 2. In the Package folder, right-click a file named Beta and select Delete.
Step 3. Reboot your computer and restart your Steam. Then the necessary steam file will be download automatically.
Fix 9. Run a Malware Scan of Your Entire System
In addition, the virus or malware of the system will damage the steamui.dll file. For this issue, you can use the Windows Defender virus to scan malware of your entire system.
Step 1. Open the Windows Defender via the search box.
Step 2. In the pop-up window, navigate to Virus & threat protect on the left and then click the Run a new advanced scan on the right.
Step 3. In all listed scan types, select a Full scan and click the Scan now button. This scan will take you more than one hour, so you need to wait patiently.
Recommend article:
Fix 10. Check Your Memory and Hard Drive
If the Steam.dll error still persists after you try all the above methods, we have to recommend that check your memory and hard drive for corruption. As mentioned above, the hardware failures also can bring error.
Here are several free RAM memory test tools that can help you. Detailed information you can refer to this post: Here Are Free RAM Test Programs to Check Your Computer’s RAM.
Probably you may want to run chkdsk /f command to check the hard drive errors. However, sometimes this command cannot run smoothly as you expect and you may encounter errors like “chkdsk write protected”, “chkdsk gets stuck” and so on.
In order to check your hard drive quickly, we recommend that you use a professional tool. Here MiniTool Partition Wizard Free version can help to do that.
Free Download
Step 1. Launch this program to get its main interface, and then select the partition you want to check and click Check File System on the left pane.
Step 2. In the pop-up window, you can pick one from the 2 options. Here we recommend you choose Check & fix detected errors and click Start.
Step 3. Click Yes and restart your computer, this program will automatically check your hard drive and fix errors.
In addition, you need to check if there are bad sectors on your hard drive. The Surface Test feature of the program can help you to do that easily.
Click to Tweet
Final Words
The top 10 methods to fix “Fatal error, failed to load steamui.dll” are explained. Now, it’s your turn to have a try!
Welcome to leave your ideas in the comment area or you can send us an email via [email protected]if you have any questions.
Failed to Load Steamui.dll FAQ
What is Steam.dll?
Steam.dll is a non-system process of the software that you installed on your system. It is an executable file on your hard drive. Due to most programs data are stored in your hard disk and in the system’s registry. So, once your hard drive suffered fragmentation or other invalid entries, you may encounter the steam.dll error
How do I install a DLL file?
- In a nutshell, copy the original .dll file to the location C: \Windows\System32.
- Press Win + R keys to open the Run dialog box, and then type cmd in it and hit Enter.
- Type the regsvr32 filename.dll command and press Enter key. After that, the .dll file will be installed automatically.
How do I fix a missing dll file?
A great may users are troubled by the errors like D3DCOMPILER_47.dll is missing, physxloader.dll is missing and so on. Here are common ways.
- Restart your computer.
- Restore the deleted .dll file from the Recycle Bin.
- Use a file recovery tool.
- Undo recent changes with System Restore point.
Where DLL files are stored in Windows 7?
If you are using 32-bit version of Windows 7, you should find the .dll files in the location C:\Windows\System32\ directory. While on the 64-bit version of Windows .dll files should be located in C:\Windows\SysWOW64\ directory.
How do I locate my Steam ID?
- Open your Steam, and then click View on the upper left corner.
- Select Settings and click on Interface on the left pane.
- Select the checkbox of the Display Steam URL address bar option when available and click OK.
- Click on your Steam username to view the Steam ID.
Failed to find steam_api.
 dll — how to fix?
Reading time: 5 min
Steam users on PC have been experiencing the steam_api.dll error for about 10 years, the message says that the system did not find steam_api.dll. This error may sound in English with the words «could not find» or «not found». In any case, the essence is the same — it was not possible to find this file on the computer. Moreover, the problem can appear both on devices with Windows 7 and Windows 10. For unknown reasons, users of some games experience a breakdown more often. The network is dominated by requests for help with the launch of Call of Duty: Modern Warfare 3, but any other games are at risk.
Why couldn’t steam_api.dll be found?
The steam_api64.dll file is required for games to interact with the Steam service. Without it, both the Steam game «manager» and the game itself cannot work. This message indicates one of two failures: the file was damaged (moved, etc.) or completely missing from the system. It doesn’t really matter here whether the game is licensed or hacked.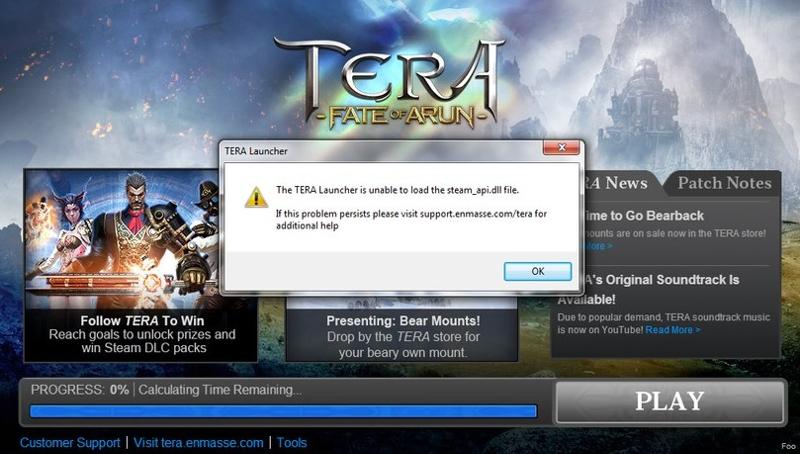 The problem can appear in any library application, but some of them crash more often. Despite this fact, the solutions are the same for all games.
See also: How to run an old game on Windows 10?
How to fix steam_api.dll error?
If we couldn’t find steam_api64.dll, then we need to restore it. Usually this happens either manually or automatically, along with the software to which it belongs. Obviously, we are talking about the games themselves and the Steam client. But the problem may also be in the antivirus, which recognizes this file as a virus and blocks it. We will talk about all the options for the development of the situation further.
Method 1: download and register the file
The first thing that comes to mind is to download steam_api.dll and the system will be able to work again. It doesn’t really work all the time, but it’s worth a try. Several nuances are important here: download the appropriate file (with the required bitness and not infected with a virus), put it in the right place and register it in the system.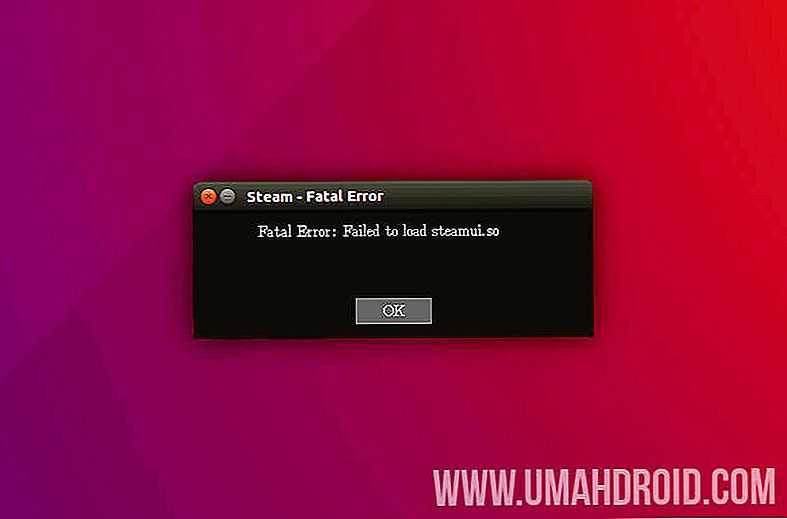 We will do all this in the following instructions.
How to download and install the steam_api.dll file:
- Loading steam_api.dll for Windows 10 (or another version of the operating system). For example, we can do this using this link. It is important to look not only at the OS, but also the bit depth: 32 or 64 bits.
- Copy the file to the location where it should be. The first way to find out is to look in the error message, it may say where the system is accessing this file. Most often this is C:\Windows\SysWOW64. It may also be required in the game folder inside the D:\Games\ section
- Use the Win + X keys to open the Start menu and select «Command Prompt».
- Insert the regsvr32 steam_api.dll command and press Enter.
After registering the DLL, it’s time to check if CoD:MW3 or another game that was having problems starts.
See also: «XINPUT1_3.dll not found» error
Method 2: Check the integrity of Steam files
integrity. Steam has such a feature and it helped some users.
What to do if steam_api.dll is missing:
- Open the «Library» in Steam.
- Right-click on the problematic game and go to «Properties».
- On the «Local Files» tab, click on the «Verify Integrity of Game Files» button.
Method 3: Restoring a file from quarantine
If this file was blocked by a built-in or third-party antivirus, we can most likely unblock it. It is enough to manually indicate that we trust the developer of this element and that it can be used. For example, we use Windows Defender, but the principle is similar in all security applications.
How to fix the problem with the steam_api.dll file:
- Open Windows Defender. Usually it is minimized to the tray or located on the taskbar, but it can also always be found through the search.
- Go to the «Log» page and select «All Detected Items».
- Select the file we need and click on the «Allow» button.

This is potentially dangerous because the file could have been modified by a virus. The risks are especially high for those who downloaded it from the Internet.
See also: How to connect a joystick to a Windows 10 computer?
Method 4: Roll back to a restore point
Windows can be restored to a more stable state if rollback points have already been made. They are usually generated automatically when you make critical changes to the operating system, but they can also be created manually. If you have this point, we advise you to use it.
What you need to do:
- Enter «Recovery» in the search and open the control panel item with the exact name.
- Select the «Start System Restore» option.
- Follow the prompts of the installation wizard.
Method 5: Reinstall Steam
One of the most effective methods is to completely reinstall Steam. This often works and does not entail any difficulties.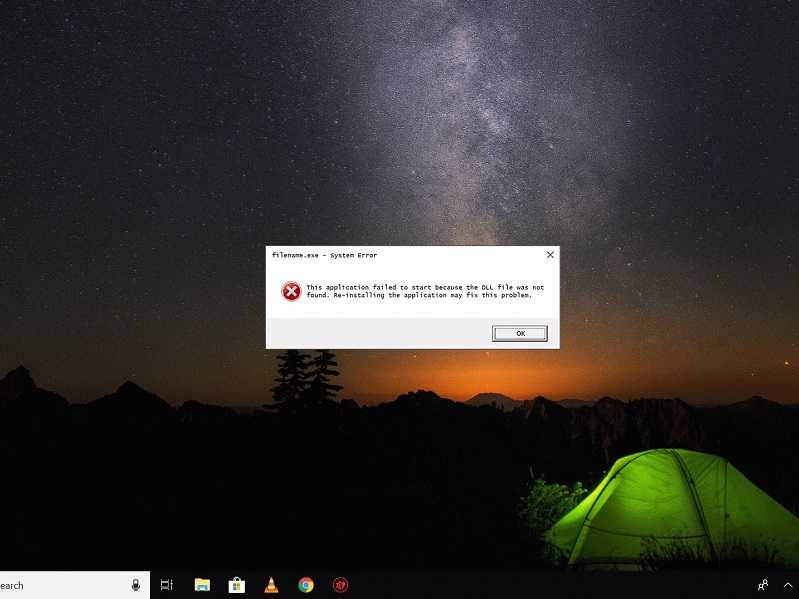 After re-authorization in your account, all user data will be restored, and previously installed games will be found automatically. It is only better to clear the traces of the program at the time of removal. To completely uninstall Steam and get rid of residual files, we recommend using iObit Uninstaller. It will clean up the files on the computer and the registry, and the new installation will be from scratch.
What else can help?
There are a few more steps that may help individual users. They work less often than the previous ones, but as a last resort you can try.
Tips for fixing the error:
- We update the drivers for the video card. It is enough to download them from the official website of the manufacturer and install.
- Reinstalling DirectX. Just download the installer from the Microsoft website and run it. Ideally, you need to uninstall the old version of the software and only then reinstall it.
- Update Windows.
One of the above actions should work and steam_api. dll will be restored, which means that the message about the missing file will disappear and you will be able to start any game.
Rate the article
Article rating 2.7 / 5. Votes: 3
No votes yet! Be the first to rate this post.
Failed to load client library & # 8217; in Windows 10
Author Oleg Belov Reading 8 min. Views 660 Posted
Millions of gamers use Steam daily to play their favorite games, but some users are reporting error «Engine Error: Failed to Load Library Client» when trying to run their favorite games on Steam, so today we are going to show you how to fix this error in Windows 10.
Contents
- What is «Engine Error: Failed to load library client» and how to fix it in Windows 10
- Solution 1: Download Microsoft Visual C++ 2010 Service Pack 1 (SP1).
- Solution 2 – Temporarily disable your antivirus
- Solution 3 – Restart Steam
- Solution 4 – Move your Steam installation
- Solution 5 – Repair the Steam client service
- Solution 6 – Verify the game cache
- Solution 7 – Delete the 65 9002 bin folder 9002 bin Solution 8 – Edit the gameinfo.
 txt file
Engine Error: Failed to load library client is an annoying error that can affect Steam and your favorite games. Speaking of this error, users reported the following issues:
- Failed to load CS GO Library Client, Left 4 Dead 2, HL2 Mod, Goldeneye, CS Source, Wolfenstein, GMod . This bug can affect many games such as Global Offensive, Garry’s Mod, Wolfenstein and many more. other. If you are experiencing this problem, be sure to verify the integrity of the game cache of the affected games.
- Failed to load library client Try restarting — Sometimes this error message may appear on the computer. If this happens, be sure to restart Steam using the Task Manager.
- Failed to load library client w3btrv7.dll . If you encounter this error on your computer, the issue is related to missing files, so you may need to install the missing components to fix this error.
-
Failed to load Steam client library — As mentioned earlier, this error message usually occurs when using Steam.
 However, you should be able to resolve the issue using one of our solutions.
According to reports, «Engine Error: Failed to Load Library» only affects Valve games like Counter Strike: Global Offensive or Dota 2, making your favorite game unplayable, so what can you do to fix this problem?
Solution 1 – Download Microsoft Visual C++ 2010 Service Pack 1 (SP1)
If you’re getting error Engine: Failed to load library client , you might be missing the Visual C++ Redistributables on your computer and you can download all the required files from here. Just remember to install the x86 and x64 version if you are running Windows 10 64-bit.
Solution 2 – Disable Antivirus 9 Temporarily0181
If you receive the message Engine Engine: Could Not Load Library Client on your computer, the reason may be related to your antivirus. To fix this issue, make sure the Steam directory is added to your antivirus’ exclusion list.
If this does not help, you may need to temporarily disable your antivirus and check if that solves the problem. If the issue persists, you may need to uninstall your antivirus.
To do this, it is best to use a special uninstaller. Many antivirus companies offer uninstallers for their software, so be sure to download an antivirus for your antivirus.
To be on the safe side, it is recommended to use a dedicated uninstaller to make sure that all files and registry entries associated with your antivirus are removed. We recommend that you try IOBit Uninstaller and Revo Uninstaller .
Removing your antivirus usually solves this problem, but if you want to stay protected, it’s a good idea to switch to a different antivirus solution. Antivirus tools like Bitdefender , BullGuard and Panda Ant i virus are excellent choices as they come with a gaming mode feature that prevents antivirus from interfering with your gaming sessions.
- READ ALSO: I can’t open Steam on Windows 10: How can I fix this problem?
Solution 3 – Restart Steam
If error «Engine Error: Failed to load library client» is causing problems, try restarting Steam. Make sure you shut down Steam completely, you can even check with Task Manager if Steam is running. After shutting down Steam completely, launch it again to see if the issue has been resolved.
Solution 4 – Transfer the Steam installation
If the problem persists and Steam installs to a folder that contains letters or symbols that are not in the English alphabet, you may need to migrate your Steam installation. Don’t worry, your Steam games will be saved and if everything goes well, you won’t have to download them again.
Before we start migrating your Steam installation, make sure you know your username and password because you will need it to access Steam later.
-
Make sure Steam is not running.

-
Navigate to the Steam installation directory. By default it should be:
-
C: Program FilesSteam
However, this location may be different on your computer.
-
C: Program FilesSteam
- Delete all files and folders except folder SteamApps (where your downloaded games are stored) and Steam.exe .
- Move these two files to another location.
- Run Steam.exe from a new location and log into your account.
Steam will now update and you will be able to play your favorite games again. Also, it would be a good idea to verify the game’s cache files. If you run into problems after migrating your Steam games to the new directory, you should remove the Steam data from your registry. To do this, follow these instructions:
-
Go to the Steam directory and delete all files from it except for the SteamApps folder. It is recommended that you move the SteamApps folder to a different location as you will need it later.
- Now run Registry Editor . You can run it by pressing Windows Key + R on your keyboard and entering regedit in the Run dialog . After entering regedit press OK or press Enter .
-
When the Registry Editor opens, navigate to the following key in the left pane:
- HKEY_LOCAL_MACHINESOFTWAREValve (if you are running Windows 10 32-bit)
- HKEY_LOCAL_MACHINESOFTWAREWow6432NodeValve . (if you are using Windows 10 64-bit)
- Press right button Valve and select Delete .
- Close Registry Editor.
- Now go to the Steam website and download the new Steam client.
- Install it and move the SteamApps folder into it.
-
After that, sign in to Steam. It is also recommended to check the cache of the games you want to play.

- READ ALSO: How to fix Steam AppHangB1 error
Solution 5 – Repair Steam 9 Client Service0181
- Make sure Steam is not running.
- Run Command Prompt as Administrator . To do this, press Windows Key + X to open the Win + X menu and select Command Prompt (Admin) from the menu.
-
When Command Prompt starts, paste the following:
-
notes: «C:Program FilesSteambinSteamService.exe» /repair
-
notes: «C:Program FilesSteambinSteamService.exe» /repair
- Don’t forget to change the location between the quotes to match the Steam installation directory.
- Press Enter to run it. This may take a while, but after the process is complete, you should get the message «em>» Steam Client Service Repair Completed «.
-
After the process is complete, close Command Prompt and restart your computer.

Solution 6 – Verify game cache
To verify the game cache of a game that is throwing error Engine: Failed to load library client , you need to do the following:
- Open Steam .
- Right click on the game that is not working and select Properties .
- Then go to tab Local Files and click Verify Integrity of Game Files .
- This process may take some time, so please be patient.
- Once the verification process is complete, try launching the game again.
Solution 7 – Delete bin folder
If some game gives this error, you can delete its bin folder. Sometimes some .dll files can get moved to the wrong places, so let’s try deleting the bin folder. We must warn you: sometimes deleting the game folder can damage the game, in which case you may have to download the game again.
- READ ALSO: How to Install/Move Steam Games to SSD
Our example uses the Garry mod, but it could be any other game that doesn’t work properly. To delete the bin folder, do the following:
-
Change to the following folder:
- C:Program FilesSteamSteamAppsyour_usernamegarrysmod
- Find the bin folder and delete it. After deleting the folder, try running the game again.
-
If the problem persists, go to the following folder:
- C:Program FilesSteamSteamAppsyour_usernamegarrysmodgarrysmod
- Find the bin folder and delete it.
- After you have deleted the bin folder, try launching the game again.
-
If the problem is still not fixed, go to the link:
-
C: Program FilesSteamSteamAppsyour_usernamegarrysmod
and delete all folders and files except garrys mod .
-
C: Program FilesSteamSteamAppsyour_usernamegarrysmod
- Try launching the game again.
Solution 8 – Edit the gameinfo.txt file
This solution applies to game mods, so if you’re having trouble with mods, try the following:
-
Go to the mod folder and open the file gameinfo.