Falcon Multi-Monitor Arrays — Shop at Trading Computers
Falcon Multi-Monitor Arrays — Shop at Trading Computers
1-800-557-7142
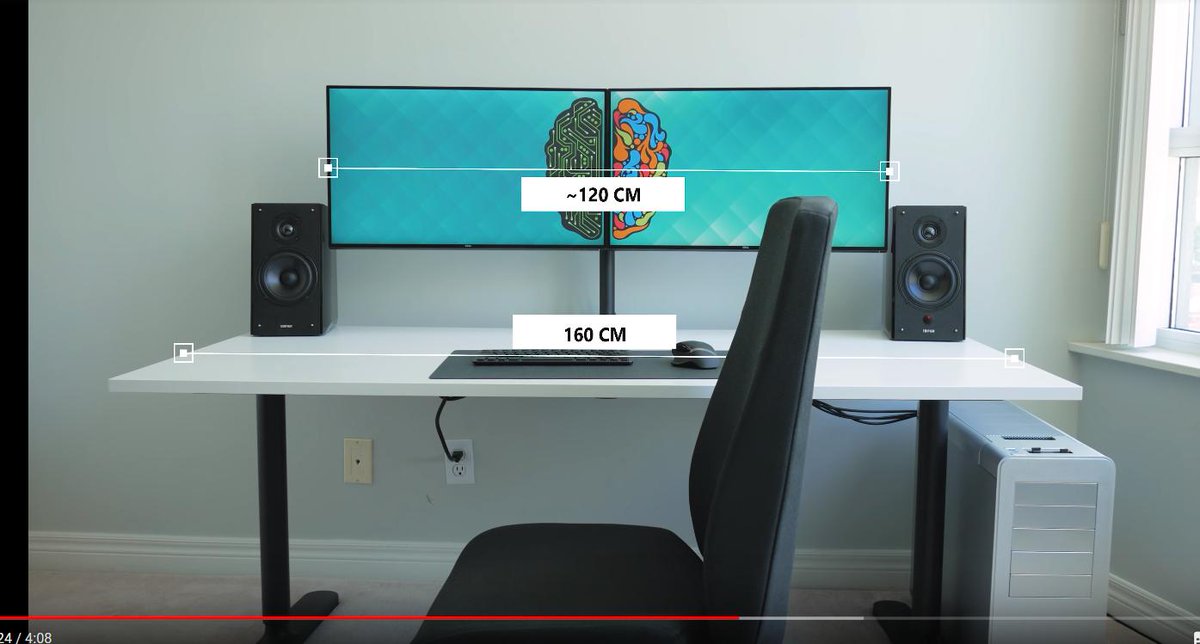
2 Monitor Setup
Simply Trading
The Avalon two monitor setup is a compact configuration of two monitors that will give you a much better view of the market than a single monitor. The Avalan two monitor horizontal setup can hold monitors up to 32″ in size. With the new 4K options, there is even more to see.
The Valero two monitor vertical setup is a scalable approach to building a multiple monitor setup. The Valero can hold monitors up to 32″ in size. When more than one Valero setup is used they can be angled to provide a better view.
- Angle for comfortable viewing
- One stand to conserve desk space
- Monitor sizes offered: 24″, 27″, 32″ (4K)
- Buy the stand alone or with monitors
- Buy with or without video cables
Avalon (left) Setup Dimensions*
| Monitor Size | Stand Depth | Width | Max. |
~ Min. Ht. |
|---|---|---|---|---|
| 24-inch | 11.25 in | 42.6 in | 25.75 in | 18 in |
| 27-inch | 11.25 in | 48.4 in | 27 in | 18 in |
| 32-inch | 11.25 in | 57.4 in | 28.5 in | 18 in |
View Pricing
Valero (right) Setup Dimensions*
| Monitor Size | Stand Depth | Width | Max. Ht. | ~ Min. Ht. |
|---|---|---|---|---|
| 24-inch | 11.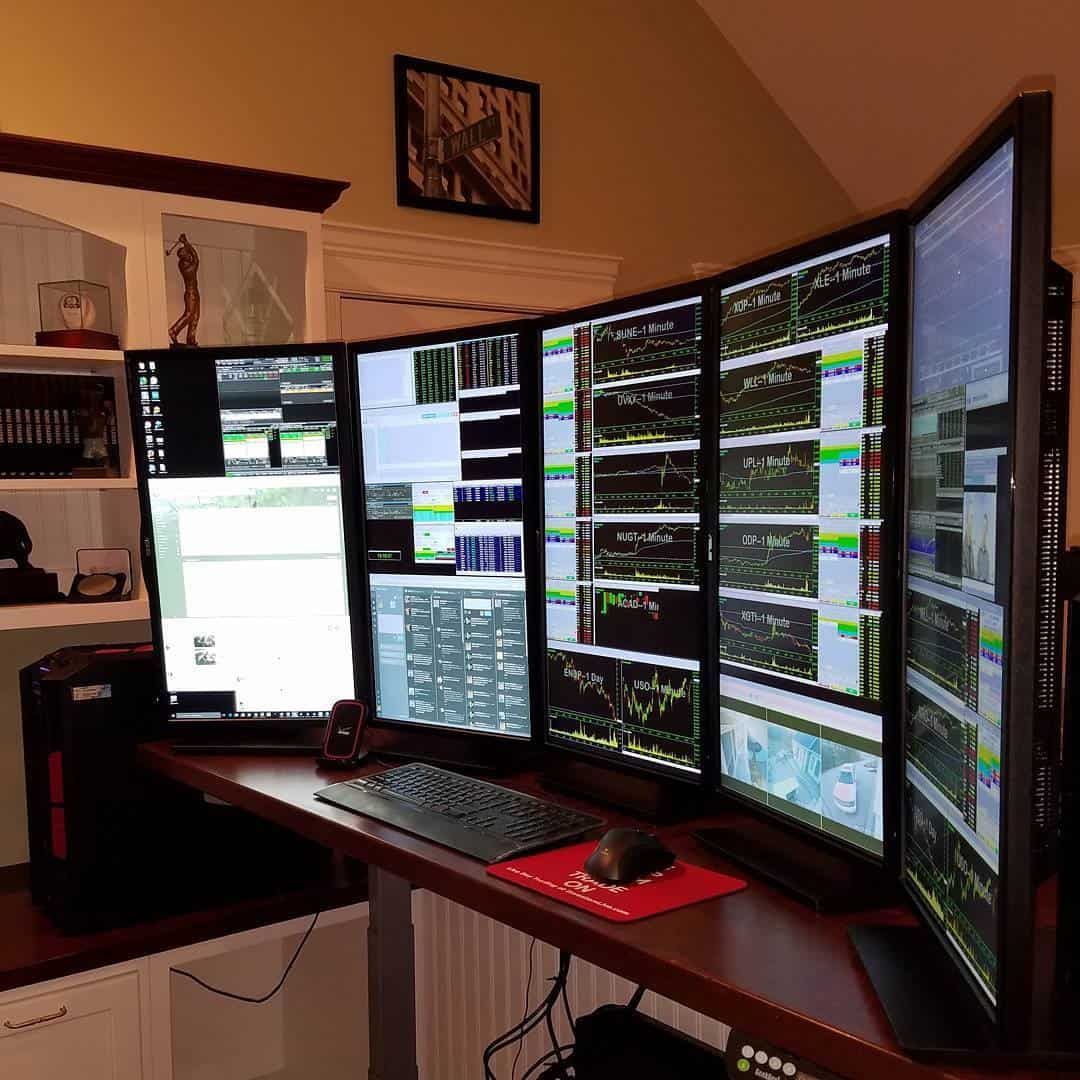 25 in 25 in |
21.3 in | 43 in | 35 in |
| 27-inch | 11.25 in | 24.2 in | 44 in | 35 in |
| 32-inch | 11.25 in | 28.7 in | 45.5 | 35 in |
View Pricing
3 Monitor Setup
HELPFUL CHARTING
The Saratoga three monitor setup simplified multitasking. Spread out your charts so you can get a better view of what the market is doing. The Saratoga monitor setup can hold monitors up to 27″ in size. It uses a single piece stand with a single foot base. The base providees a strong, stable structure to hold the monitors. It also curves to allow for better viewing angles on the side monitors, which can also be turned inward for even better viewing. If you follow the markets, then the Saratoga is allows you to do so easily
- Angle for comfortable viewing
- One stand to conserve desk space
- Monitor sizes offered: 24″, 27″, 32″ (4K)
- Buy the stand alone or with monitors
- Buy with or without video cables
The Big 3 monitor setup gives all the advantage of multi-monitor charting like the pros, without the space requirements. All monitors are 4K resolution (3860×2160), the same resolution as 12 Full HD monitors (1920×1080) of equal size. The side screens are curved screens, allowing for better viewing of the charts, while the center screen is flat panel.
- Higher resolution without the space requirements
- Each monitor uses its own provided stand
- Monitor sizes offered: 27″, 32″ (4K)
- Buy with or without video cables
See the Falcon P-32 3-Monitor Trading Bundle.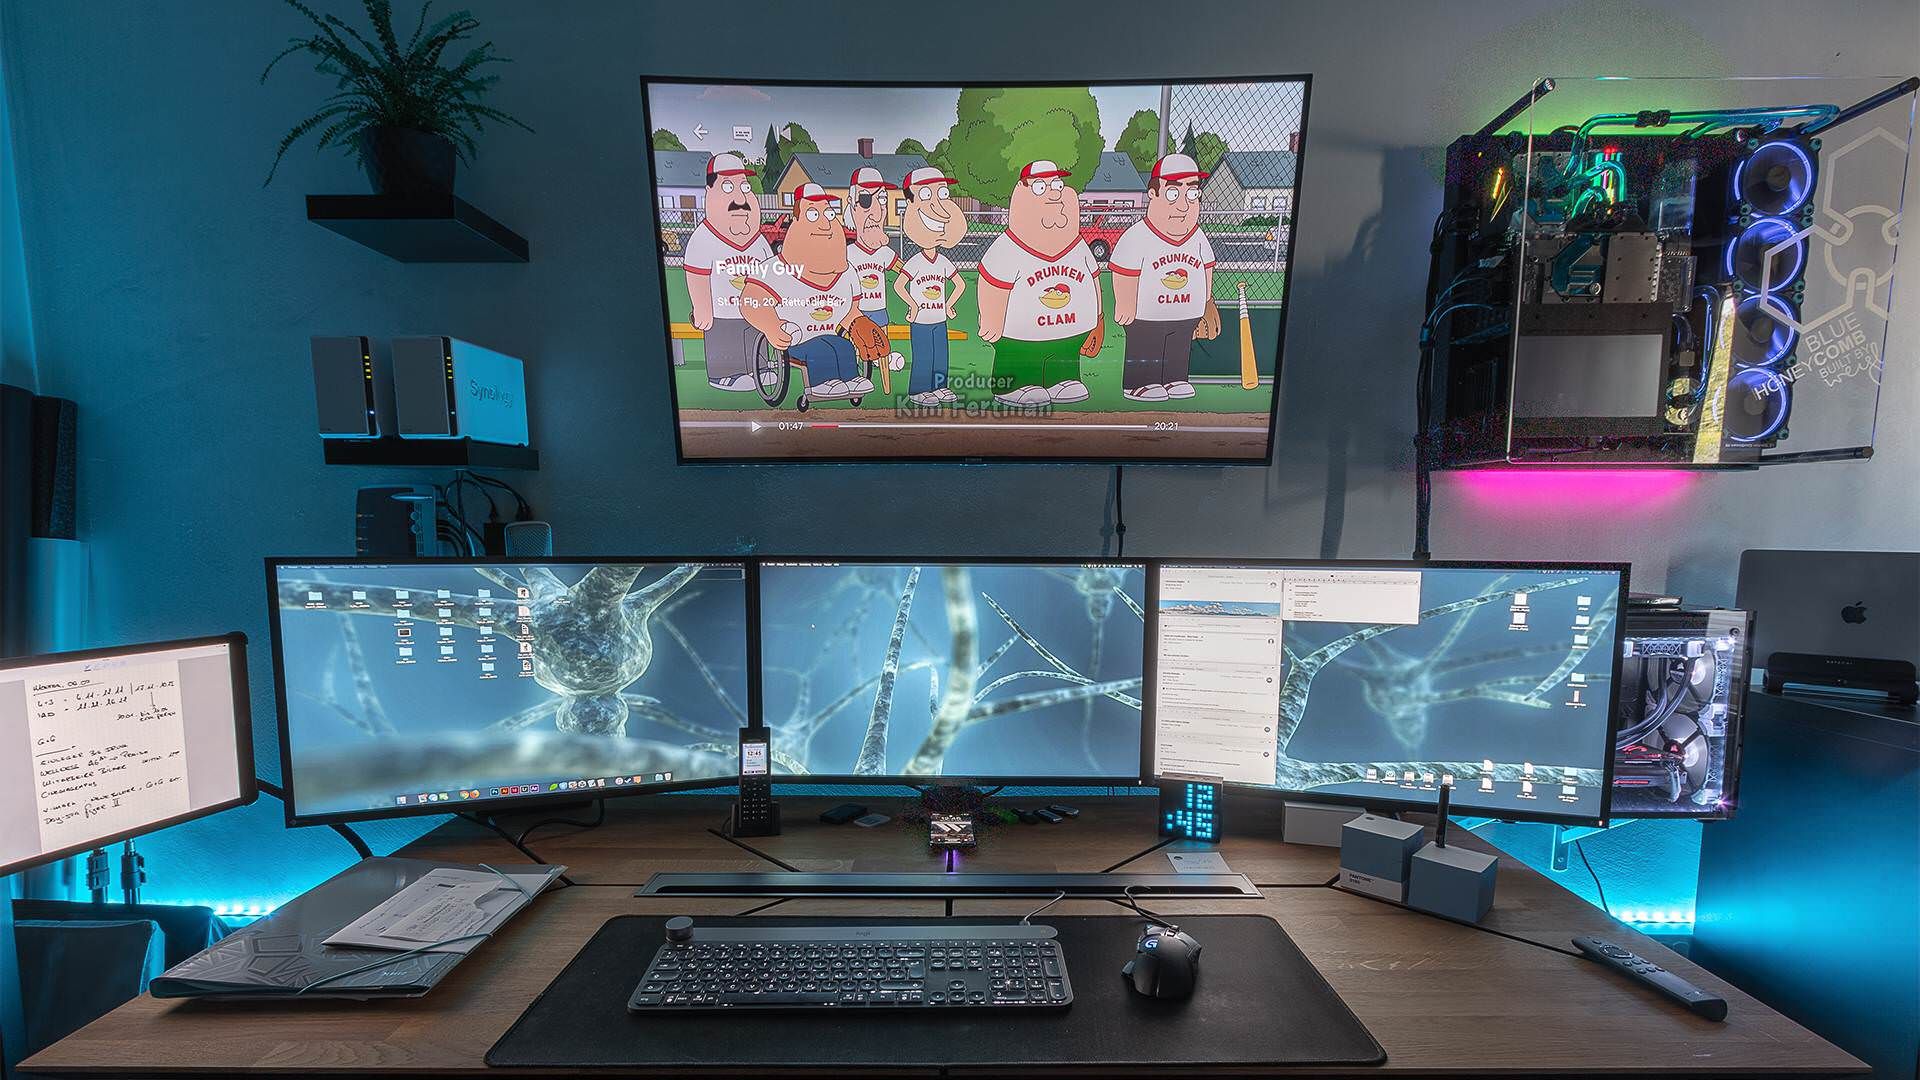
Saratoga Setup Dimensions*
| Monitor Size | Stand Depth | Width | Max. Ht. | ~ Min. Ht. |
|---|---|---|---|---|
| 24-inch | 13.5 in | 64 in | 26 in | 18 in |
| 27-inch | 13.5 in | 72.6 in | 27 in | 18 in |
View Pricing
Big 3 Dimensions*
| Monitor Size | Stand Depth | Width | Height |
|---|---|---|---|
| 32-inch | 13.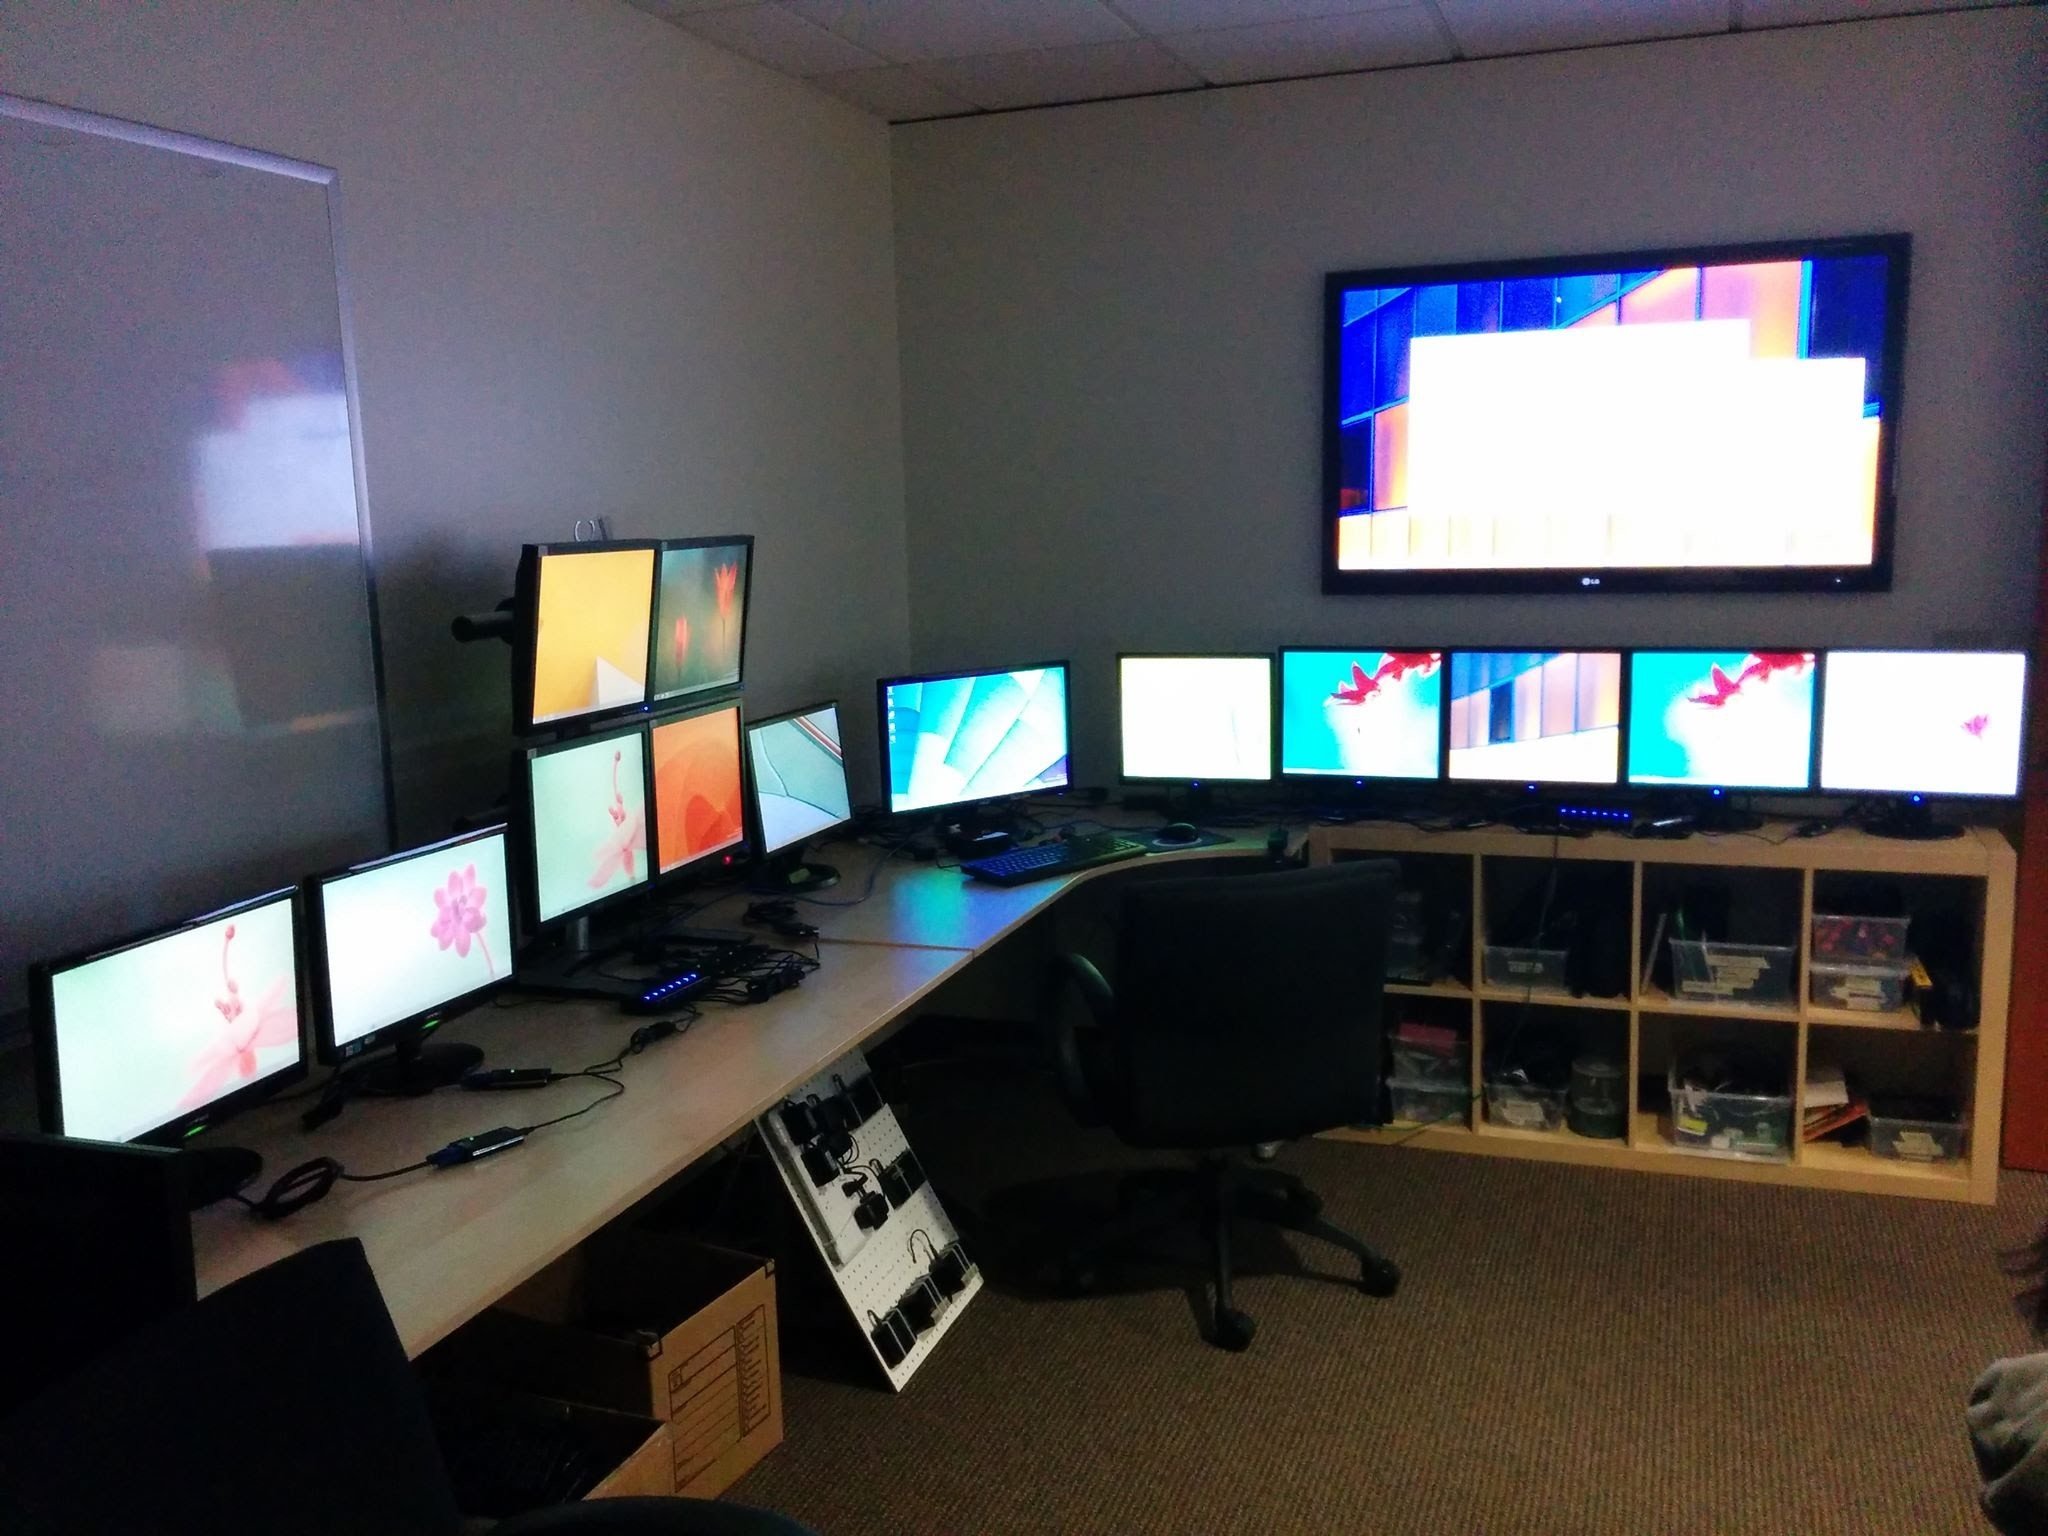 3 in 3 in |
84.5 in | 18 in |
View Pricing
4 Monitor Setup
Full Scale Market
The Seneca four monitor setup is a compact configuration of four monitors that will give you an excellent view of the market. It that can hold monitors up to 27″ in size. The Seneca uses a single piece stand with a single foot base. The base provides a strong stable structure to hold the monitors. The bottom row of monitors should be set lower than you would with one or two monitors. Doing so will make it easy to view the upper row of monitors. If you follow the markets closely, then the Seneca is the minimum you need to do it well.
- Double the rows, double the productivity
- One stand to conserve desk space
- Monitor sizes offered: 24″, 27″
- Buy the stand alone or with monitors
- Buy with or without video cables
The Big 4 monitor setup gives all the advantage of multi-monitor charting like the pros, without the space requirements.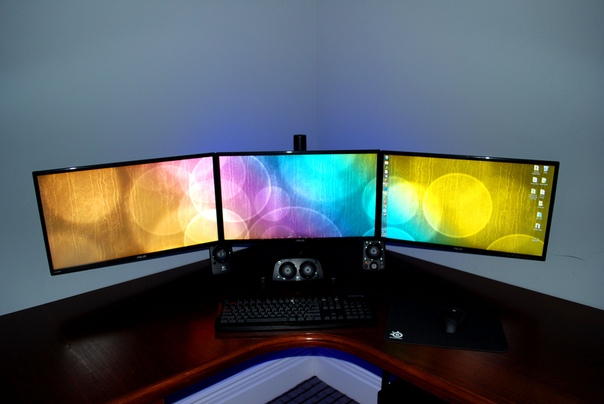 All monitors are 4K resolution (3860×2160), the same resolution as 16 Full HD monitors (1920×1080) of equal size. Using curved screens provides better viewing of the charts.
- Higher resolution without the space requirements
- Each vertical set gets their own stand: total of 2
- Monitor sizes offered: 32″ (4K)
- Buy with or without video cables
See the Falcon F-37GT 4-Monitor Trading Bundle.
Or the Falcon F-52GT 4-Monitor Trading Bundle.
Seneca Setup Dimensions*
| Monitor Size | Stand Depth | Width | Max. Ht. | ~ Min. Ht. |
|---|---|---|---|---|
| 24-inch | 11.25 in | 42.6 in | 43. 25 in 25 in |
35.5 in |
| 27-inch | 11.25 in | 48.4 in | 44.5 in | 35.5 in |
View Pricing
Big 4 Dimensions*
| Monitor Size | Stand Depth | Width | Height |
|---|---|---|---|
| 32-inch | 11.25 in | 57.4 in | 35 in |
View Pricing
6 Monitor Setup
HELPFUL CHARTING
The Sienna six monitor setup is a fully customizable package that can hold monitors up to 27″ in size. Six monitors is the most commonly ordered configuration by full-time professional traders. Isn’t it time that you got the big picture every trading day with six big monitors?
- Double the rows, double the productivity
- One stand to conserve desk space
- Monitor sizes offered: 24″, 27″
- Buy the stand alone or with monitors
- Buy with or without video cables
The Big 6 monitor setup is used by our CEO and developed specifically for charting efficiency.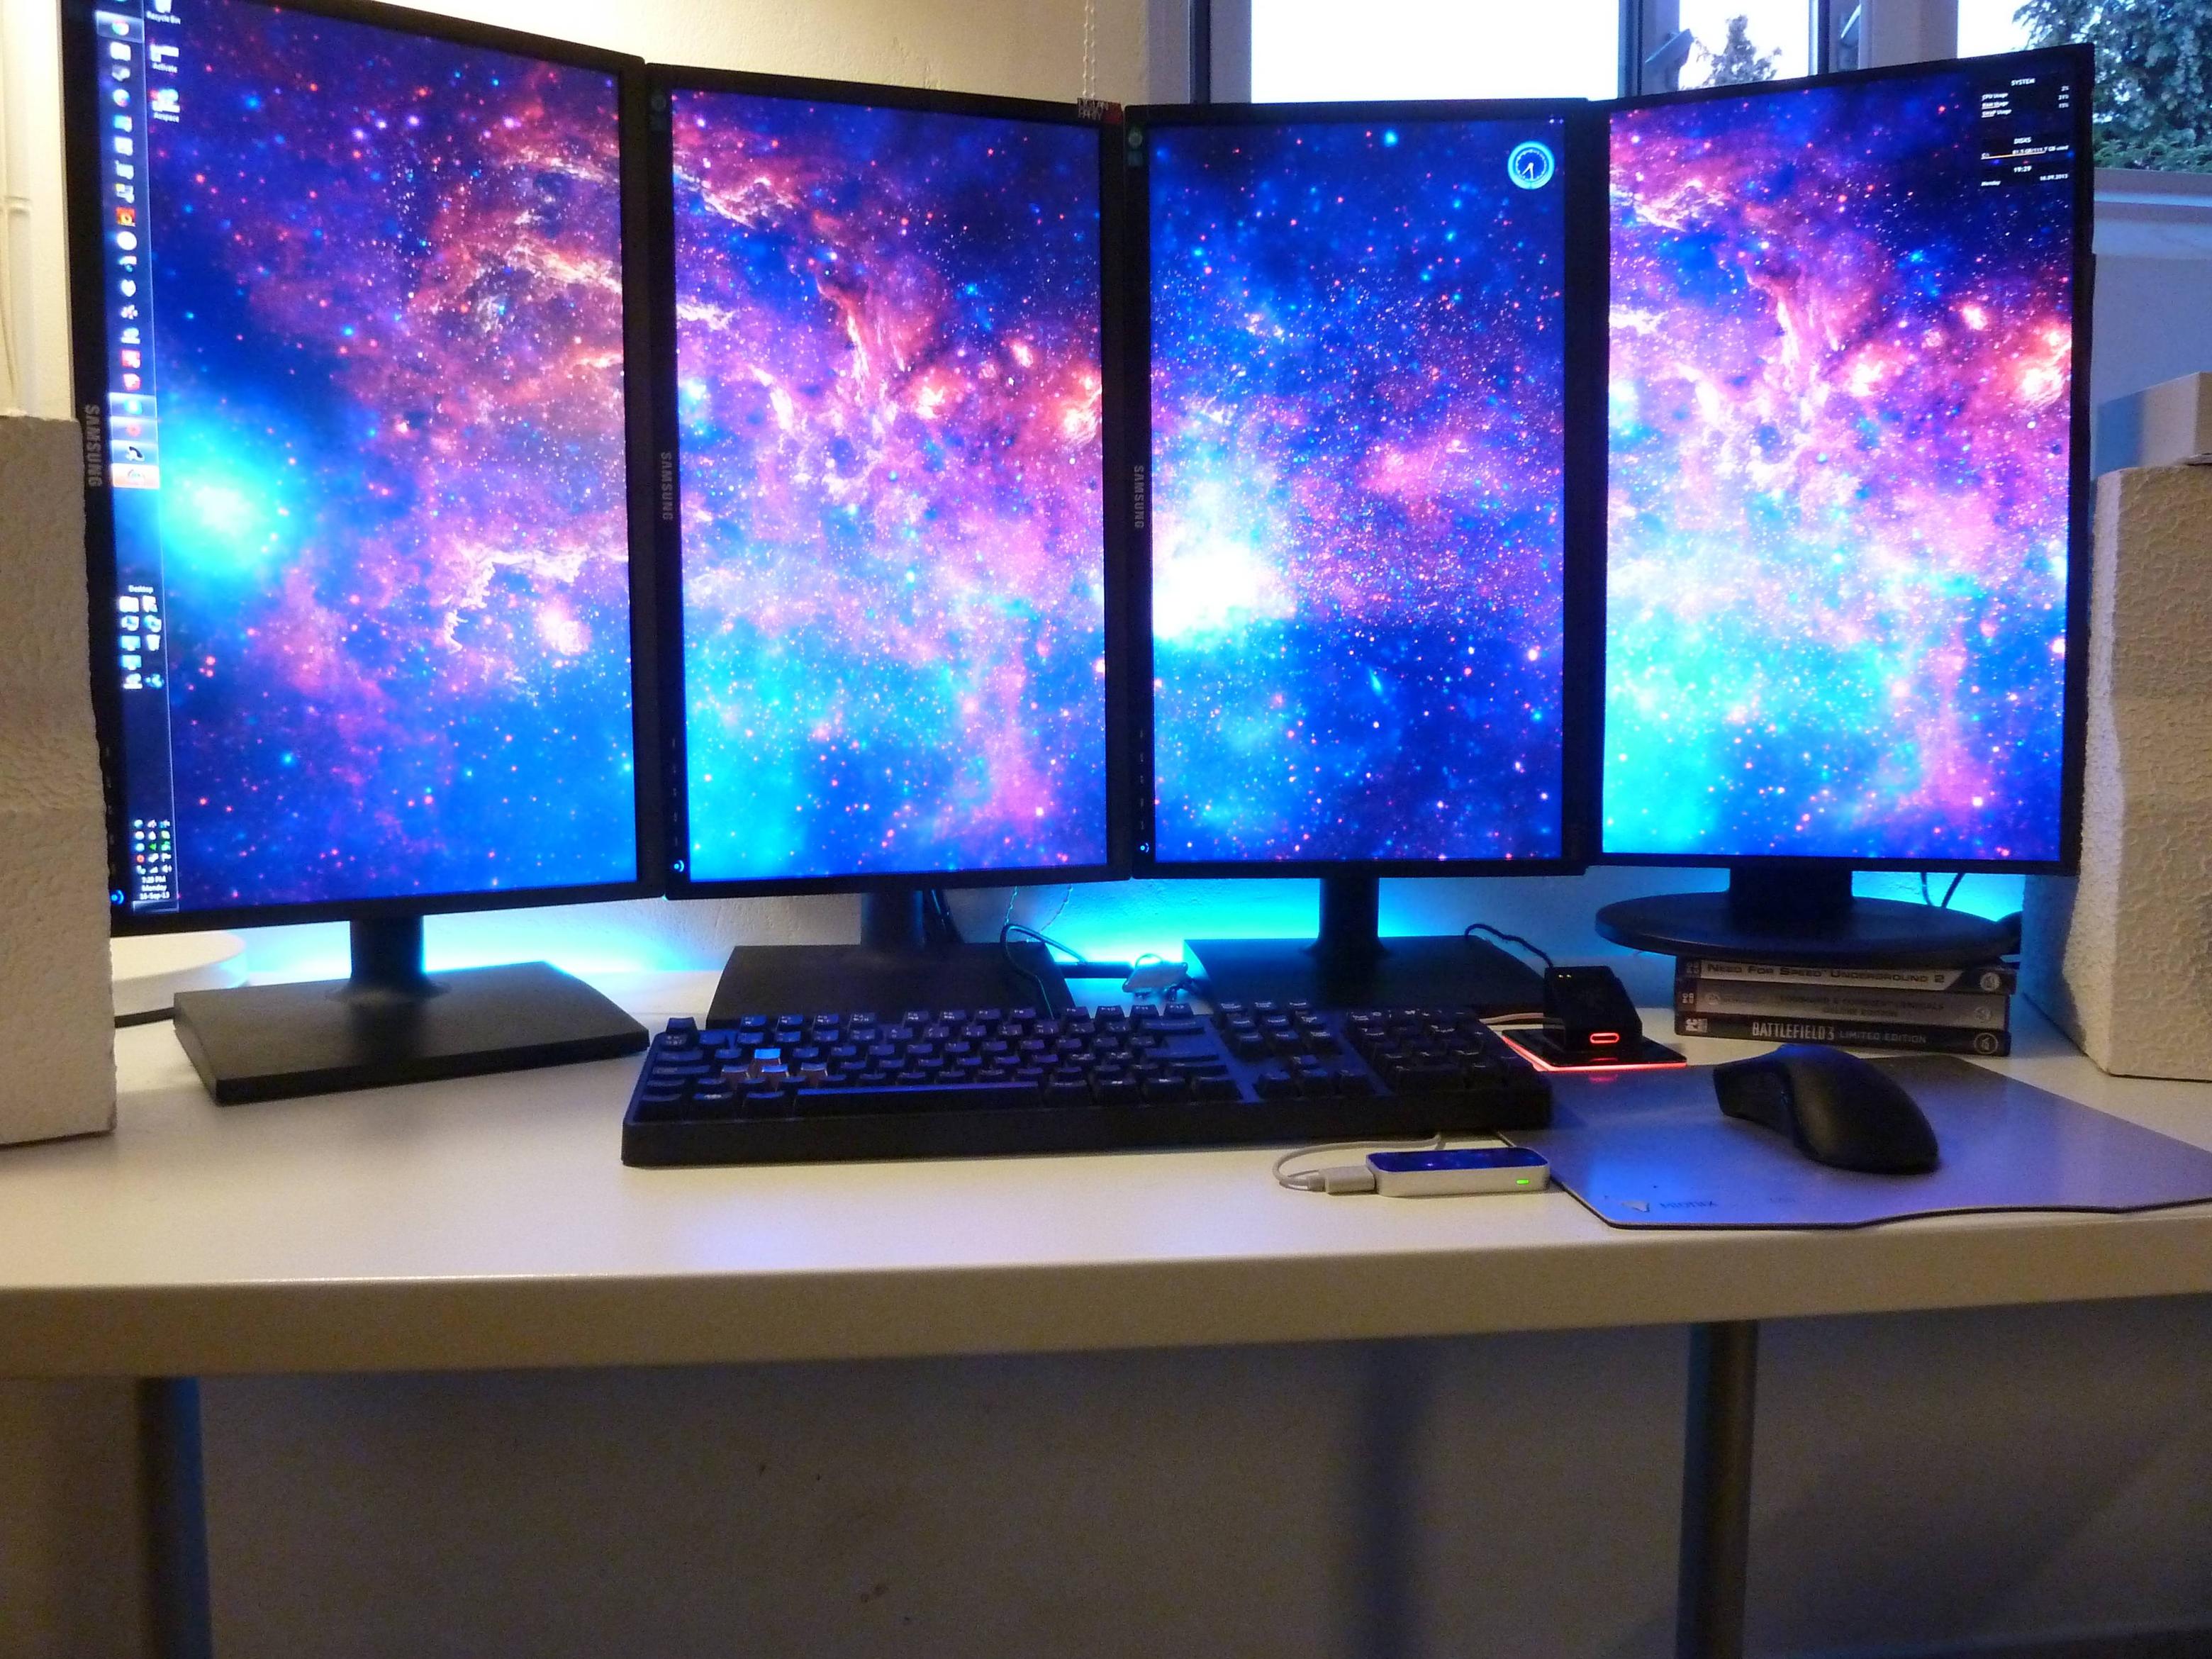 All six monitors are 4K resolution (3860×2160), the same resolution as 24 Full HD monitors (1920×1080) of equal size.
- Higher resolution without the space requirements
- Each vertical set gets their own stand: total of 3
- Monitor sizes offered: 32″ (4K)
- Buy with or without video cables
See the Falcon F-37GT 6-Monitor Trading Bundle.
Sienna Setup Dimensions*
| Monitor Size | Stand Depth | Width | Max. Ht. | ~ Min. Ht. |
|---|---|---|---|---|
| 24-inch | 14.8 in | 64 in | 42.3 in | 34.5 in |
| 27-inch | 14. 8 in 8 in |
72.6 in | 43.5 in | 34.5 in |
View Pricing
Big 6 Dimensions*
| Monitor Size | Stand Depth | Width | Height |
|---|---|---|---|
| 32-inch | 14.8 in | 84.5 in | 48.85 in |
View Pricing
We also have a Falcon F-52GT 8-Monitor Trading Bundle.
* — Dimensions are calculated based on monitor dimensions provided by monitor manufacturer. Calculations do not factor in curvature of screens, but this only affects (reduces) the width measurement of the overall array.
Falcon’s Monitor Selection Criterion
Computer monitors come in different sizes and shapes.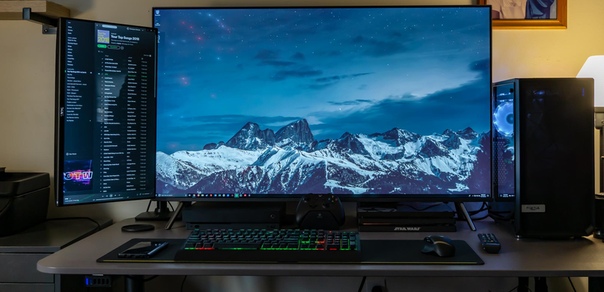 Some shapes are easier to fit together when building monitor arrays than others. The number of pixels is also important for detail and more charts.
Maximum Resolution
Full HD, 1920×1080 resolution in a 16:9 aspect ratio allows for several charts at once. Small details and text are clear. Larger resolutions can be supported by our trading computers, but come in larger screen sizes not support by monitor stands.
Screen Size
The 24-inch or 27-inch monitor size is the best value for the number of pixels available. You can get up to six of these on one monitor stand. Greater screen sizes, while they may may have a higher resolution, do not fit monitor stands.
VESA Mount
Allows for saving space by putting display on a stand. Our monitors use 100x100mm. Our stands are also compatible with 75x75mm.
Straight and Narrow Frames
Straight frames are best for fitting monitors together on a stand and prevents. Narrowness reduces the amount of space between screens.
Types of LCD Panels
LCD panels all use active matrix technology (passive matrix is used in small applications like watches). Below is a list of active matrix technology LCD panel types in mass production today.
TN (Twisted Nematic)
The lowest cost and most widely sold LCD panel type. TN panels have fast response times (2ms-5ms typical). Color reproduction and contrast ratios of TN panels are not as good as VA or IPS panels. TN panels only produce 6-bit color. TN panels attempt to produce 8-bit color using a process called dithering. For watching the markets, however, they work fine. The monitors we offer are TN monitors.
VA (Vertical Alignment)
These monitors offer better color reproduction and wider viewing angles than TN panels but have slower response times. Uninformed buyers often mistake the somewhat slower response times of the VA monitors for inferiority to the faster (TN) monitors. Color reproduction is much better, blacks are blacker, and they have higher contrast ratios then TN panels. We do not offer VA panels because of their limited side angle viewing quality. When you have a lot of monitors, you are rarely looking directly at them all at once.
IPS (In Plane Switching)
These are the best of LCD monitors. Prices for these monitors are at least 50% higher and may be over 300% higher for larger sizes. Color accuracy is very impressive and the side viewing angle quality is excellent. The response times are slower than TN monitors (typically more than 6ms). Many are too slow for gaming purposes. IPS panels also consume more power than TN or VA panels. The big advantage of IPS monitors is color quality. For traders, the TN monitors produce more than adequate color quality for your charts. If you use your computer for graphic design work or watching movies then the IPS panel may be a better choice.
Free Trading Guides from Falcon
Learn How to Trade
The Learn How to Trade Guide helps the beginning trader to understand his/her choices and different paths in the world of trading.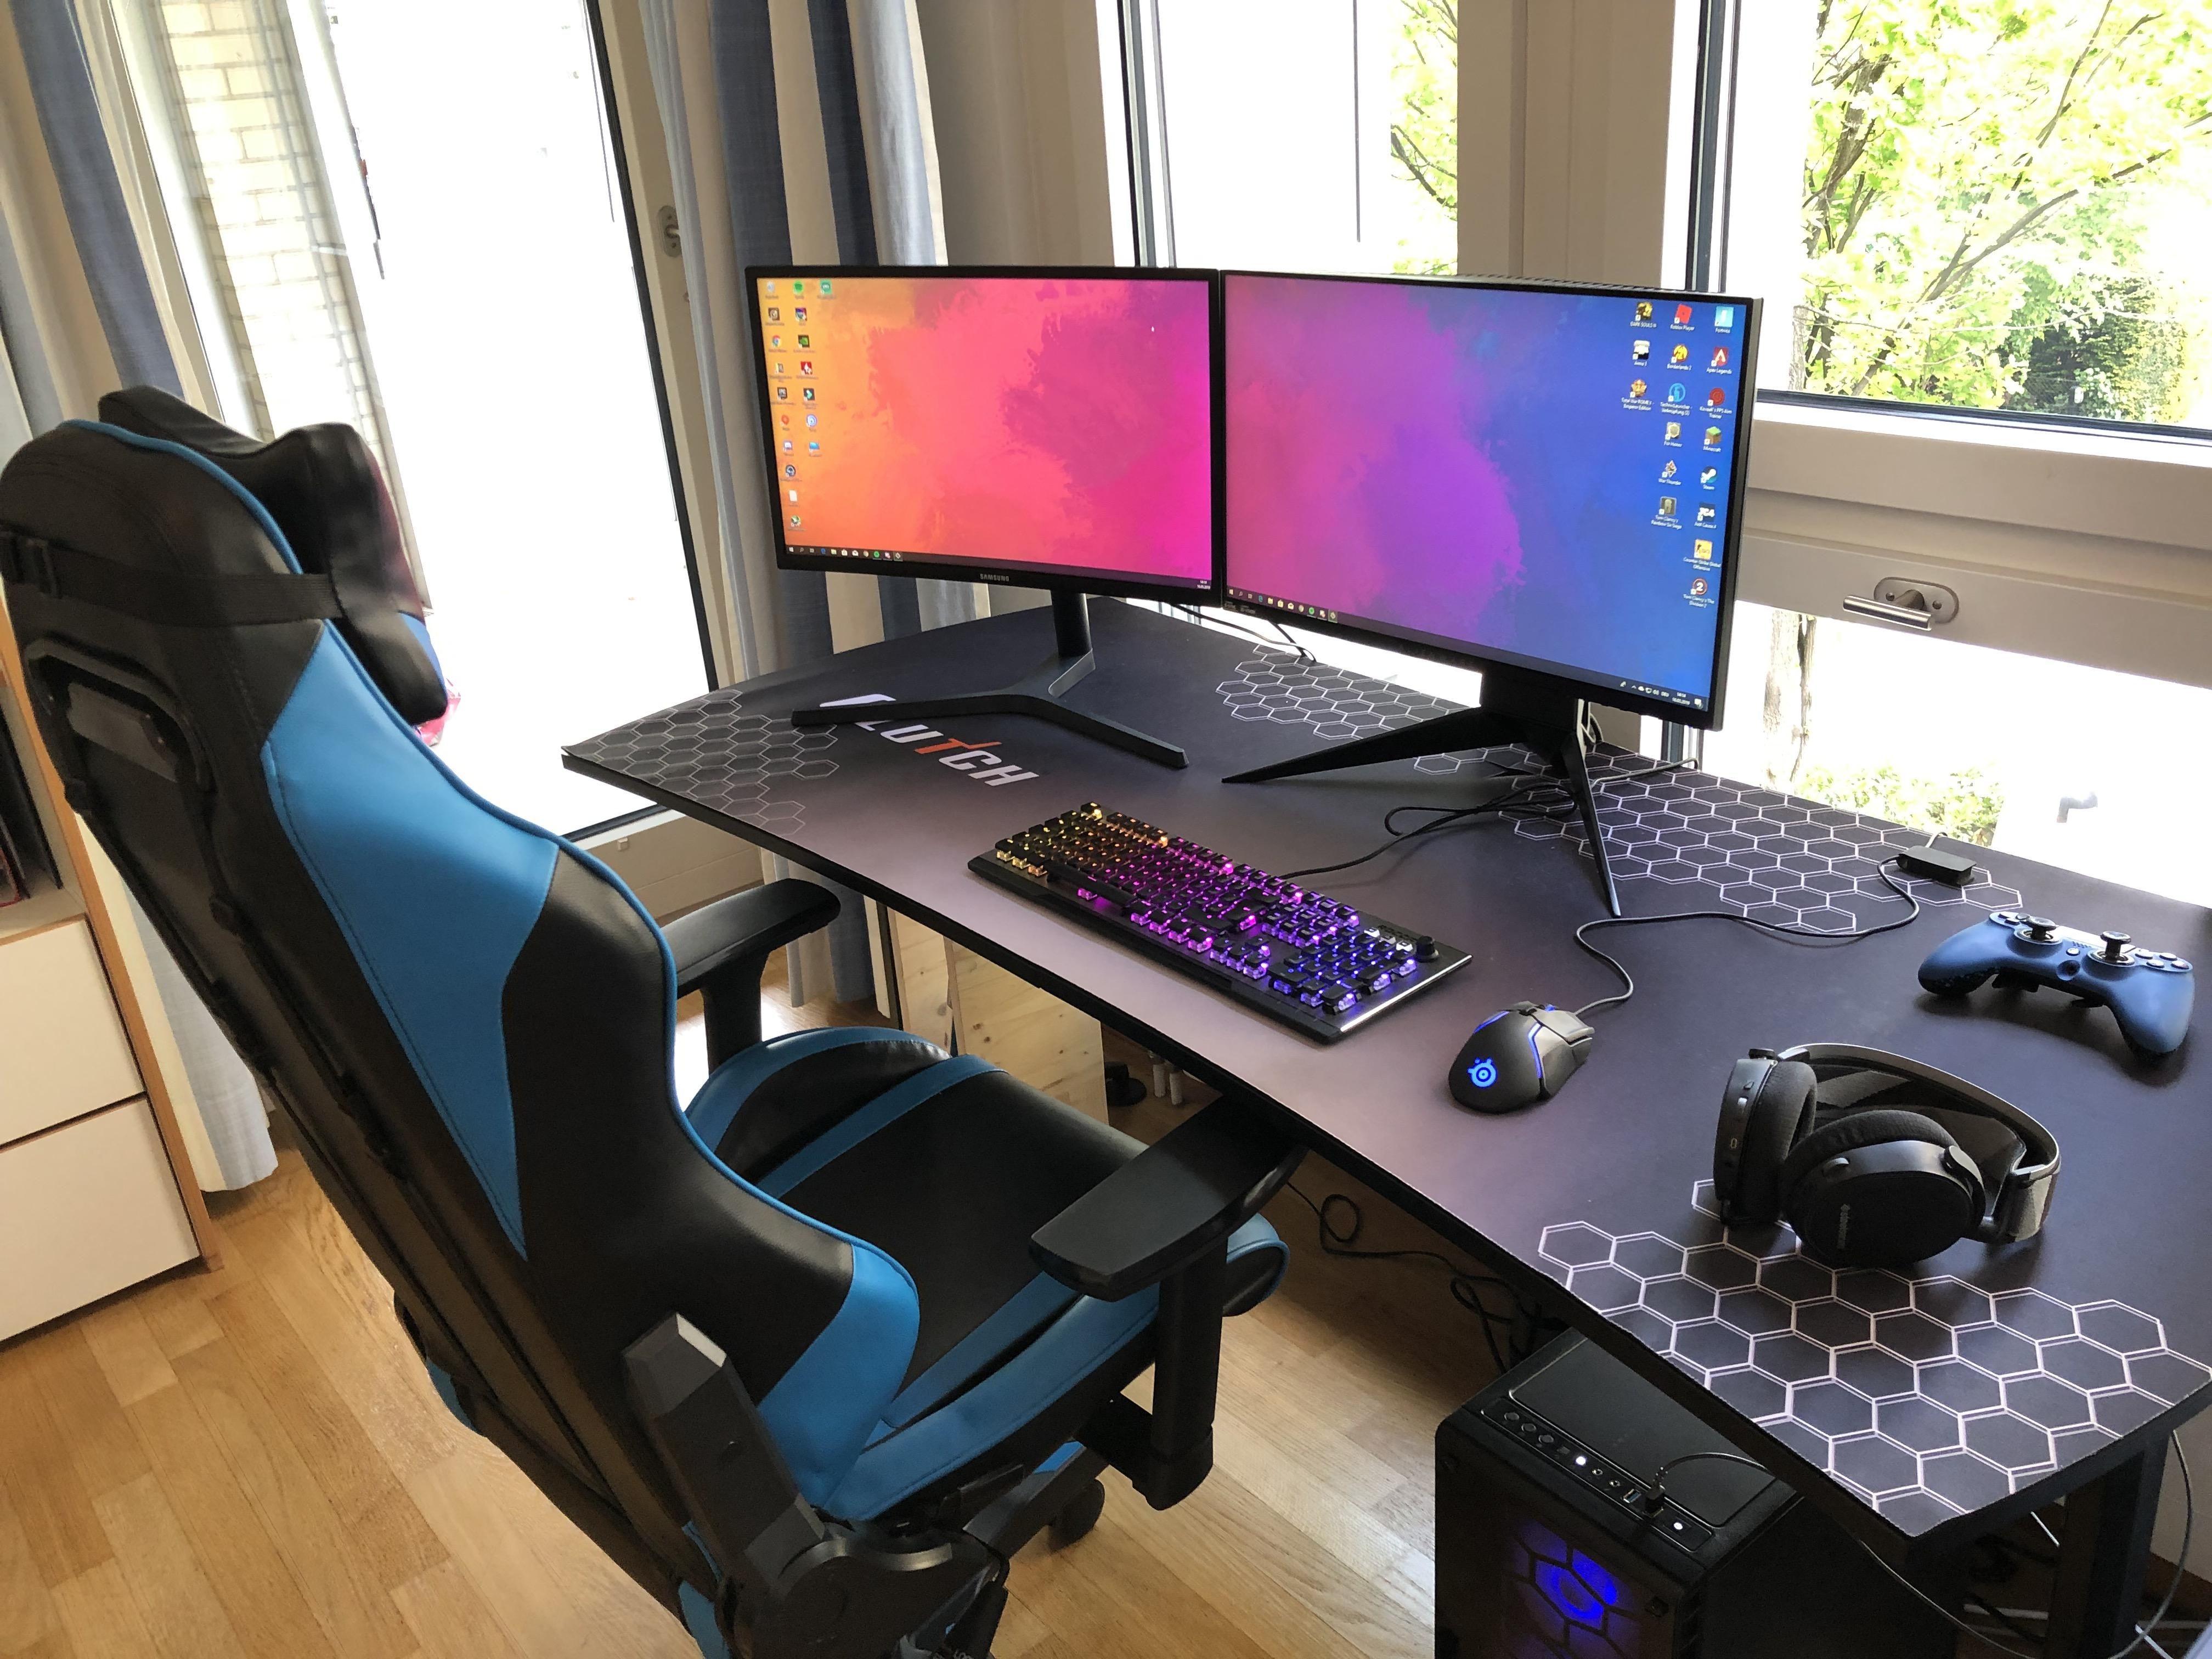 Selecting the path right for you is very important. Many beginning traders could have done much better if they had a better understanding of all their options. Is Stocks or Forex or Options or Futures your best choice? What methodologies should you consider? What time frame should you trade?
Read More (opens new tab)
How to be a Trader
This guide summarizes what it takes to become an independent trader (no day job) or a serious trader who still wants to keep his day job. What should you expect for returns? What broker should you use? What software should you use? Risk Management is where most new traders fail by trading too much risk on each trade. We will guide you on proper risk management. What about automated trading? What equipment should you have? A must read for most beginning and intermediate traders.
Read More (opens new tab)
Trading: How to Trade Like a Pro
At Falcon, we sell computers to a lot of veteran traders.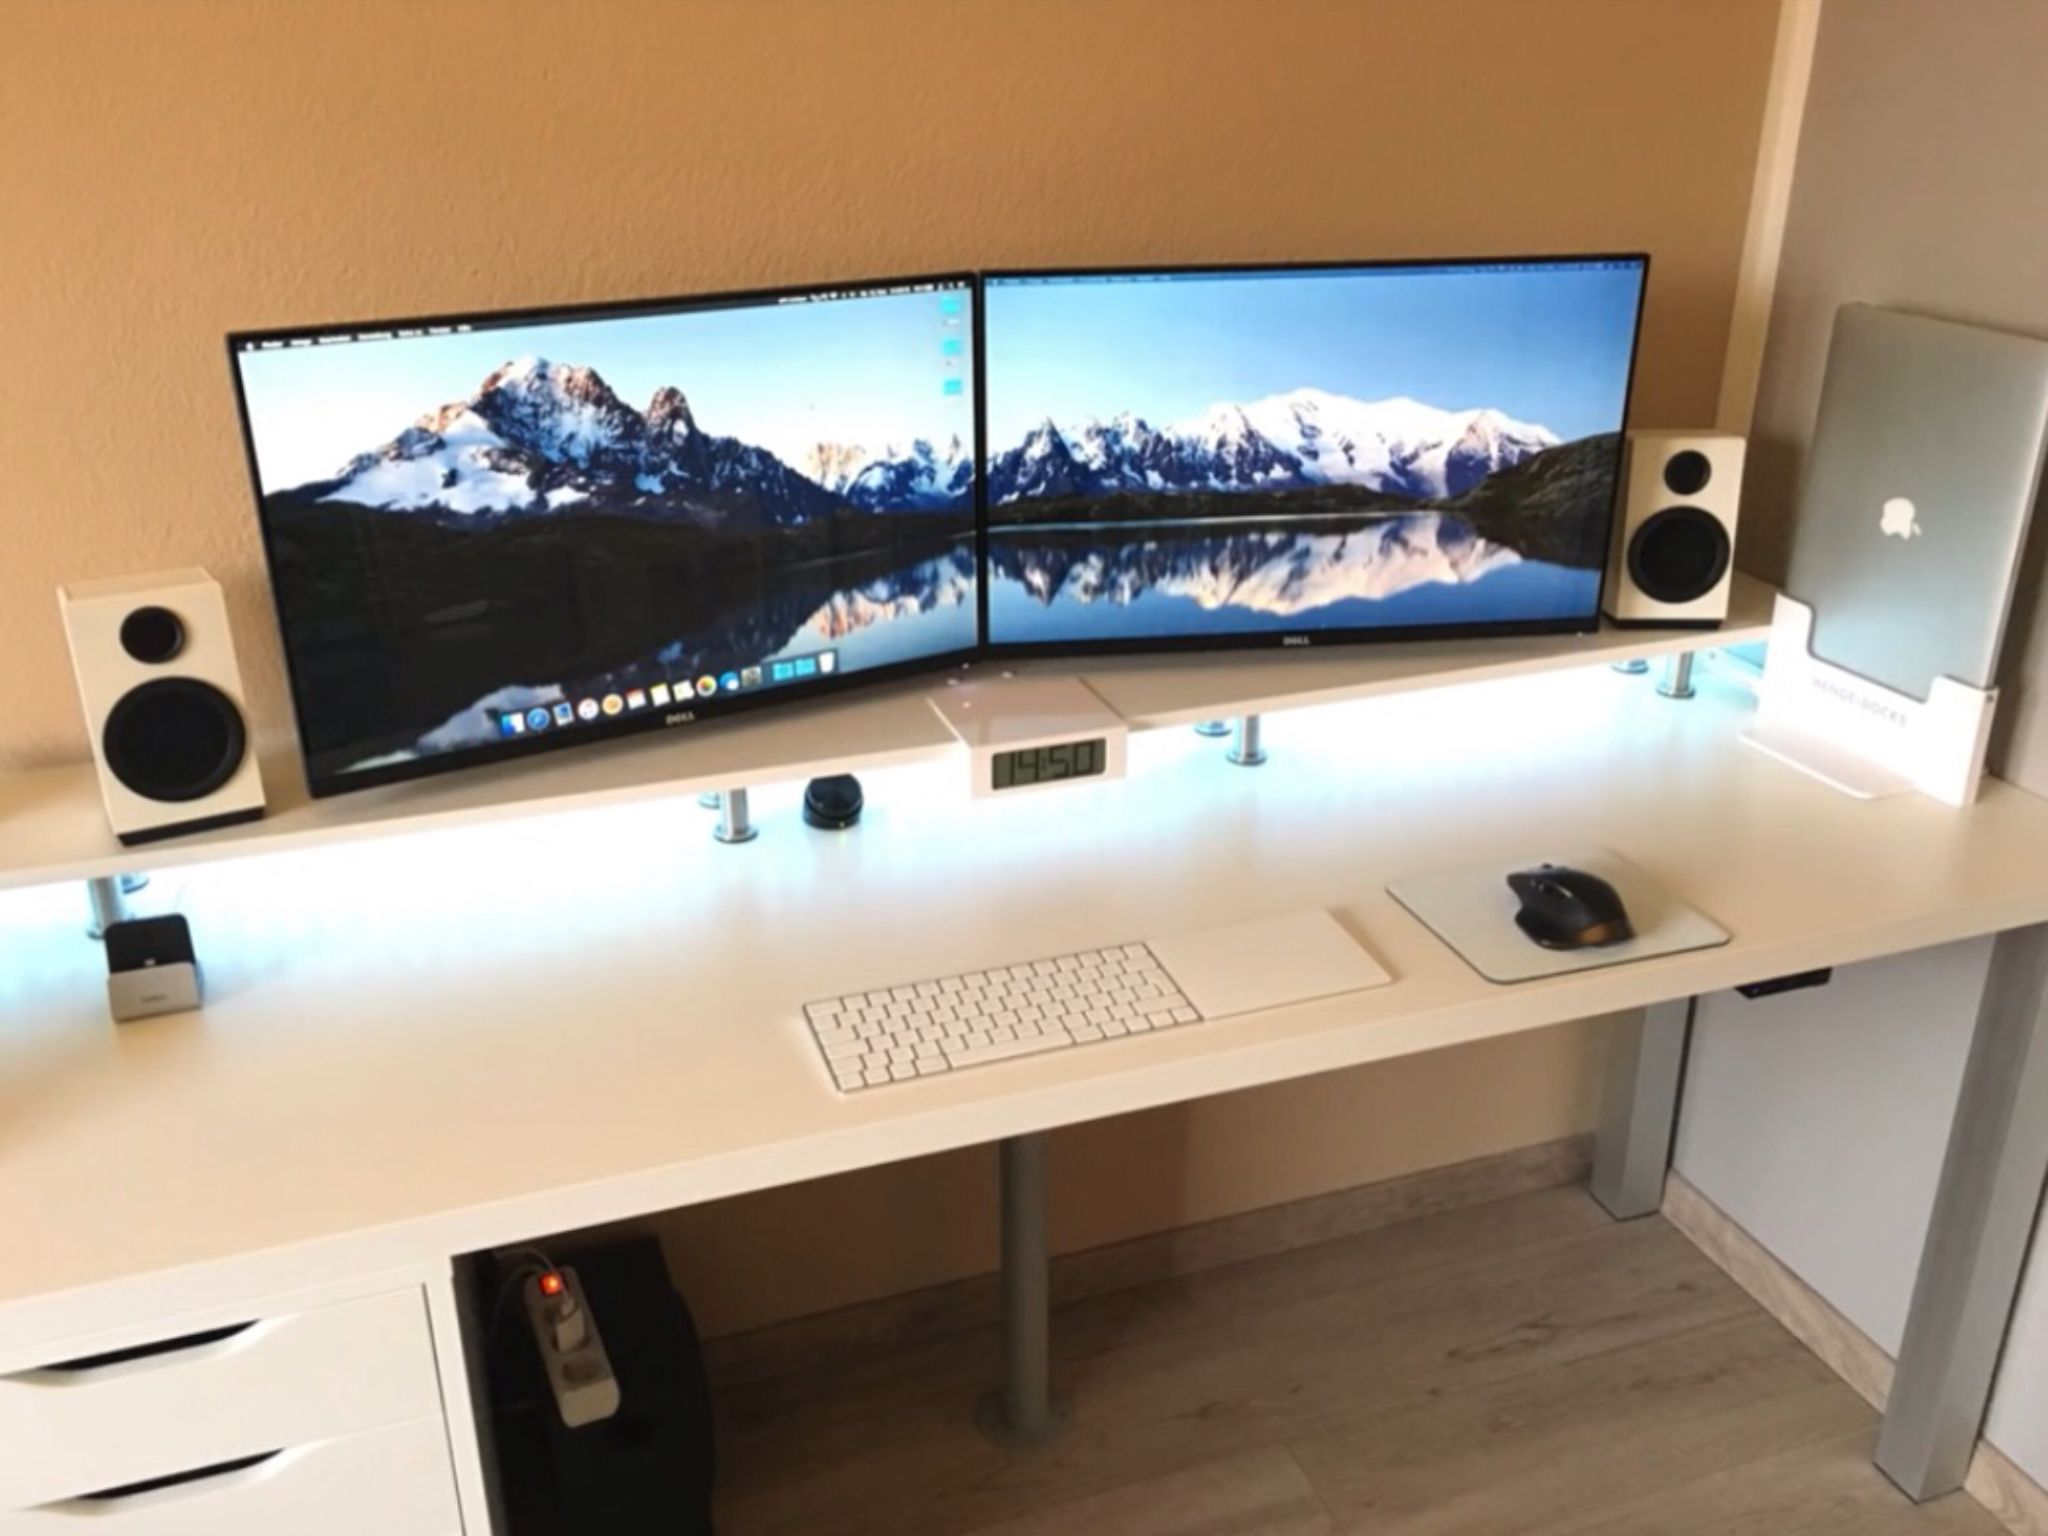 In this guide, we try to focus on some of the core principals of what we have learned in trading and on what our veteran traders have told us they have learned.
Read More (opens new tab)
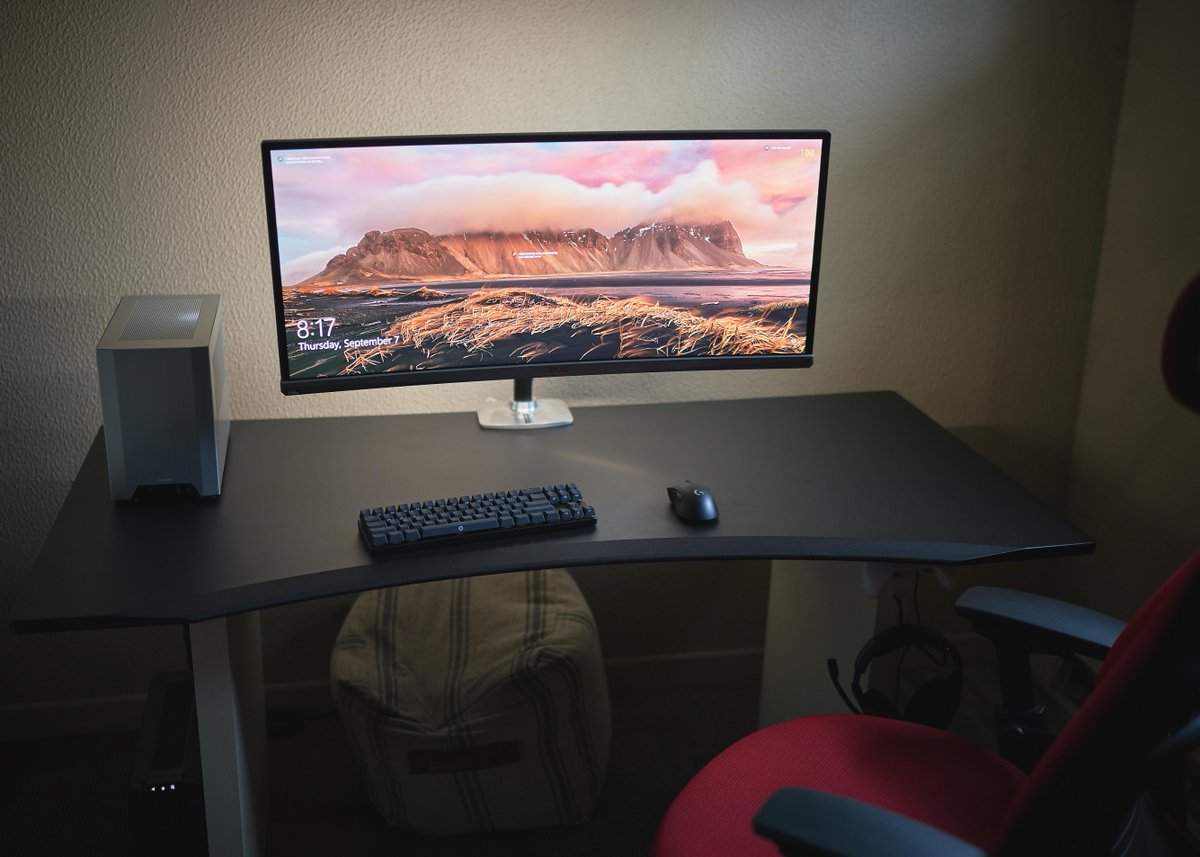
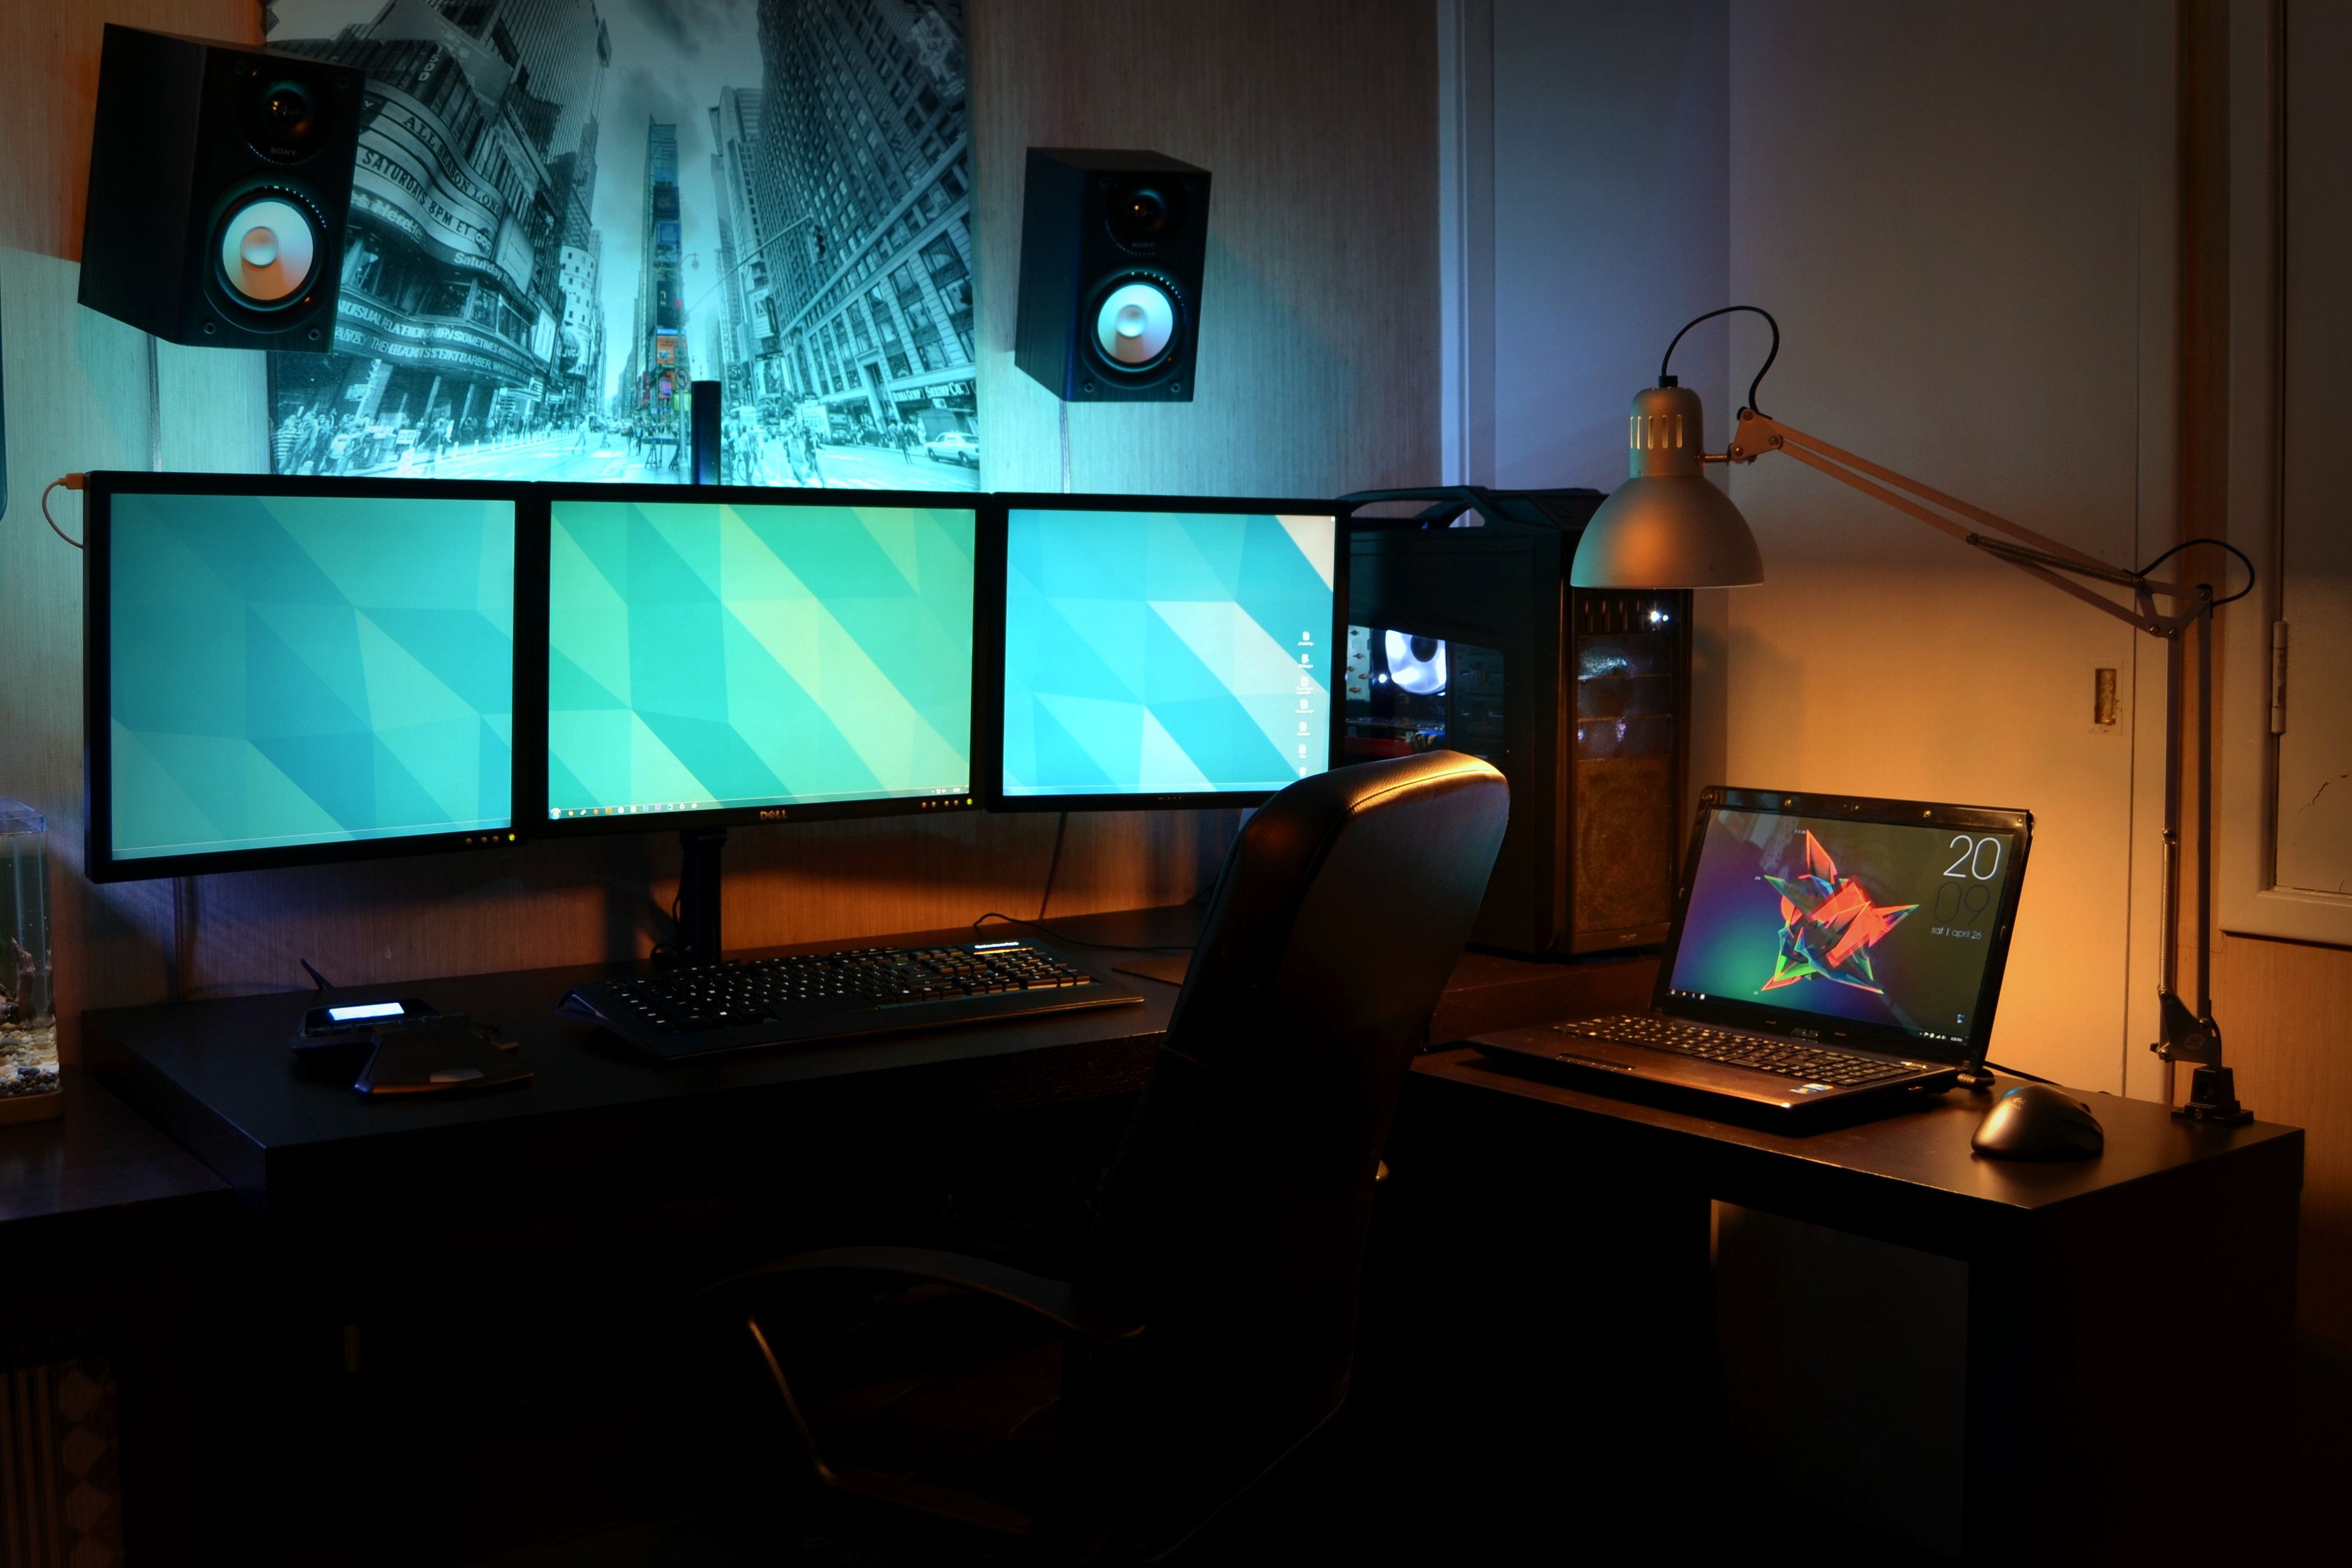
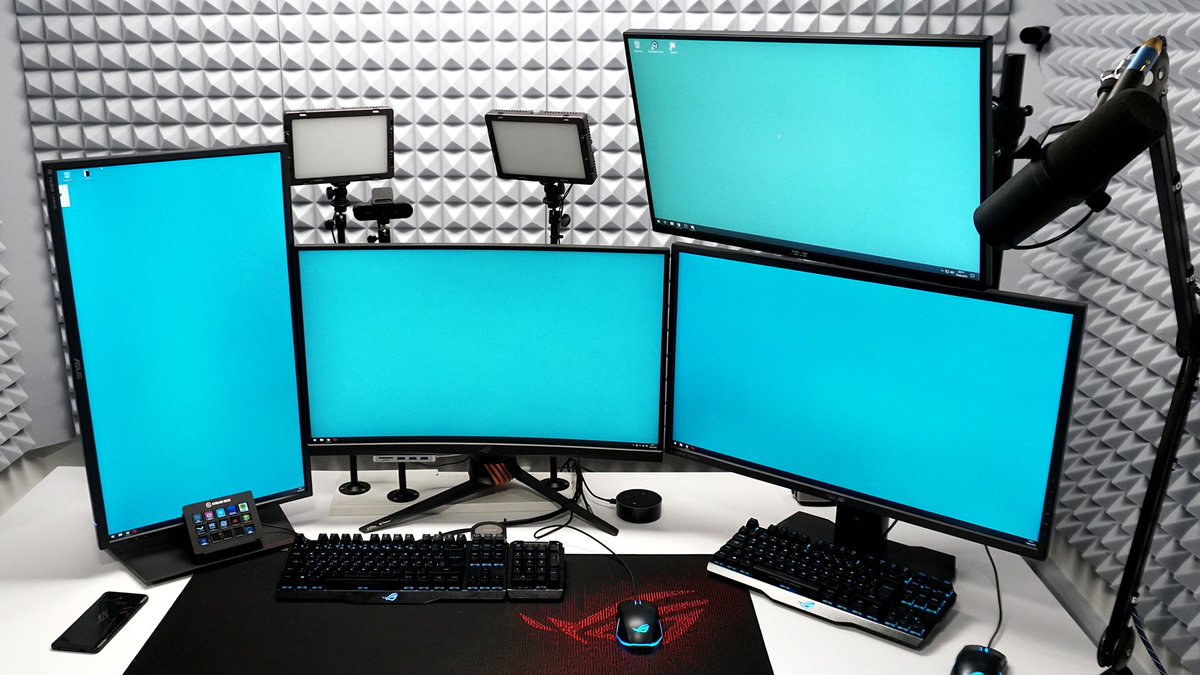
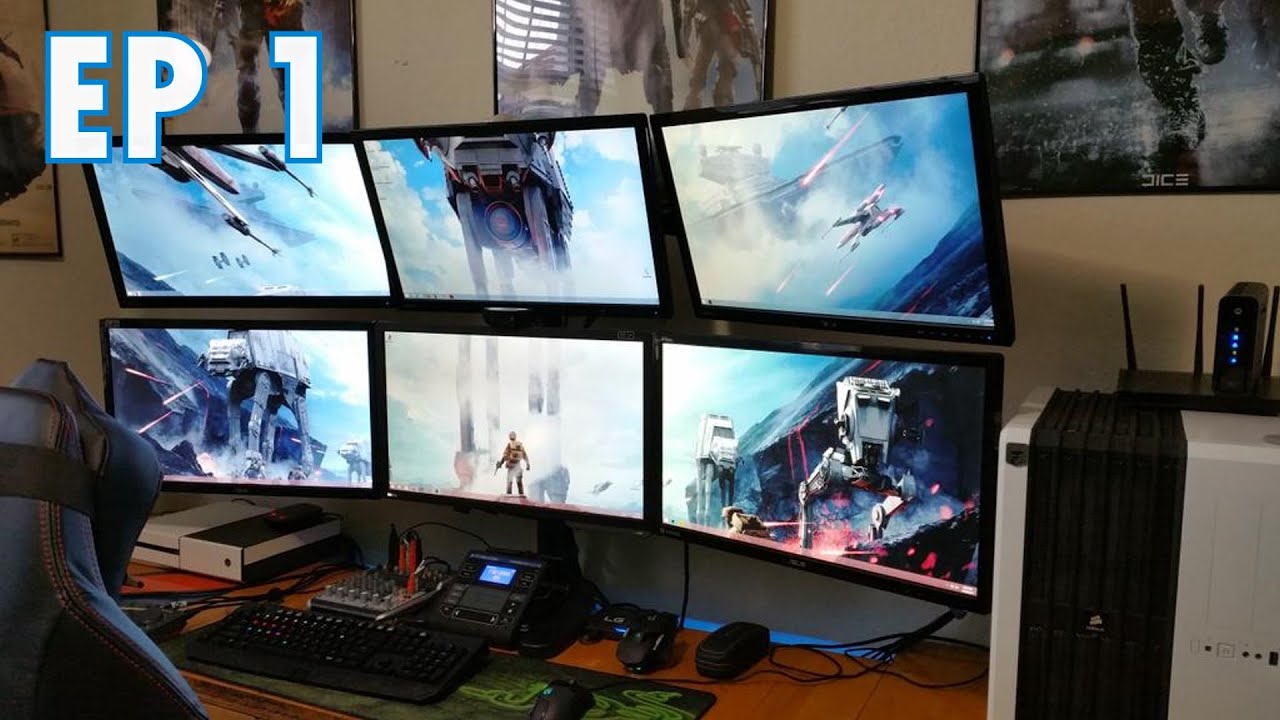
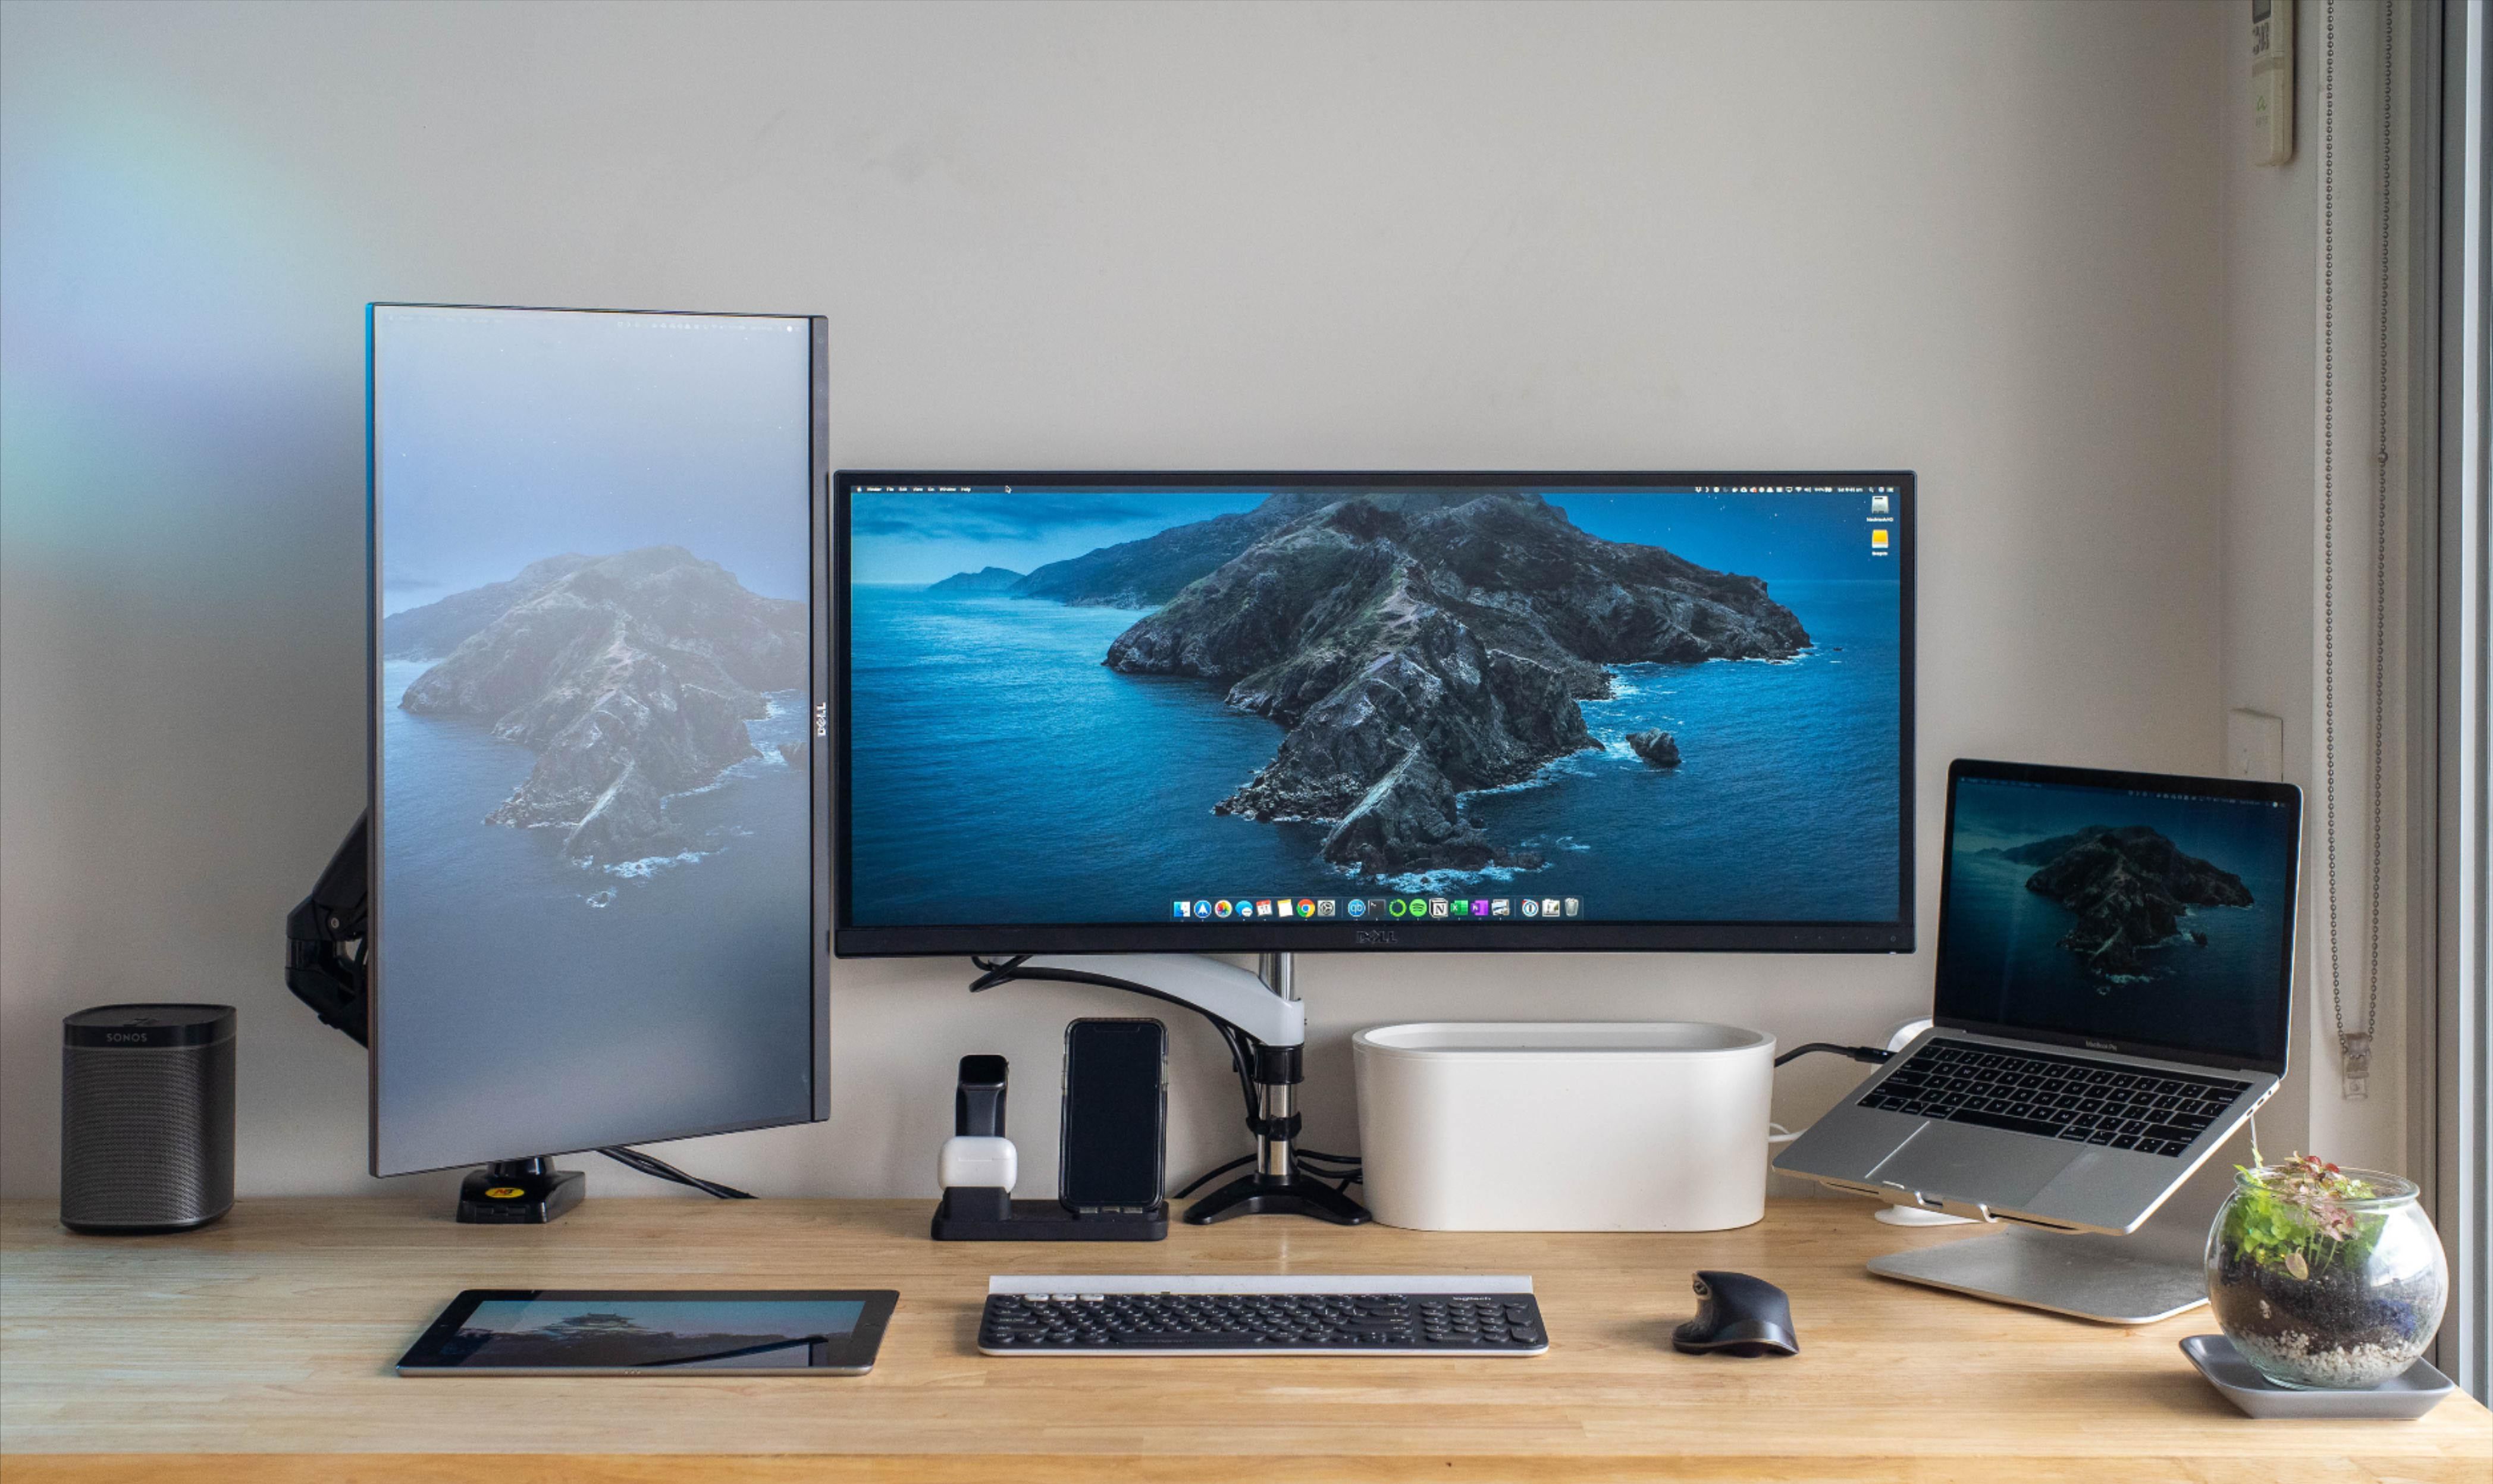
Pictures our customers sent us of their setup:
Sign up for our Newsletter
How to Setup a Multi-Monitor PC
Traders frequently favor using multiple monitors, to keep a close eye on all of the activity on their trading charts and indicators, as well as other trading aspects, including gainers/losers, high volume stocks, watch lists, time and sales, and so on.
Although modern trading platforms have moved towards a widget-based model, where the widgets allow you to control several components of a trading application from a single screen, many traders still prefer having a different monitor for each of their trading activities.
One option is, of course, to buy a name-brand company-built system, consisting of a supercharged desktop with a chassis of monitors.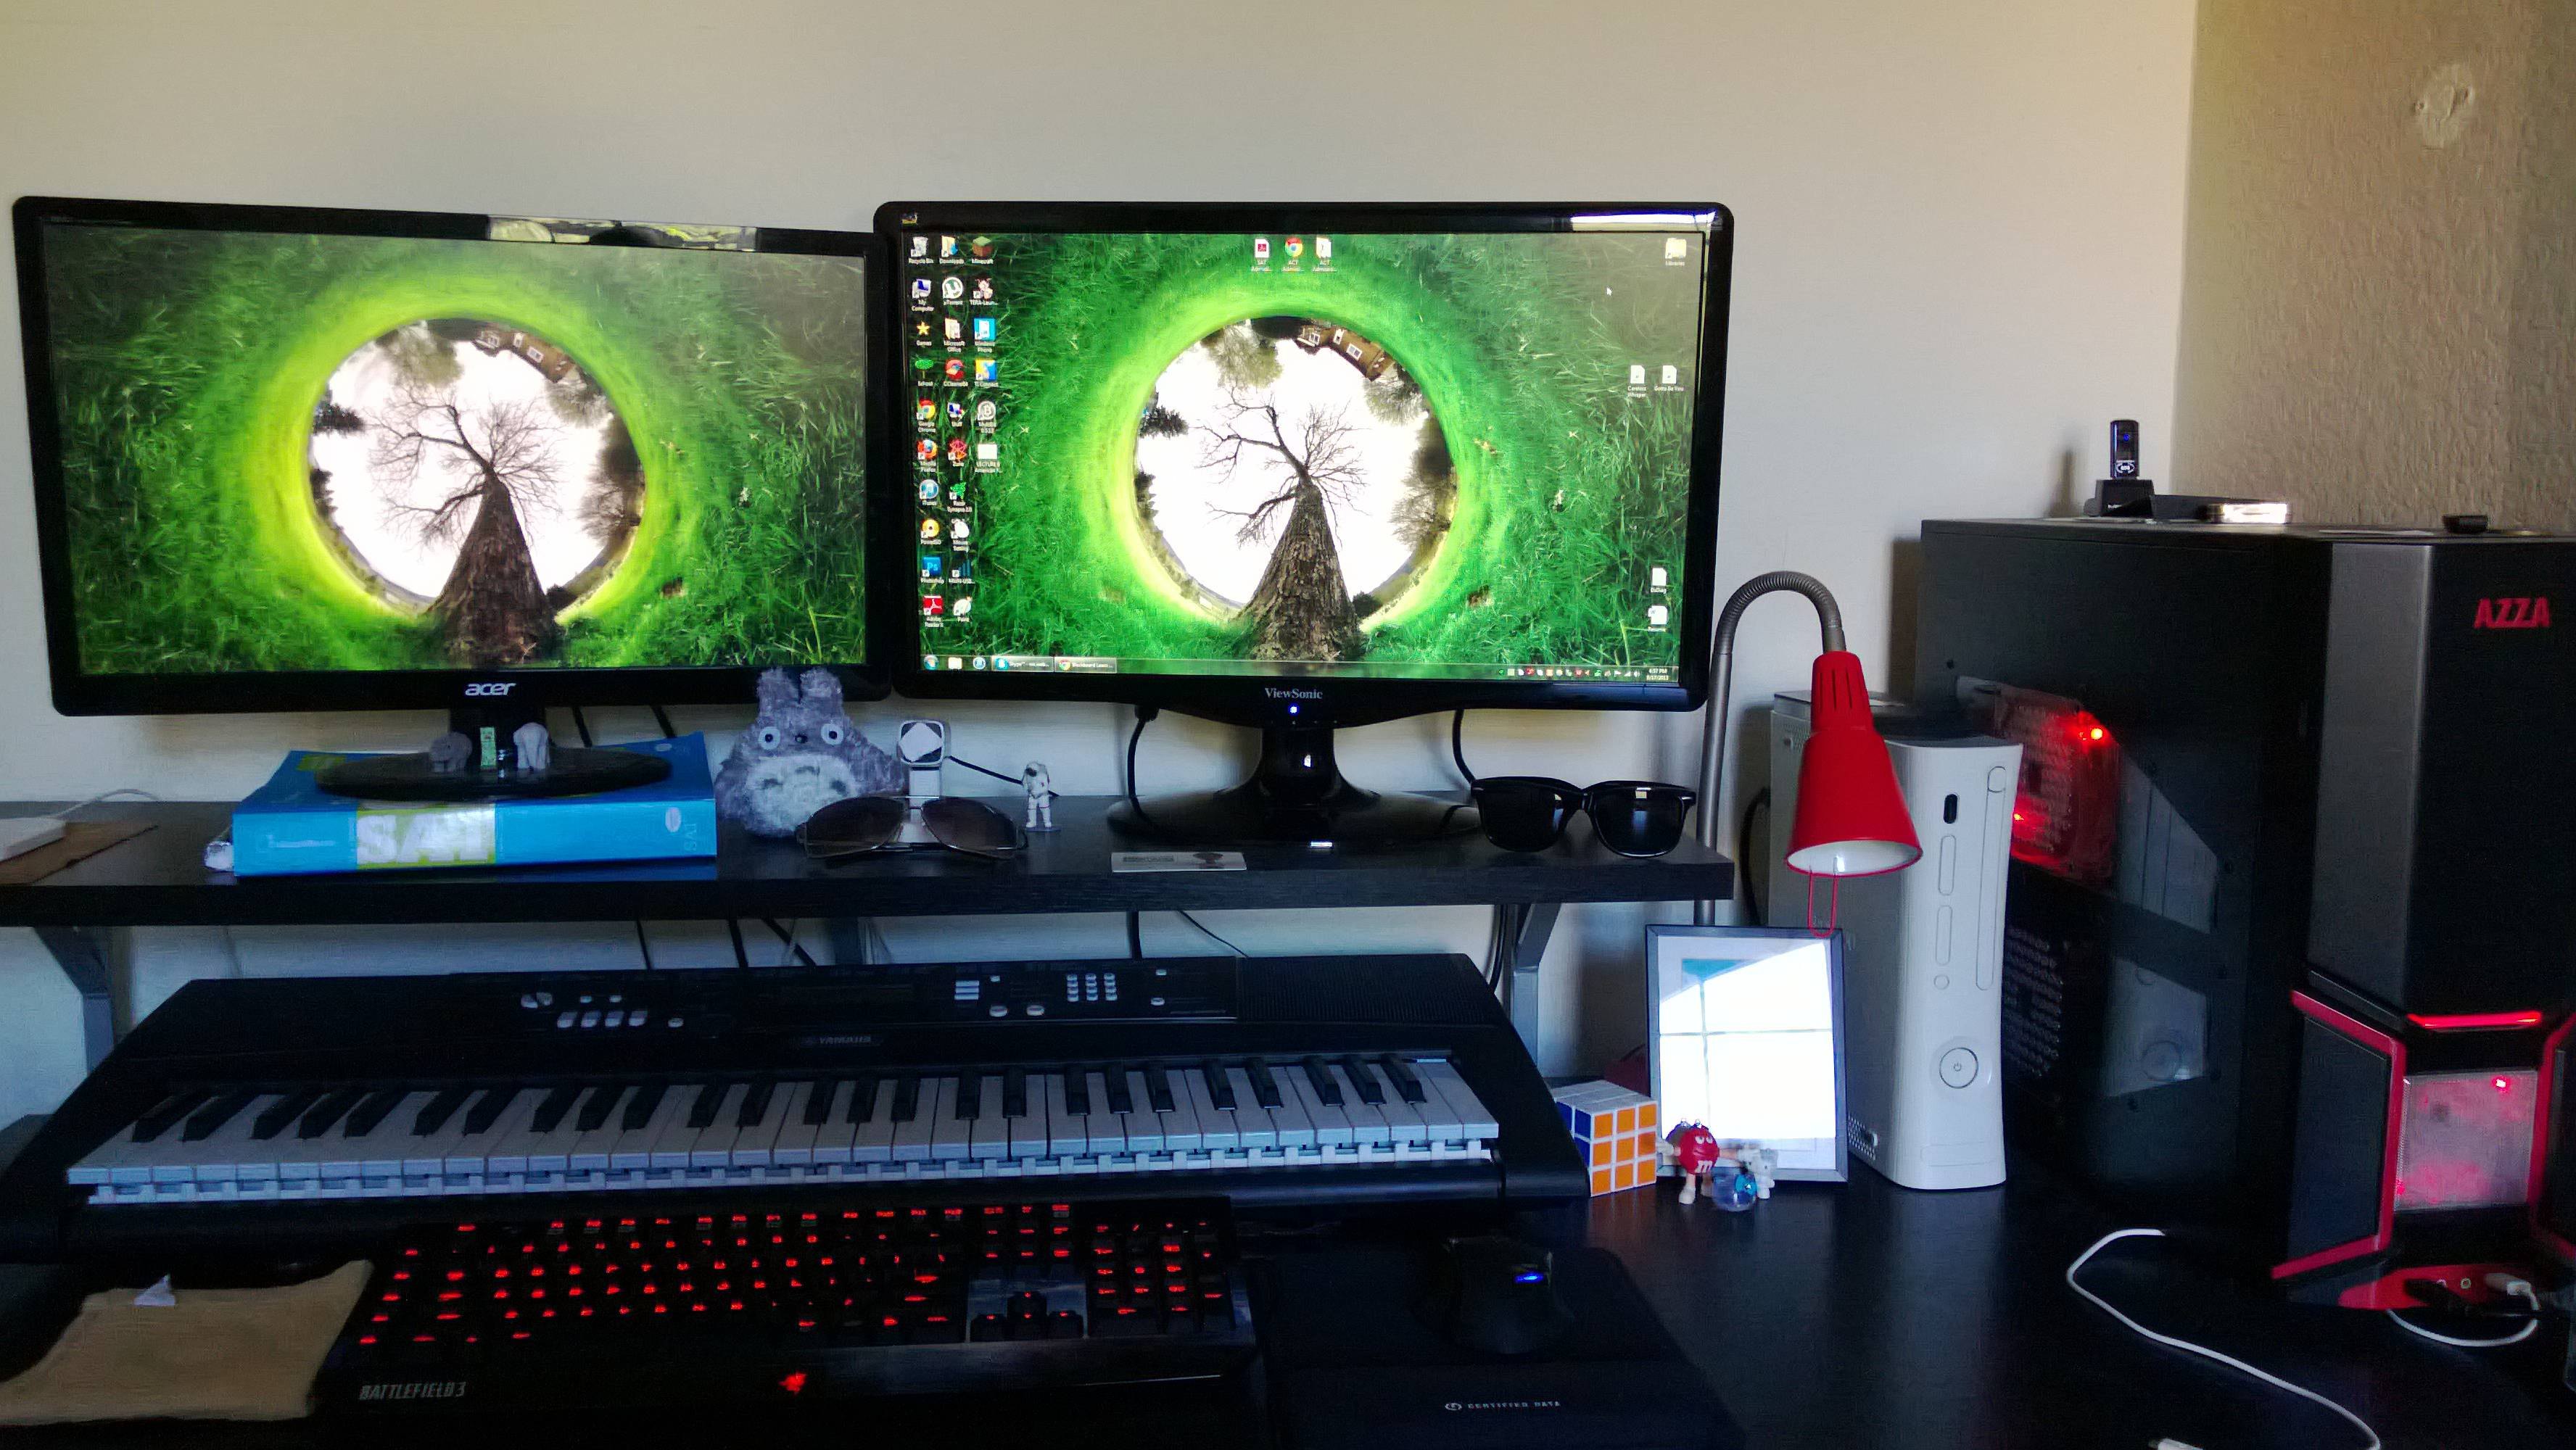 Company-built multiple monitor array matrices typically consist of a 2-monitor matrix, 3-monitor matrix, 4-monitor matrix, 1-over-3 monitor matrix, 6-monitor matrix or 8-monitor matrix.
(Check out this 6 Monitor Stand on Amazon, it holds up to 6 28″ monitors!!)
You can, however, save good money and have some fun while at it, by building your own multi-monitor PC setup to mimic these fancy arrays.
Table of Contents
- 1 Building a Multi-Monitor PC
- 1.1 DisplayPort connector (Left) vs. HDMI Cable (Right)
- 1.2 Buying Monitors and Cables
- 1.3 Configuring your PC
- 1.4 If you are running Windows 7, 8 or 10, use the following steps to configure your PC
- 1.5 Windows 8 & 10 Have Even More Options
- 2 One Platform. One System. Every Tool
Building a Multi-Monitor PC
You will first need to determine whether your computer has the necessary hardware to handle the graphic requirements for multiple monitors.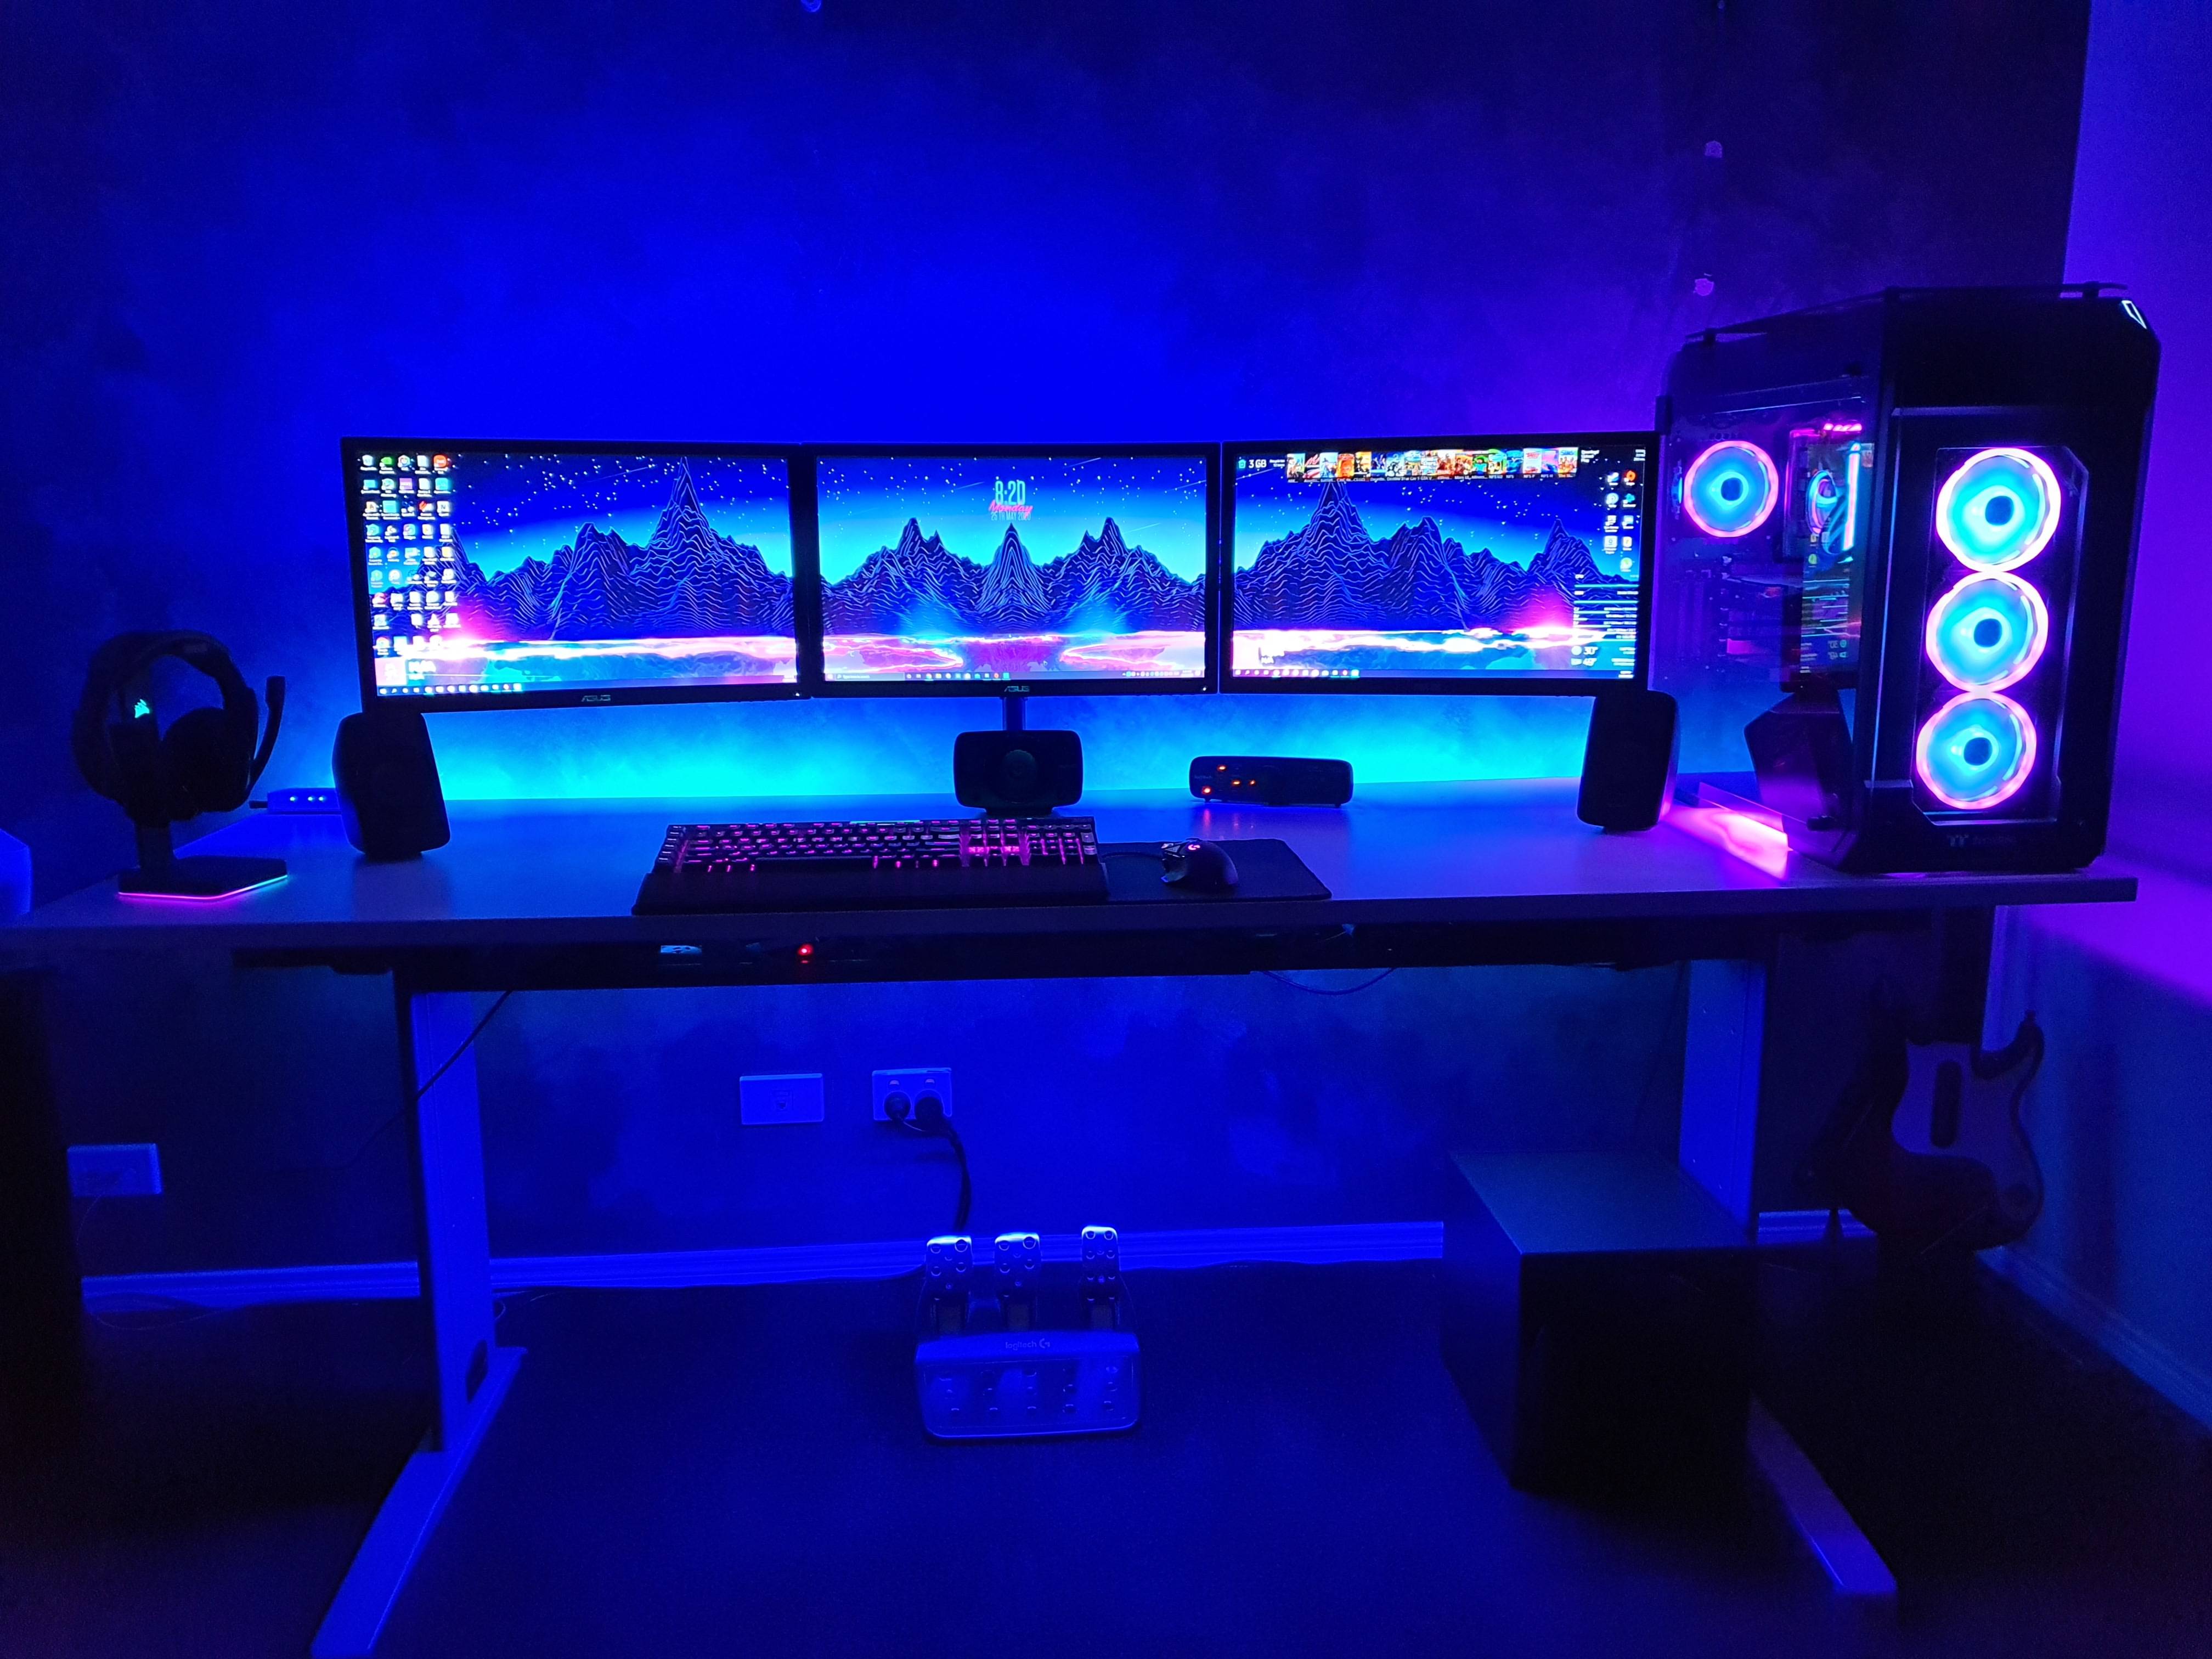
Check the back of your PC and see how many graphic ports you can identify.
Download a quick how to guide to setup a multi-monitor PC.
There are four main types of video connections used to connect computers to monitors:
- DisplayPort
- HDMI
- DVI
- VGA
Image courtesy of brucebnews.com
DisplayPort
The DisplayPort is the latest digital standard used for connecting monitors to computers. A DisplayPort video port looks like a USB port–the only difference being that one side of the port has an angle. Use a DisplayPort cable, if your desktop and your monitors have such a port available.
HDMI
HDMI is an acronym that stands for High-Definition Multimedia Interface. HDMI is the standard for connecting many different types of video devices. HDMI has similar video quality to DVI, which is discussed below. HDMI is capable of providing audio through the cable.
However, the video card that’s installed in your PC must be capable of supporting audio via HDMI for it to work properly. If HDMI ports are available in your desktop and monitors, then use a HDMI cable.
DVI
DVI, or Digital Video Interface, is a digital standard for connecting monitors to computers. DVI connections are color-coded with white plastic or white labels. DVI provides video quality that is similar to HDMI.
VGA
VGA, or Video Graphics Array, is the analog standard used to connect monitors to computers. VGA connections are color-coded with blue labels or blue plastic. Being an analog connector, VGA connections produce noticeably fuzzier images and less vivid pictures. This connector should only be used if no other connectors are available.
DisplayPort connector (Left) vs. HDMI Cable (Right)
Image Courtesy of PC World
If you are not using a discrete graphics card, your PC is likely to only have two video ports, because most motherboards are equipped with integrated graphics that are only capable of running dual-monitor setups.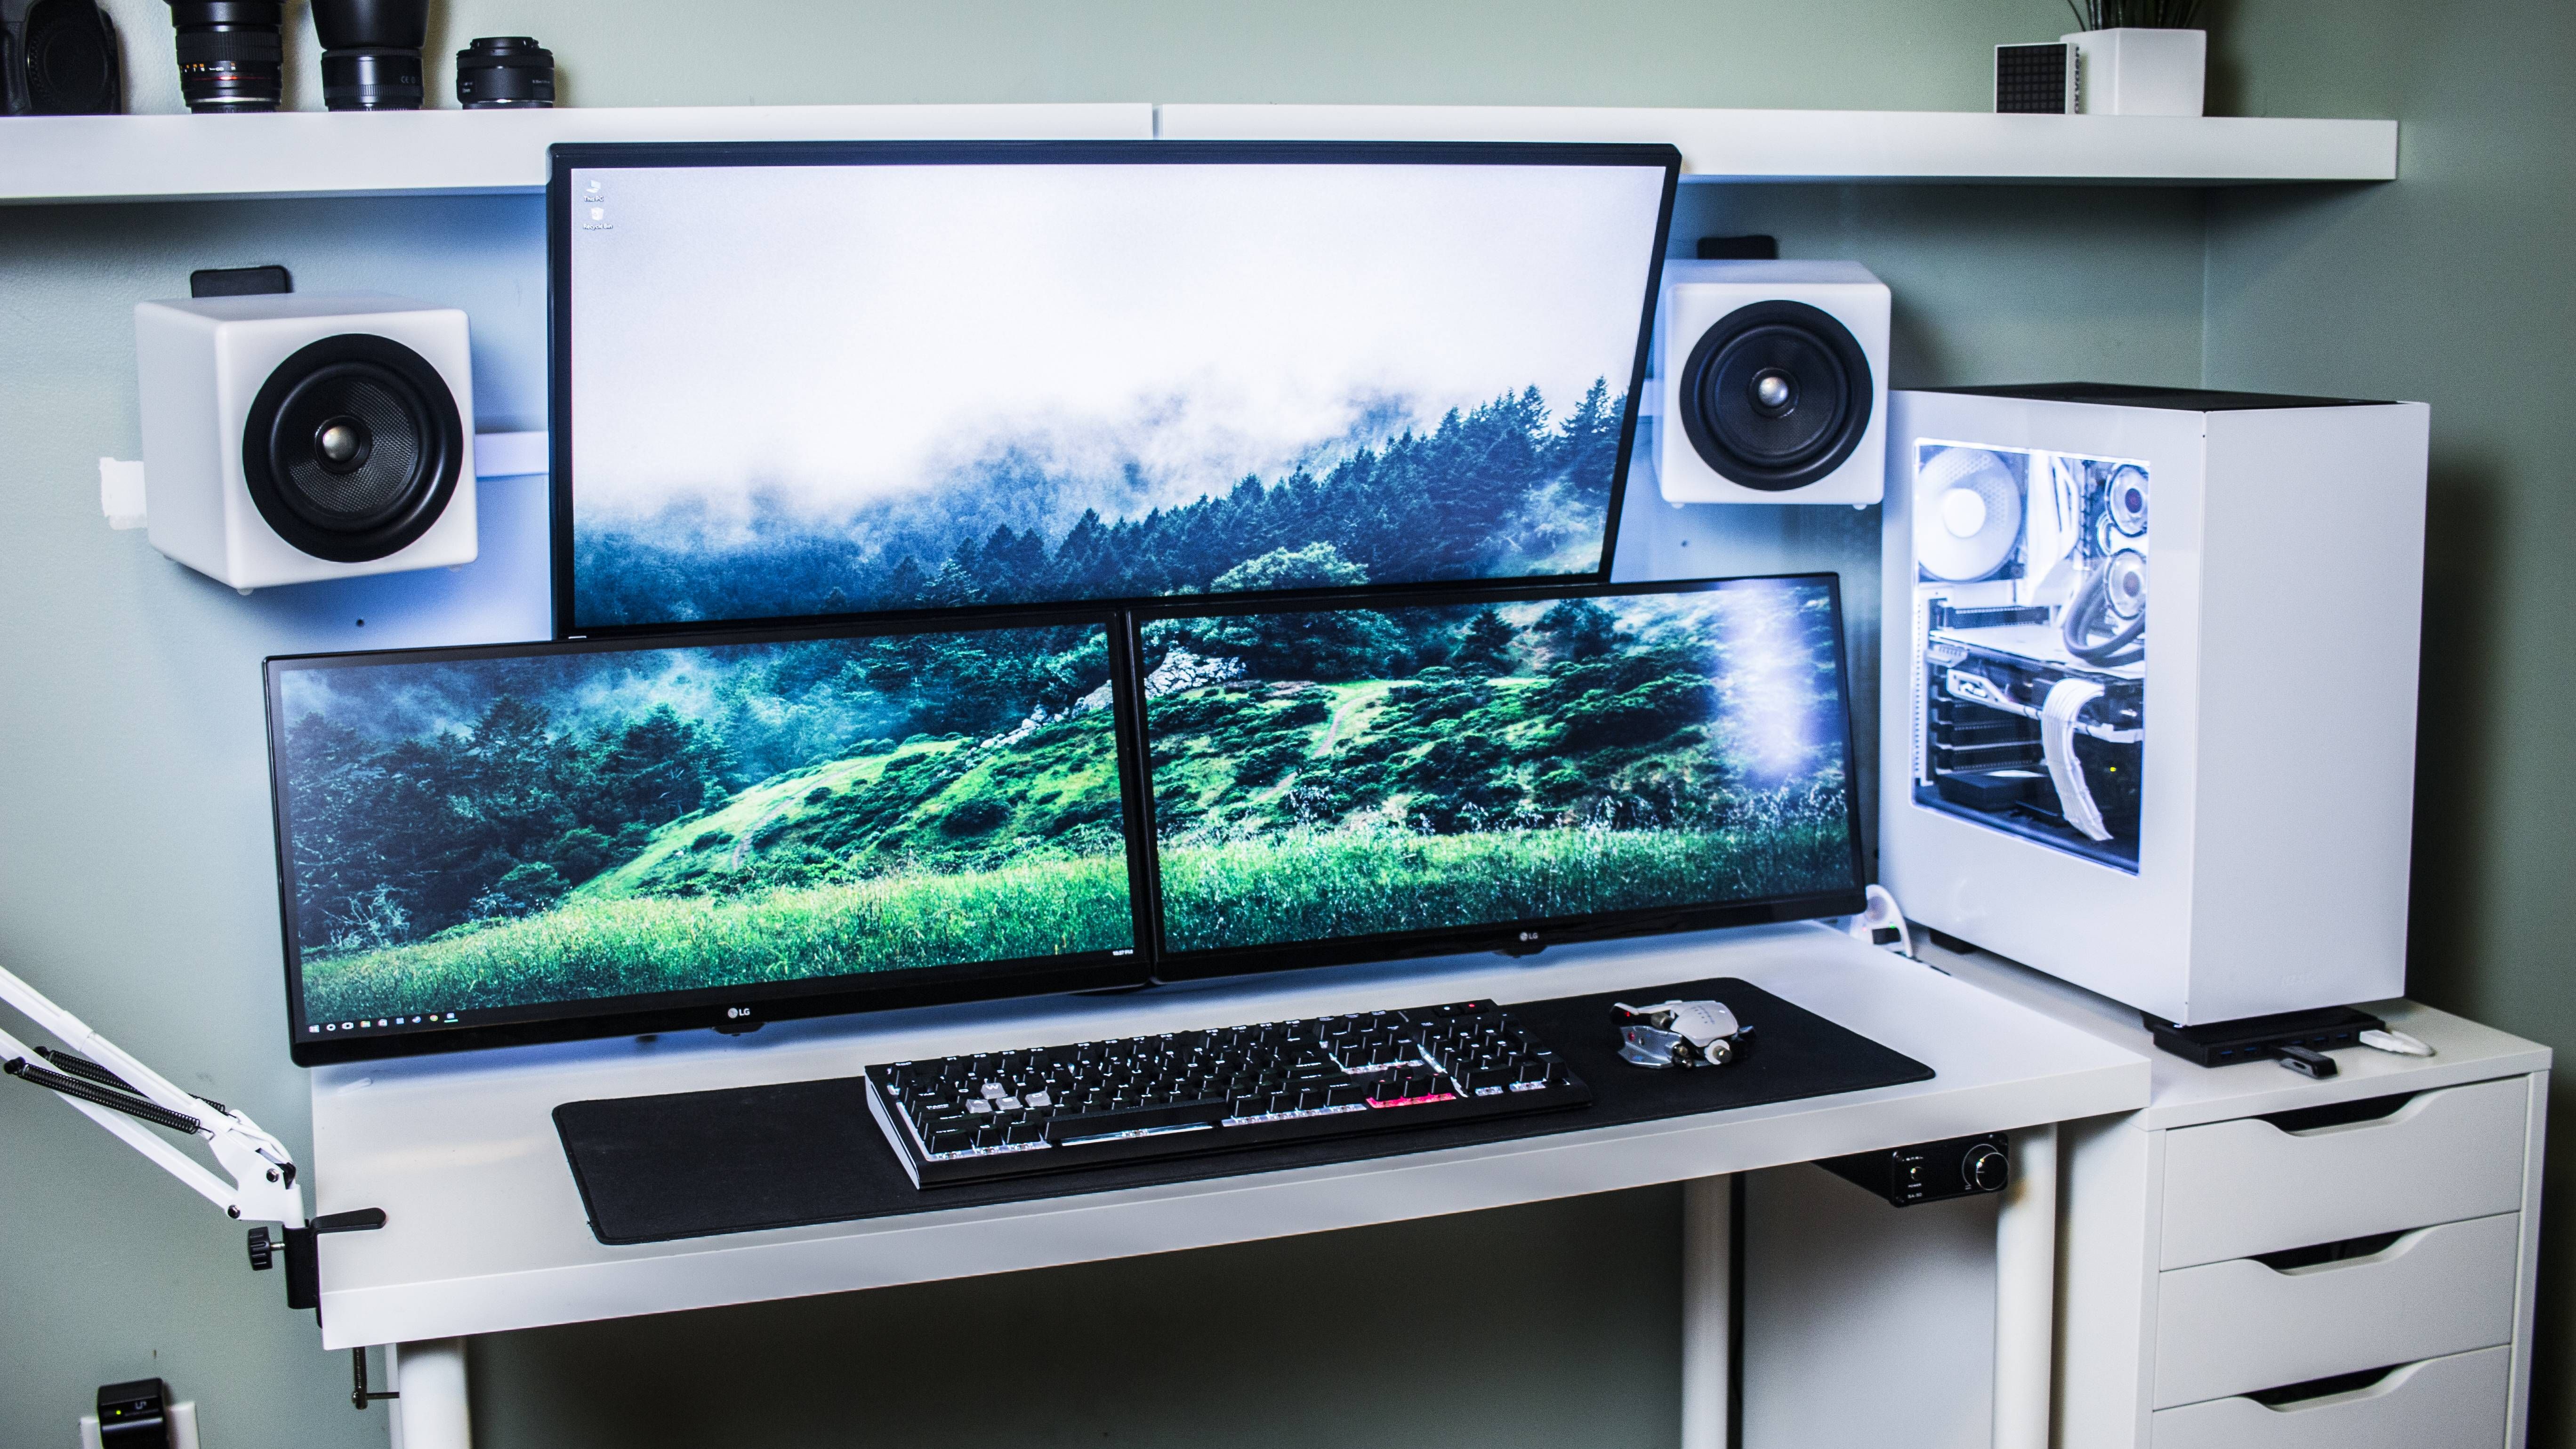 If you are using a discrete graphics card, your PC is likely to have at least three external ports, not counting the ports available on your motherboard.
In general, it’s possible to build a multi-monitor setup using the ports available on your motherboard and discrete card, simultaneously.
However, doing this usually leads to a performance drop whenever you move windows between different monitors.
If you need to use this approach, you can configure your PC by entering your PC BIOS, then going to:
Configuration > Video > Integrated graphics device then setting it to ”Always Enable.”
Don’t worry, if this is confusing to you, THIS video makes it easy to do on your own!
Although your discrete graphics card is likely to have three or more video ports, you don’t necessarily have to use all of them.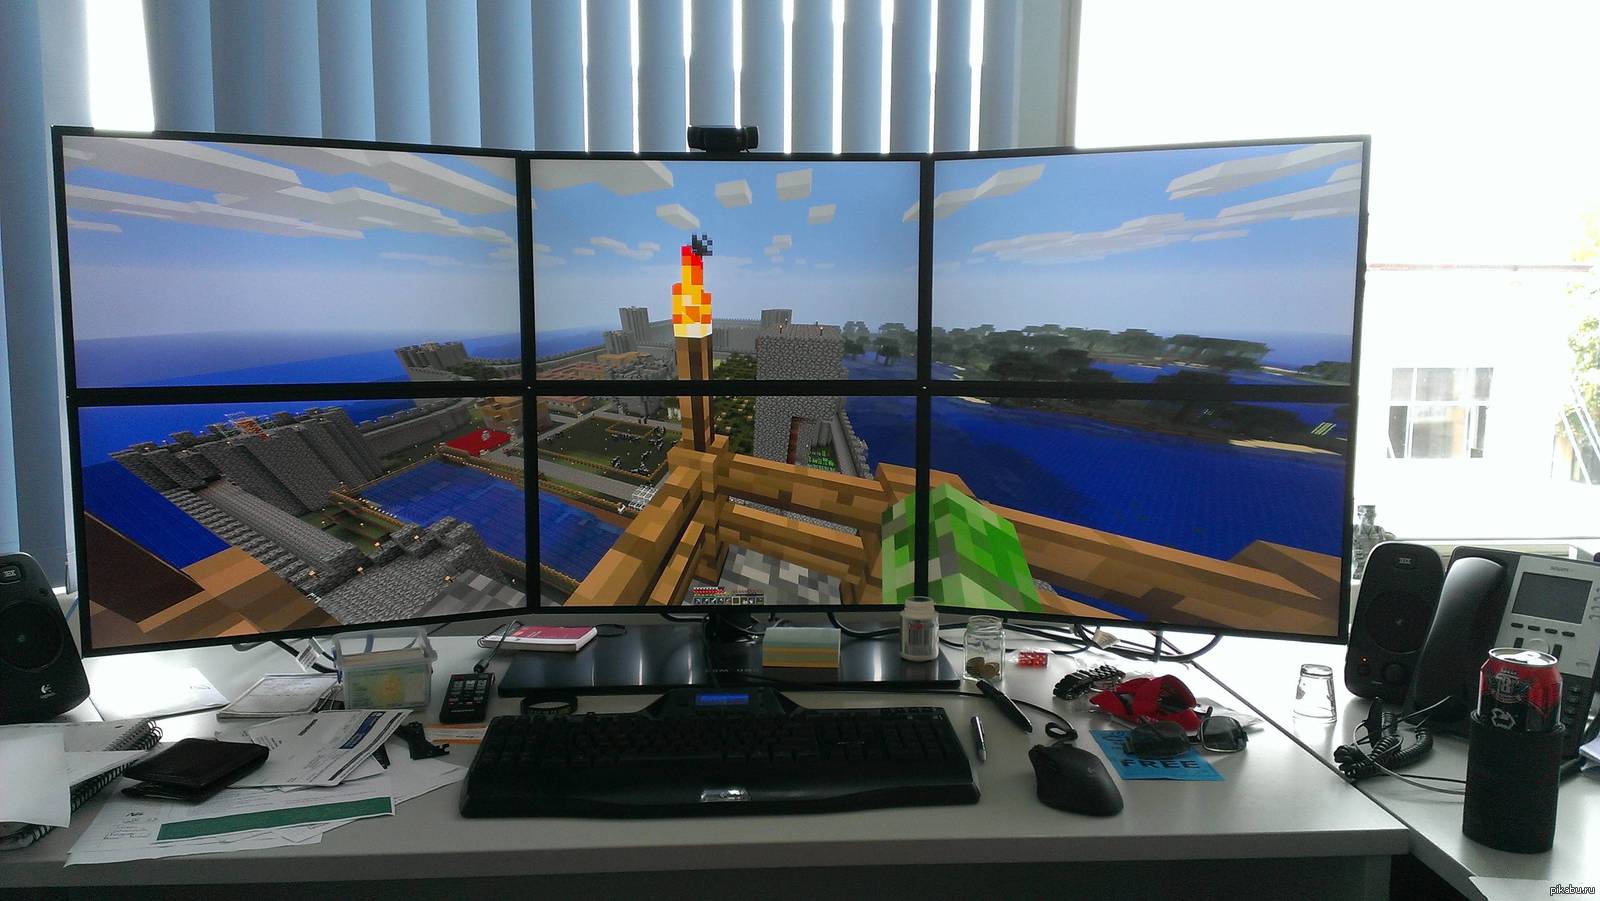 For example, older Nvidia graphics cards are incapable of running more than two monitors on a single card, despite having more than two video ports.
To find out whether your discrete graphics card is capable of supporting multiple monitors, you can Google the name of your card, using the monitor setup that you intend to run.
To find the name of your graphics card, go to:
- Windows 8: Control Panel > Device Manager > Display Adapters
- Windows 10: Control Panel > Display > Screen Resolution > Advanced Setting > Adapter tab
If you want to set up more than two monitors, you can use Nvidia GeForce GTX 1050 Ti graphics card, which packs one Dual-link DVI-D, one DP, and two HDMI ports and support up to 4 displays.
If your graphics card is incapable of supporting the number of monitors that you are looking to set up, you should purchase an extra card that will meet your needs.
Alternatively, you can purchase a newer monitor with DisplayPort multi-streaming support and then use additional DisplayPort cables to connect your extra monitors, using a single DisplayPort 1.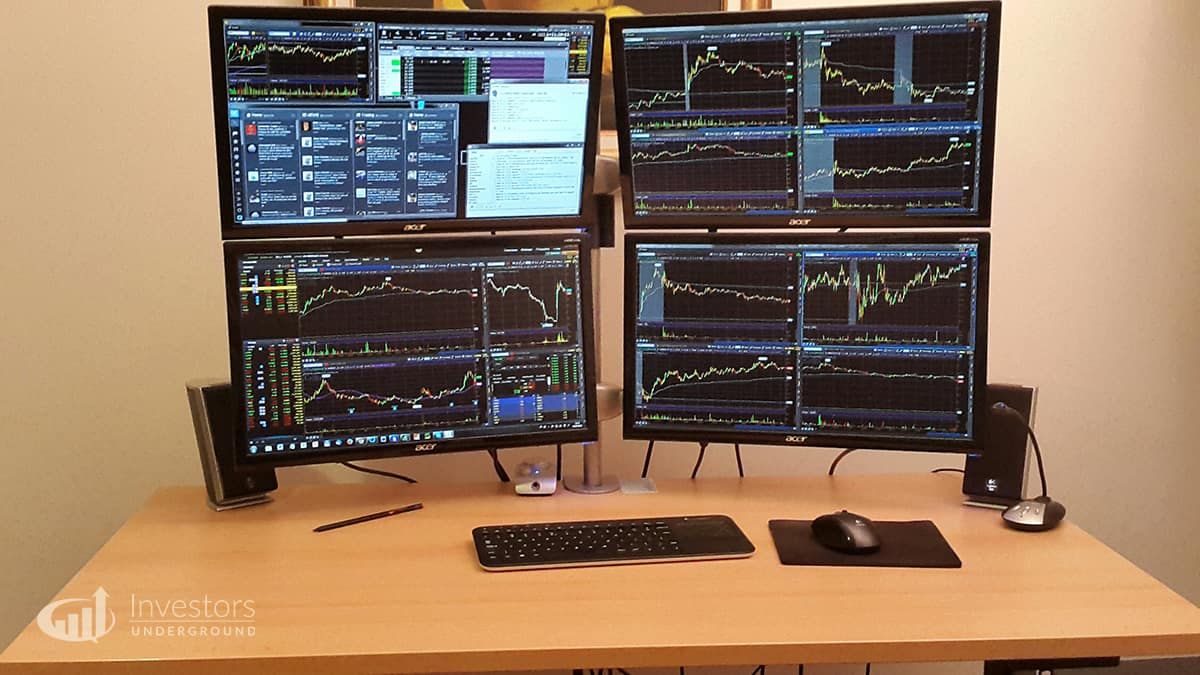 2 port on your graphics card. You can do this even if your monitors have different sizes and/or resolutions.
Before purchasing extra graphics cards, you need to check and ensure that your tower (the open PCIe slots) has ample space and that the power supply unit is capable of handling the load. Although not absolutely necessary, it’s advisable to purchase a graphics card that’s similar to the one that you already have, or is at least in the same family e.g. Nvidia’s SLI or AMD’s CrossFire. It’s generally not advisable to run Nvidia and AMD cards side-by-side.
Additionally, using multiple connected graphics cards usually yields better performance than using multiple graphics cards that are not connected.
Buying Monitors and Cables
Once you finish sorting through your graphics cards, it’s now time to purchase extra monitors and cables. Luckily, monitors, nowadays, are fairly cheap: a 24-inch monitors costs ~$170 while a good 27-inch can be had for $250.
===> See our Detailed Trading Monitor Guide Here
The perfect monitor(s) for your needs depends on a variety of factors, including your existing monitor and the work space available.
Keep 2 VERY important things in mind:
- It’s possible to mix and match different monitor sizes, depending on your preferences.
- How you arrange and assign tasks to your monitors is also up to you.
For example, you can decide to build a 3-monitor configuration with a monitor at the center containing the primary time frame that you trade, the right side containing the next time frame that you trad, and one on the left monitoring market movers (premarket movers, gainers and losers, high-volume stocks, and watch lists).
For most traders, 24-inch to 28-inch monitors serve this array well.
Although you can use conversion cables, such as DisplayPort-to-DVI or DVI-to-HDMI to connect different port types on your monitors to your PC, it’s generally a good idea to have input ports on your monitors that directly correspond with the output ports on your PC.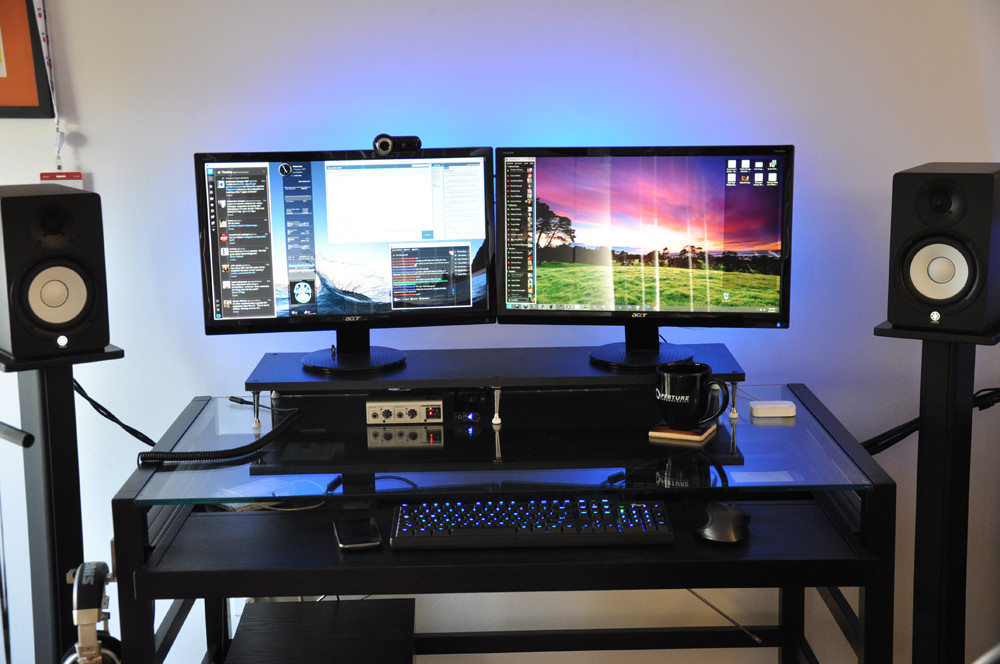
Configuring your PC
Connecting the monitors to your PC is quite easy and straightforward. You will, however, need to configure your PC so that it works correctly with your multiple monitors.
When you connect external monitors to a laptop, the laptop’s default setting creates an exact mirror image of your laptop on your external monitors. In sharp contrast, when you do the same with a desktop, the default is to extend your displays.
By configuring your PC, you should be able to drag a window from one monitor to another, without altering your existing settings.
If you are running Windows 7, 8 or 10, use the following steps to configure your PC
Method 1: Use Win + P Keyboard Shortcut.
- Close all of the programs on your PC.
- Now hold down the Windows Logo on your keyboard, then press the P key on the keyboard.
- Select one of the following options:
- Computer (Or Pc Screen) Only: this setting shows the screen image only on your PC monitor.
- Duplicate: the Duplicate setting duplicates the PC screen image on your monitors and applies the lowest resolution on your monitors across all monitors.
- Extend: the Extend setting allows you to move a window from one monitor to another by clicking on the Title Bar and dragging the window to your desired location.
- Projector (or Second Screen) only: this setting allows your laptop to use the higher resolution of your external monitors.
Method 2: Screen Resolution Menu
- Close all of the programs on your PC.
- Right-click on any empty space on your PC screen then click Screen Resolution.
- Click on the Multiple Displays menu, and then select the Extend These Displays option or the Duplicate These Displays option. If this fails to list your external monitors, click Detect.
 If this still fails to work, restart your computer, then repeat steps 1 and 2.
 - Click Identify Monitors to check which monitor has been designated 1, 2, 3… then drag the icons, so as to reorder their positions to match the physical steps that you have selected.
- Click on the Resolution menu and then select a screen resolution by moving the displayed slider arrows to the right or left. Then, click OK.
- If the settings that you have selected are compatible, your PC screen will apply the new settings. You can change the display resolution settings to the old setting by simply holding down the Windows Logo key on the keyboard, then press P to revert to Computer Only mode.
- If you want to keep your new settings, click Yes.
- Restart your PC to save your new settings.
Windows 8 & 10 Have Even More Options
Windows 8 & 10 have more options for a multi-monitor setup.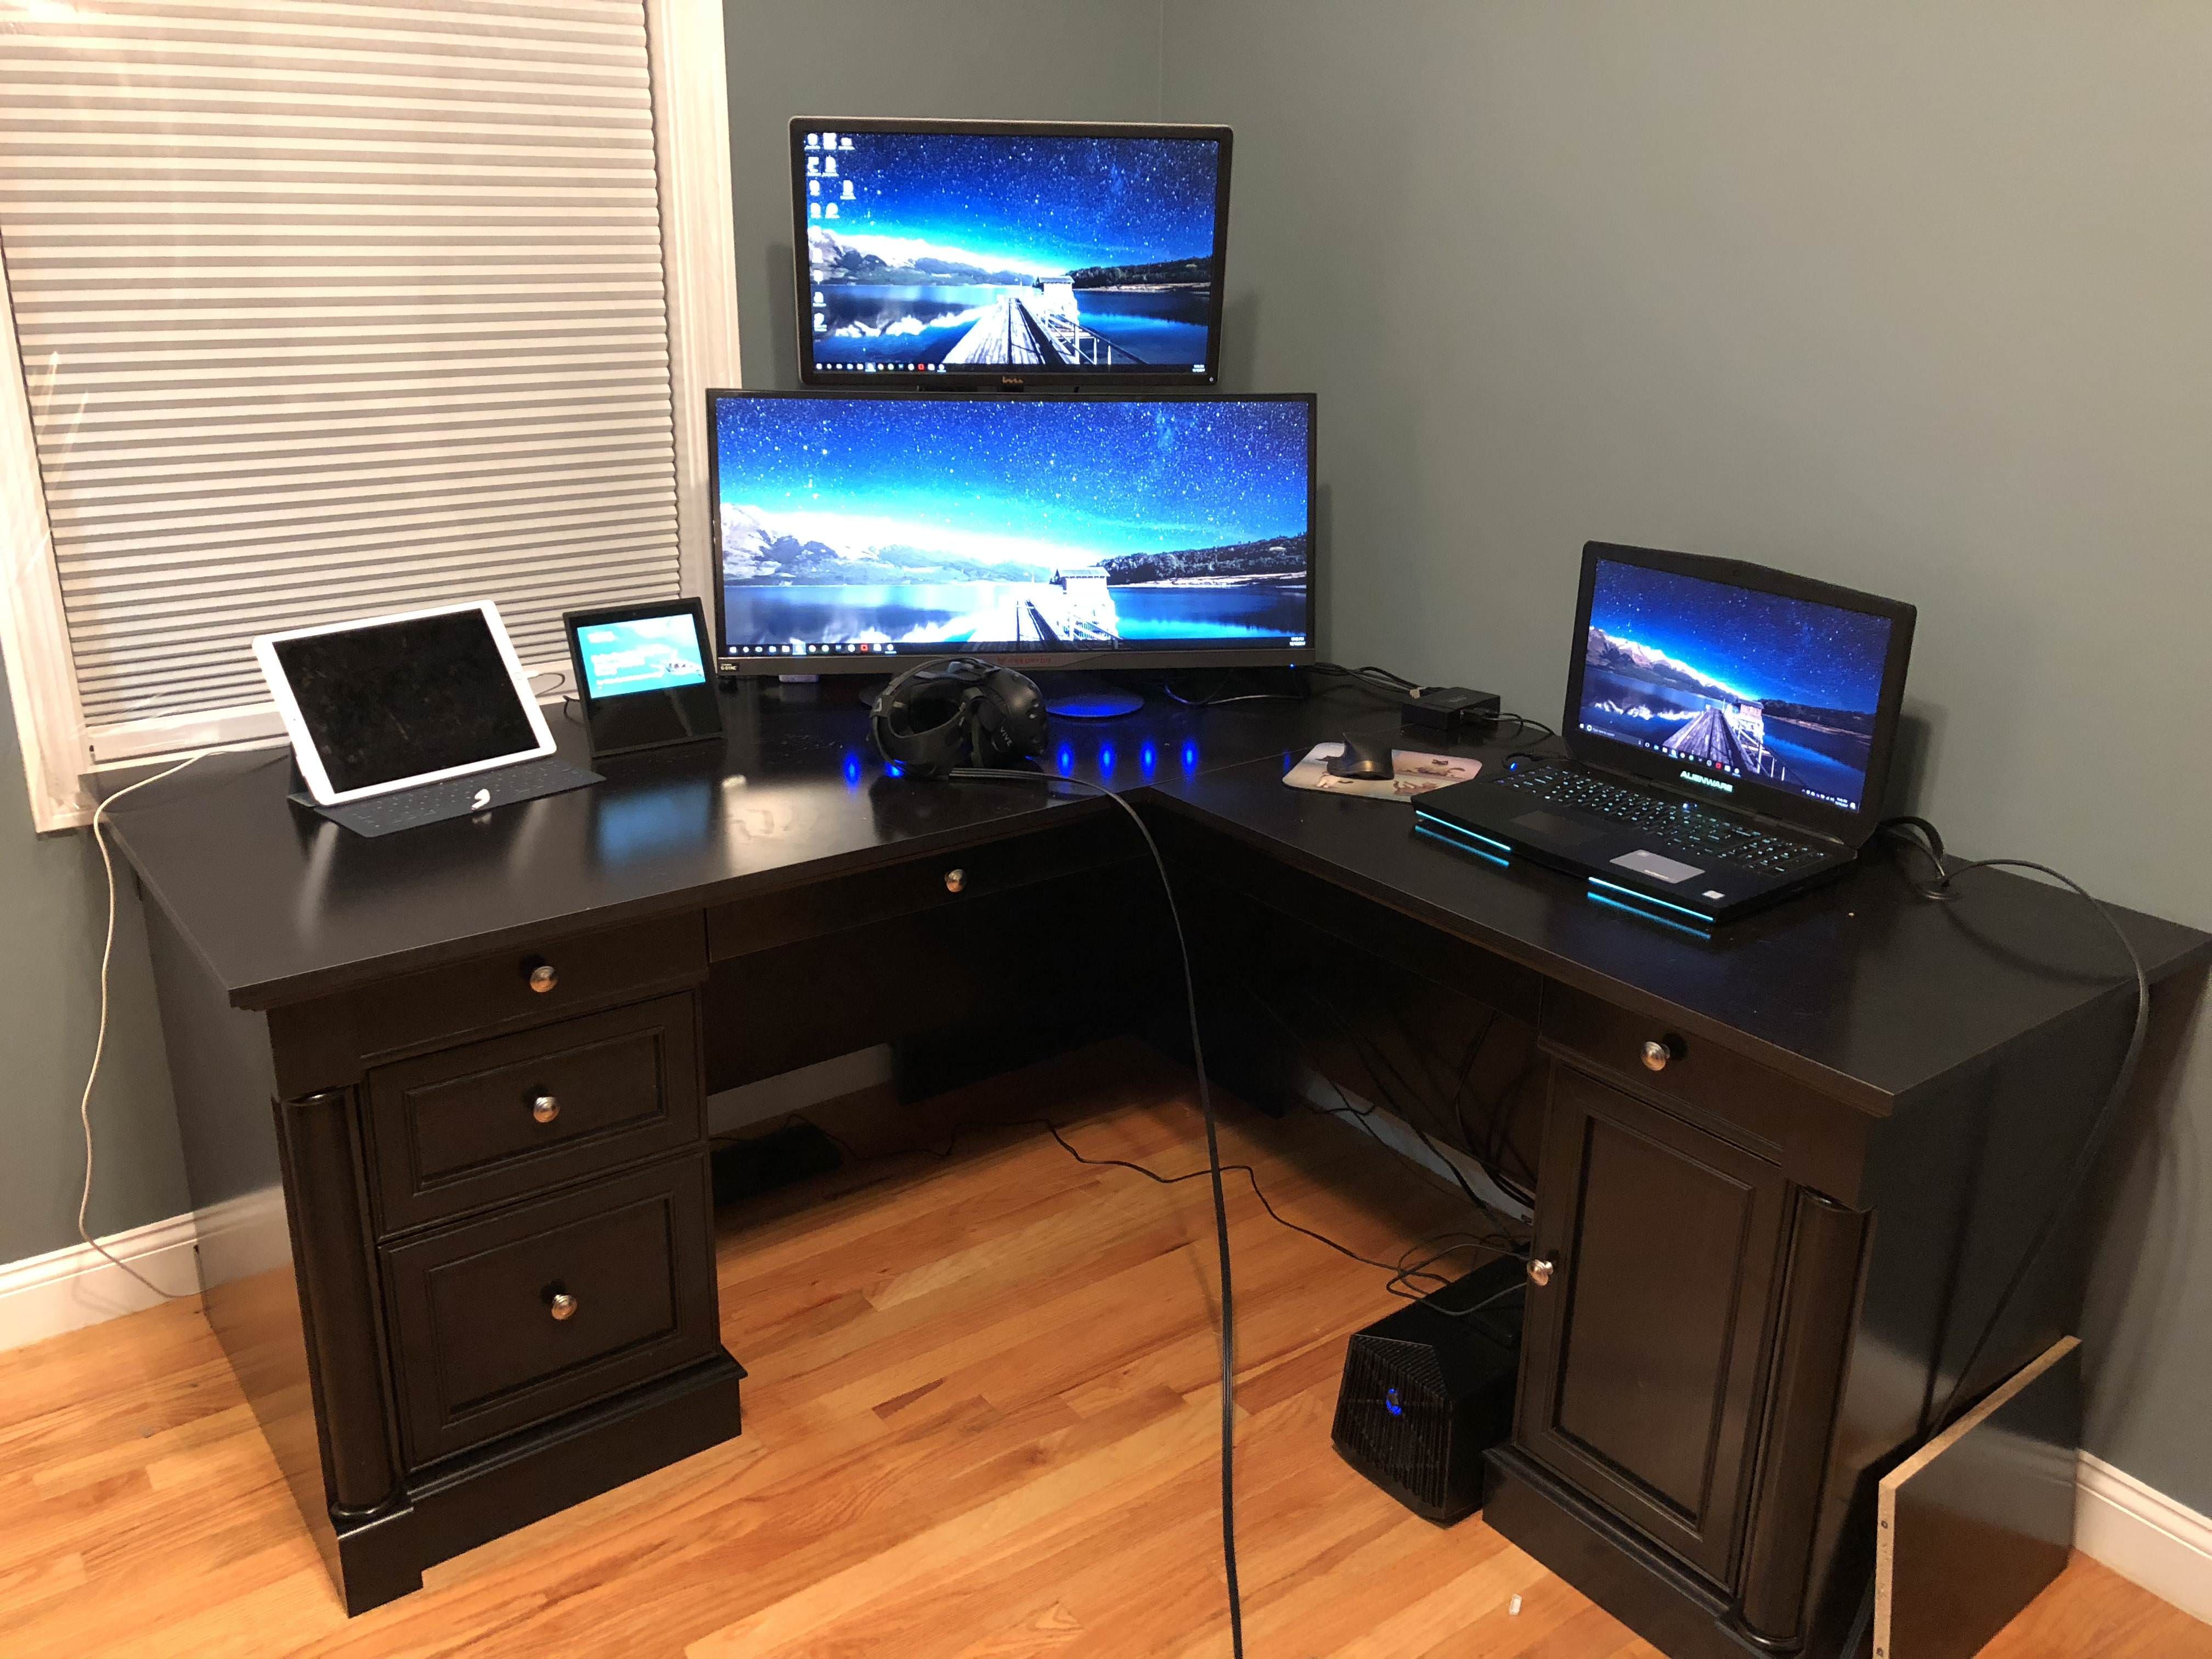 You can extend your taskbar across multiple displays and even assign different wallpapers for each monitor, without using any third-party software. Additionally, there are Nvidia and AMD control panels that allow you to configure your PC according to the graphics card you are using.
StocksToTrade.com is a participant in the Amazon Services LLC Associates Program, an affiliate advertising program designed to provide a means for sites to earn advertising fees by advertising and linking to Amazon.com.
97371cookie-checkHow to Setup a Multi-Monitor PCno
One Platform. One System. Every Tool
Interested in trying the number 1 trading platform? Get started risk free.
Start My 14-Day Trial
HOW TO ADJUST YOUR MONITOR, BRIGHTNESS, COLOR PROPERLY
The monitor needs to be adjusted so that it reproduces colors without distortion. If you follow the tips, even the LCD screen will show a picture comparable to OLED displays. How to do this is described below.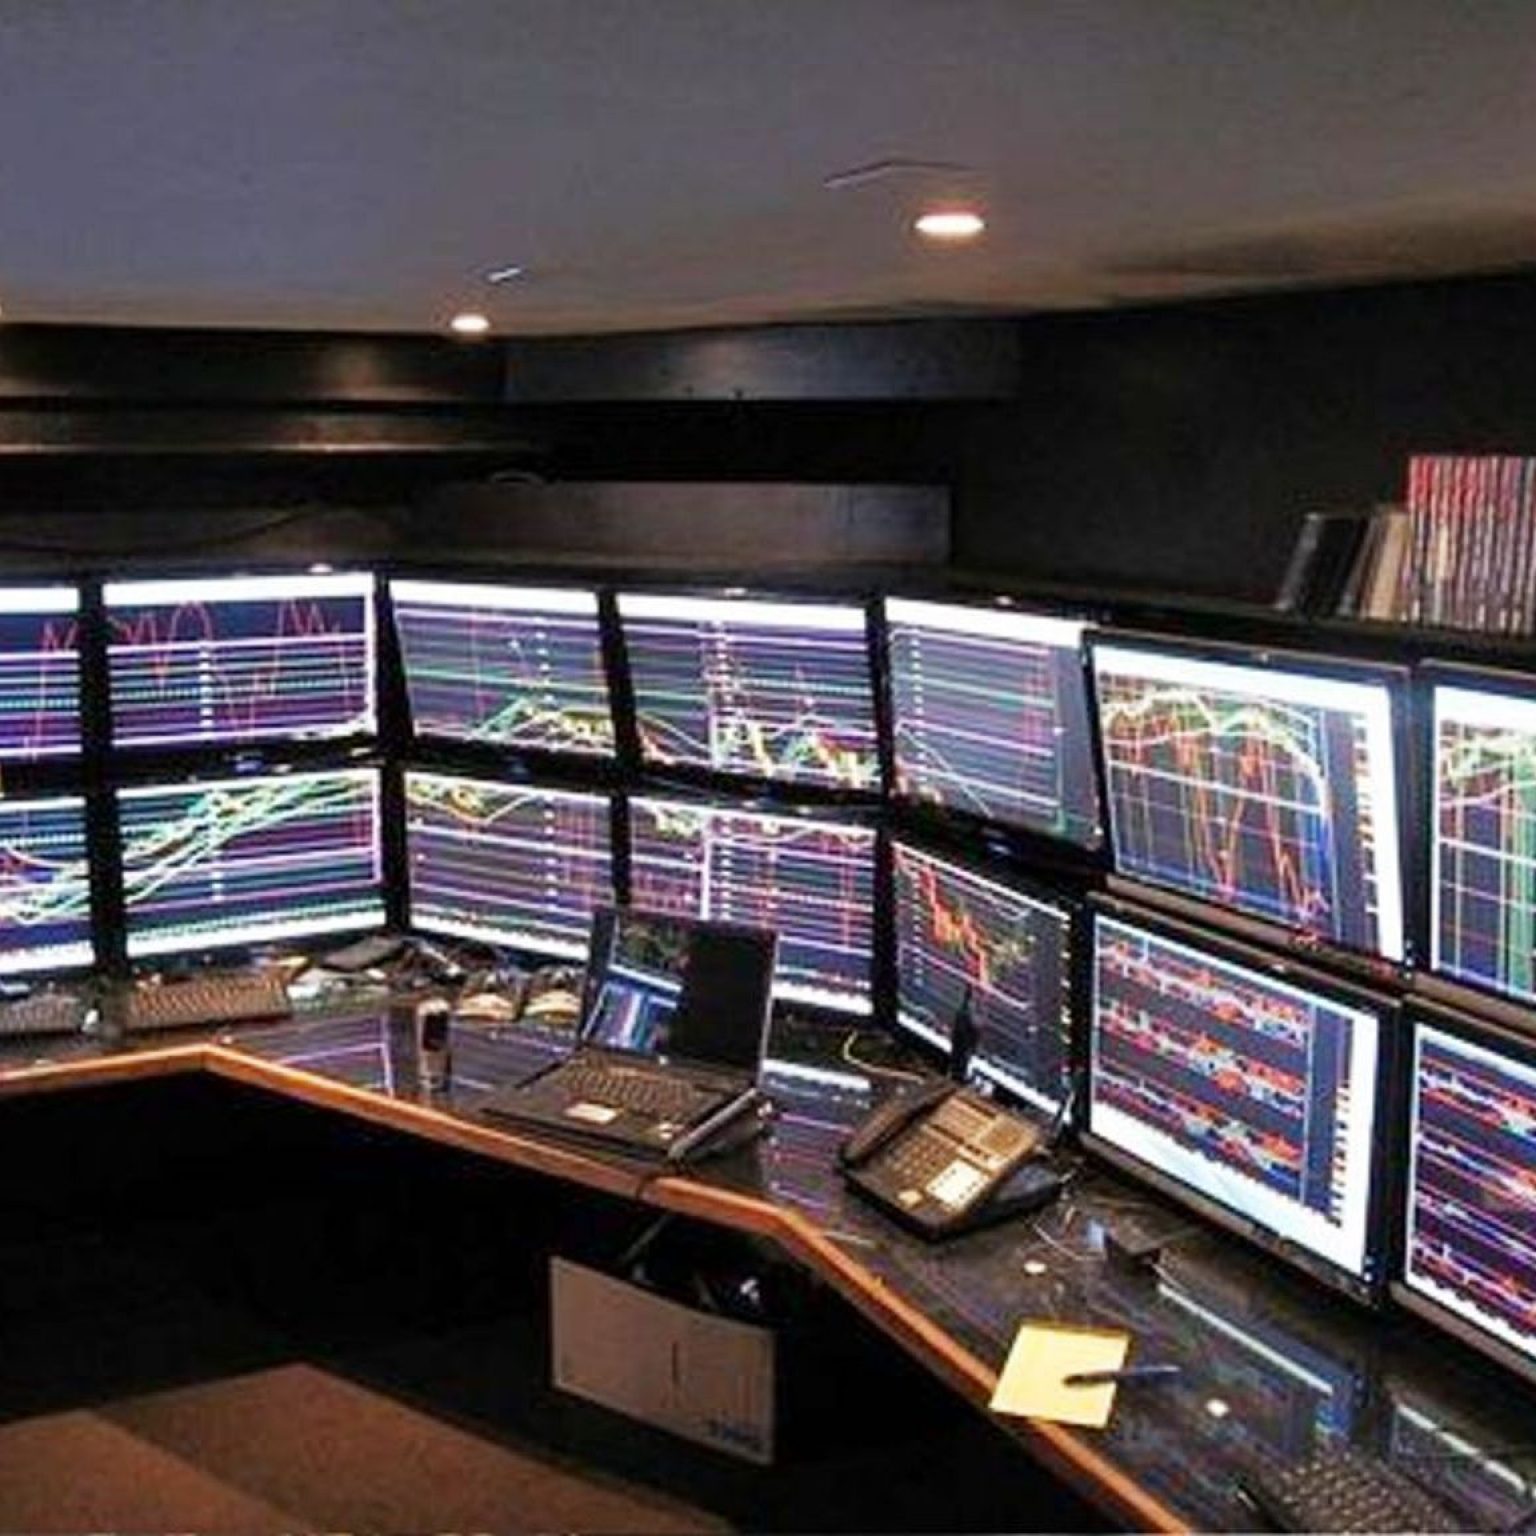
Why you need to adjust your monitor
A calibrated screen will show more natural tones that are closer to reality. It is advisable to adjust the color of the monitor every time the lighting changes — sometimes a display that has been adjusted under daylight may appear bluish under normal lighting.
Read: Which monitor is better — LCD or LED: 7 nuances
Pros use a calibrator — a device that is connected to the screen to determine the color. But since not everyone has it, below we will tell you how to properly set up a monitor at home, both through built-in programs and through third-party applications.
How to properly set up your monitor
The process is simpler than it seems — just have a computer or laptop in front of you — and 15 minutes of free time. Further in the material, the setup will be described step by step, which will simplify the process for beginners.
Connecting
Before setting up the monitor, you must connect the screen to the PC itself. Preferably with modern methods. Then the quality and resolution of the picture will be maximum. Below are the main types of connecting displays to PCs and laptops.
When installing and connecting, follow the recommendations:
- Put the monitor in one place and try not to move it.
- The room must be lit. It is worth adjusting in the light in which the computer will be operated.
- The screen must be on for a short time before starting the calibration. For modern TN or IPS displays, 3-5 minutes is enough. Older LCD, LCD and TFT screens need at least half an hour.
Tip : If the monitor is used in both artificial and natural light, it is worth creating several calibration profiles with different settings.
Note: TOP 10 best monitors with Full HD resolution — rating of popular models
Installing drivers
First you need to check for the optimal drivers for your monitor.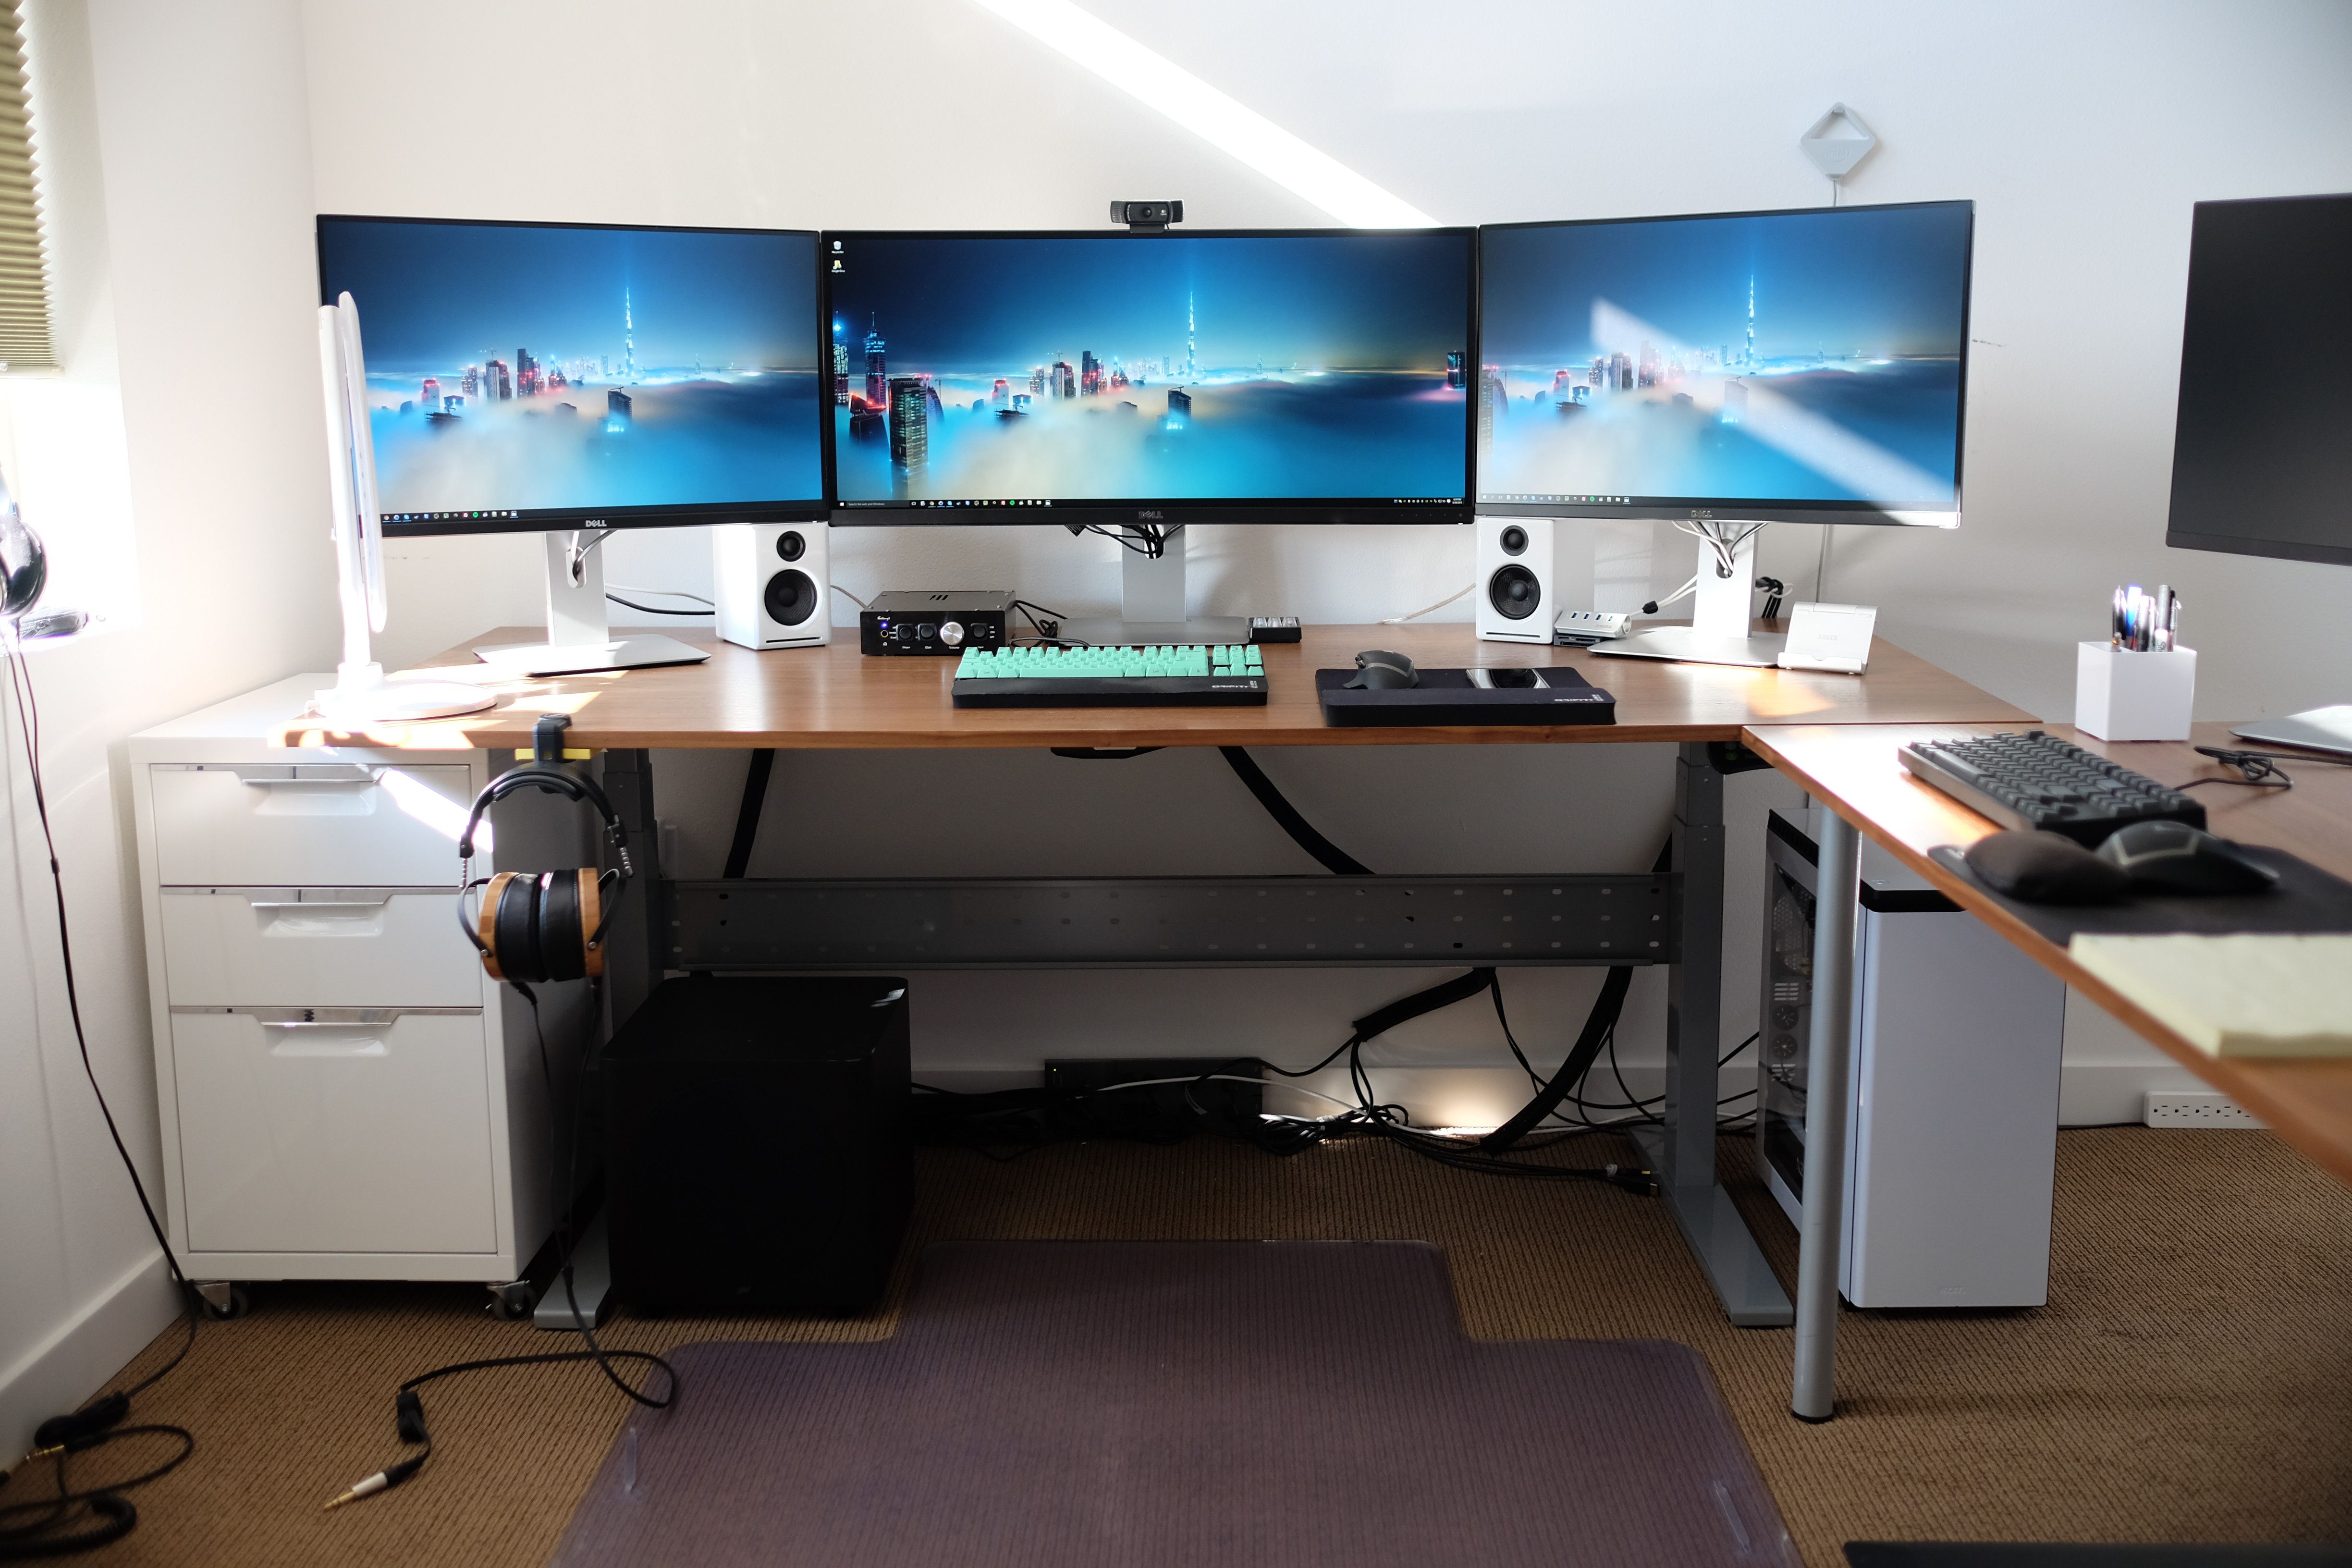 There are two ways to do this:
- enter the monitor model in the Internet search and download the required driver;
- via task manager.
The second type of check is easiest to carry out according to the following algorithm:
- Press Win + R.
- Enter the dccw command and click OK.
- Go to the «Monitor» line.
- Find the right one.
- Right-click (RMB) → Update Drivers.
After updating to the latest, you can start setting the parameters.
The first step is to enable the calibration wizard. The easiest way to do this on Windows is as follows:
- Press Win + R.
- Type ddcv in the search box and click Run.
Mac OS also has a built-in calibration tool. To open it:
- Go to settings.
- Find sub-item «Monitor».
- Go to «Color» and select «Calibrate».
After the Assistant opens — for a complete correction, you must perform all the actions suggested by the software.
Useful article: Which monitor is better to take: glossy or matte — features of 2 types of screens and selection recommendations This is usually done with the help of a «target», where several rows of rectangles with a slight gradation of shades are lined up.
If there are no special programs, just follow these steps:
- Find similar images by typing «Images for monitor calibration» into the search.
- Download them.
- Open in full screen.
- Change monitor brightness.
Most often, on Windows laptops, the brightness keys are located on F11 and F12. To activate, hold down Fn and the desired button, depending on the desired result.
Important : F11 and F12 are not always responsible for brightness, so the best way out is to review the data sheet for the screen and keyboard to find the brightness correction parameters at a particular moment.
To adjust the brightness of the monitor, you should make sure that the picture matches the parameters below, such as:

Be in a well-lit room while adjusting the brightness of the monitor. In muted tones, the screen will appear brighter than it really is.
It’s okay if you can’t see all the rectangles — some monitors just have a weaker matrix. Merging 2-3 squares is not critical.
Useful article: TOP 10 best WQHD monitors — rating of popular models with a resolution of 2560×1440
Resolution setting
Next, you need to set the resolution — the number of pixels horizontally and vertically. The indicator is always set to the maximum possible. For example, for an UltraHD monitor, this will be 4K.
On a Mac, the resolution changes a little differently. To do this, you need:
- Enter the menu.
- Go to «Apple» → «System Preferences», select «Monitors» and go to «Monitor».
- Then just go to «Scaled» and select one of the options.
Gamma
Working with gamma produces natural colors. You need to go back to the standard calibration. There will be 3 sliders in scarlet, green and blue on the screen. They are adjusted until a gray cube is clearly visible against a background of black and white stripes. Also, the setting is carried out using circles on the same striped background. The correction continues until the center of the circle turns gray.
By changing the sliders, you can adjust the colors of the display, which is very important when using frameless monitors, because due to the structure of the eye, a person may see slightly different shades at the edges.
Interesting fact: Some designers intentionally remove the sliders in gamma from time to time to understand how accurately their monitors render certain shades.
Gray Adjustment
Evens out the color temperature. The same gamma adjustment is done again, only now it is done more pointwise, adjusting only the yellowness and blueness. All this happens in the standard monitor customizer, which is under the control of the Windows system, which is called as follows:
- Press the Win + R combination until the Run window appears
- Enter the dccw command (or dccw.
 exe — the system recognizes both options) and click OK.
 - Follow the application’s recommendations until the gray adjustment window appears.
- Refer to your display’s instructions for how to adjust the gray and finish it.
For Mac owners, the calibration will be as follows:
- Go to the menu and select «System Preferences»,
- Go to submenu «Monitors»
- Press Color.
- Click «Calibrate» and follow the recommendations specified in the customizer.
Grayscale selected because it will be easiest to see if it is too warm or too cold. Matte monitors are easier to adjust: due to the fact that they have no glare, they hardly change their color temperature due to their surroundings.
Interesting article: How to connect a MacBook to a TV or monitor: 7 effective tips
Setting the screen refresh rate (hertz)
To carry out this step, you need to exit the built-in calibration and perform the following steps:
- Right-click on the Desktop and go to «Settings».
 You can also go to Start and select Settings.
 - Go «System» — «Display».
- Select «Add. display settings».
- Find «Display Information» and enter «Display Adapter Properties».
- Change the hertz using one of the suggested methods: go to the “Monitor” and make settings, or go to the “Adapter” subsection, go to the “List of all modes” and make the necessary settings.
If the picture disappears and notifications appear: «Out of range» or «Input not supported», wait a couple of minutes until the PC accepts the changes.
To change the hertz in Apple computers is:
- Go to the Apple menu.
- Go to «System Preferences» and go to «Monitors».
- Hold down the Option key, select «Scaled» until the Hertz menu appears.
- Select the desired value and confirm.
How to calibrate NVIDIA, AMD and Intel graphics cards
Major graphics card vendors create their own image correction applications.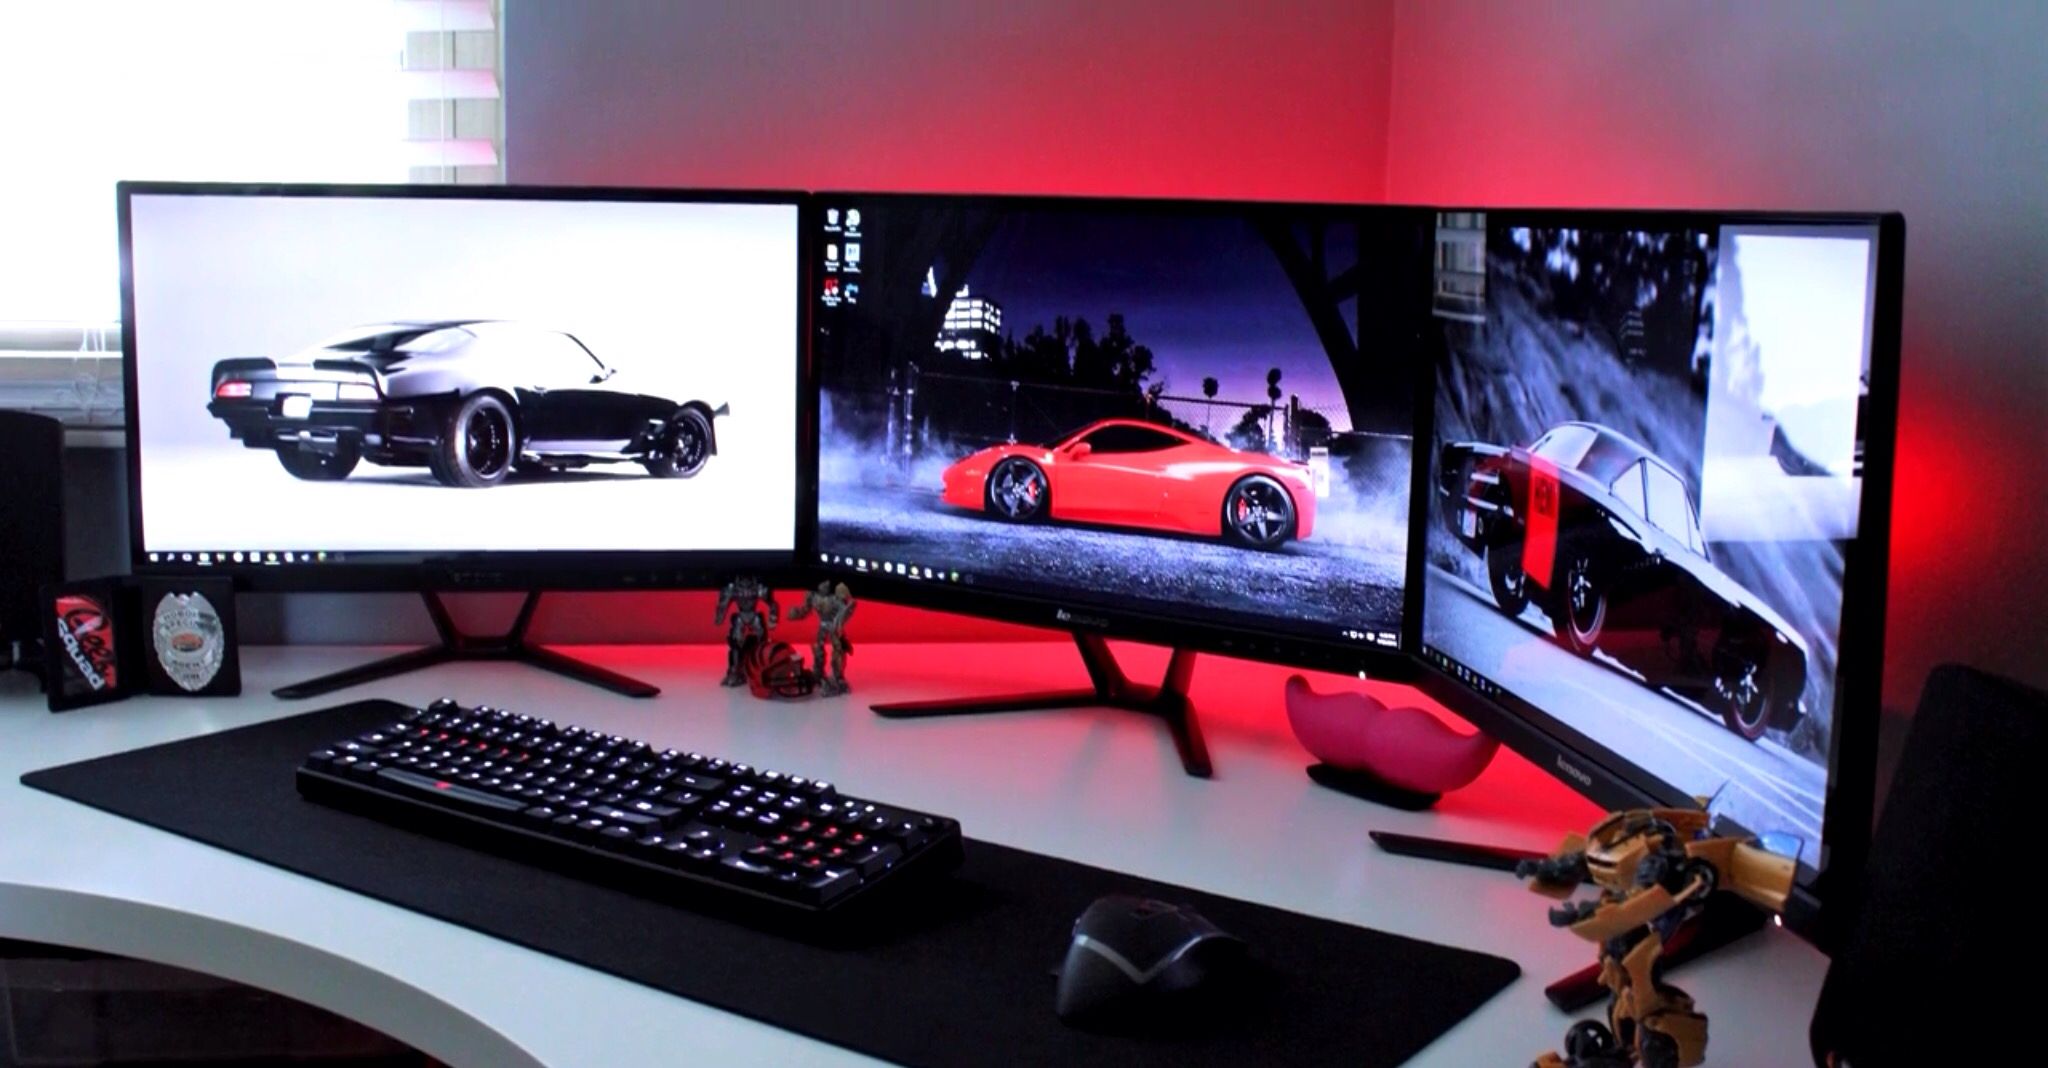 They are usually launched in one of the following ways:
- Right-click on the desktop and find «NVIDIA PU», «AMD Radeon Settings» or «Intel Settings».
- Via the remote control and enter the program name.
- Via Start.
After opening the applications, it remains to follow the recommendations on the screen.
Setting the display of fonts
A person spends most of his time typing on the keyboard and reading information on the monitor, so you need to adjust the fonts so that the user is comfortable at the PC for a long time. The easiest way to do this is with ClearType, which will be discussed below.
If the problem is not in the angularity of the font, but in its size, then the display setting proceeds according to the following algorithm:
- Enter the Win + R combination until the input menu appears.
- Write the dpiscaling command.
- Go to «Set a custom zoom level».
- Set the desired scale.
You can also enter this menu through the remote control, which is done as follows:
- Right-click on Start.
- Go to «PU».
- Carry out the same steps as described above.
To the topic: How to connect a monitor to the system unit: 4 steps
ClearType technology
Thanks to the program, the most convenient text display is configured specifically for each user. Font adjustment should be done when buying a monitor and with each change of ownership. You can do this both during the general calibration of the monitor, and enable ClearType separately by following the instructions below.
First, launch ClearType. The easiest way to do this is through the search on the taskbar in W10, or through the Start menu in W7.
Then:
- Enable the application.
- Select the required display.
- Follow all setup instructions displayed on the screen.
- Confirm selection and restart PC.
An interesting article: How to connect a tablet to a TV or monitor: 7 ways for all occasions
Monitor setup programs
What to do if basic setup utilities are not enough? Third-party applications will come to the rescue. The best among them are summarized in the table below.
Setting up a monitor is a process that can be done by both the pros and those who have just purchased their first computer. After spending a few minutes, you can get a display with perfect color reproduction.
7 rules for choosing and setting up a monitor that kept my eyesight despite 12 hours a day for a PC
This material was written by a site visitor, and a fee was awarded for it.
The strain on vision in our time has become simply prohibitive. Many users, after spending eight hours at a PC in the office at work, get into transport and start scrolling through social networks on their smartphones.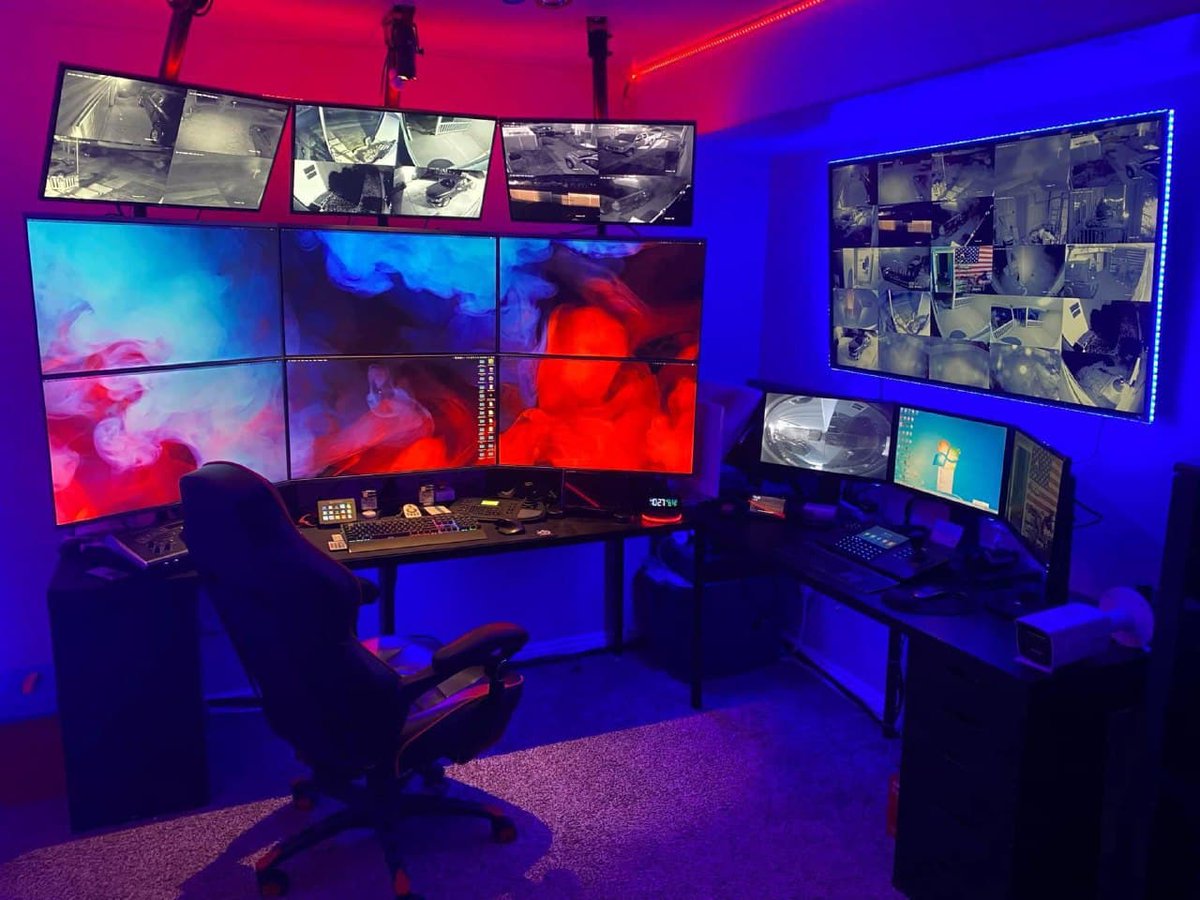 And having arrived home, they “rest” from work already at their home PC or laptop. This is not surprising, because digital entertainment and communication have become part of our lives and the PC monitor shows us movies and TV shows, makes it possible to surf the Internet, chat and play games.
recommendations
Not many people have enough willpower to minimize the time at the PC and take long breaks, and the only thing we can do is minimize the harm that the monitor causes to our eyes. I have been spending 12 hours a day or more in front of a PC for a long time, and so far I have kept my eyesight due to the fact that I carefully choose monitors.
Even though they can last for decades, I change them quite often: sometimes it breaks down, then the monitor is needed by the house, and I give them mine and buy myself a new one, or I manage to sell the whole PC with the monitor for a decent amount, which gives you the opportunity to buy a new, better model.
And over the years, I have developed several rules for choosing and using a monitor that minimize eye damage when working or playing for a PC for a long time, which I will share with you today.
Long screen distance
This is the cornerstone of monitor usage and will also affect parameters such as diagonal and pixel density. Our eyes are designed in such a way that they work better at a distance than at a close one. Work for the near eye is muscle tension, the same as that of a hand clenched into a fist, and sooner or later this will affect vision.
I try to stay at least 80-90 cm away from the screen, and if for some reason, for example, at a party, I have to sit closer, I immediately notice how my eyes react with fatigue and itching to the usual distance of 50-60 cm to the monitor. But a solid distance to the monitor imposes requirements for its diagonal, it must be at least 27″.
Diagonal — 27″ and more
144Hz refresh.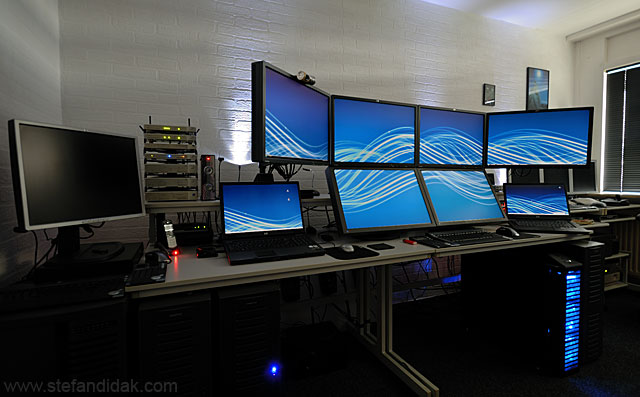 If you translate inches into centimeters, you get a solid figure of 68.58 cm. A smaller diagonal will give more eye strain at a distance of 80-90 cm and above due to small fonts.
Resolution 1920 × 1080
A large distance to the screen dictates the requirement for pixel density — at 80-90 cm from a monitor with a diagonal of 27 «there is practically no difference between 4K and Full HD resolution, and the latter becomes quite enough. But no one bothers you to take a high-hertz Full HD gaming monitor, for example, SAMSUNG C27RG50FQI with a VA matrix and a refresh rate of 240 Hz!0007
All monitors in this blog are Flicker-Free, which means that their backlight does not flicker. The flickering backlight of conventional monitors, especially at low brightness, not only hurts your eyesight, but can even cause constant headaches. Fortunately, Flicker-Free has almost no effect on the price of the monitor and a regular, non-gaming model can be bought at a very affordable price, for example, BENQ GW2780 with a 60 Hz IPS matrix and a response time of 5 ms.
Minimum brightness
I think many of you have noticed how high the brightness is in the settings for monitors and TVs «from the factory». This is done so that the picture on the device looks pleasant even in a trading floor with powerful lighting. Many users leave the brightness turned almost to the maximum, literally burning their eyes out. This can be compared to staring at a bright lamp for several hours. Only monitors with Flicker-Free, such as 9, can reduce brightness without causing backlight flicker.0011 SAMSUNG C27F390FHI with curved screen.
Scaling in Windows
The eyes suffer greatly from small text that has to be read from the screen. I usually use Windows scaling at 150%, which increases the size of all text on the system. Of course, not everyone has the opportunity to put a monitor with a diagonal of 27 «and even move away from it at a distance of almost a meter — you need a large table. In this case, you will have to choose a model with a smaller diagonal, for example ASUS Gaming VA24EHE 23.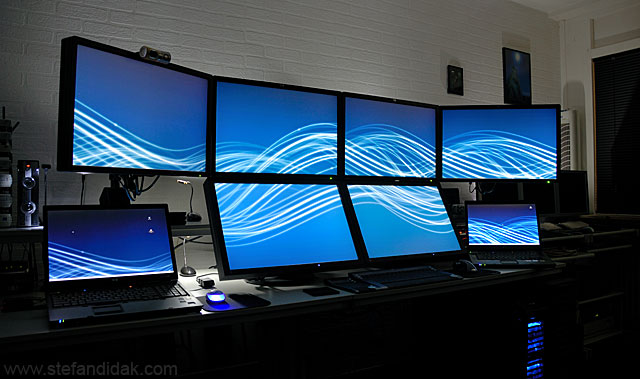 8″. This model impressed me with perfect backlight uniformity, which I have not seen in much more expensive monitors.
Comfortable color schemes many began to use it, thinking that it is safer for the eyes.But its use does not always reduce the load on the eyes, for me, for example, after even a short time of reading light text from a dark screen, it is «imprinted» in the eyes for a long time, making it difficult to see I prefer comfortable, non-contrasting color schemes, replacing white with lighter shades of green.0003
Accessibility features in Windows 10 have color filters that can turn any acid-colored utility or site into eye-friendly, using grayscale and invert, if necessary, by pressing hotkeys.
Summary
I hope these tips help you choose and set up your monitor for maximum visual comfort. But, of course, we should not forget such banal things as regular breaks in work and games, frequent blinking to prevent drying out of the eyes, and the need to periodically look into the distance to relieve tension from the muscles of the eyes.