3 monitor setup: Here’s everything you need to know
Let’s take your gaming setup to the next level with a 3 monitor setup
Updated: Jan 5, 2023 4:58 pm
Share this article…
ASUS VG279Q
Acer B287K Monitor
Acer Nitro VG240Y
What is a 3 monitor setup?
Are 3 monitor setups worth it?
Is a 3 monitor setup expensive?
Is there a size limit to 3 monitor setups?
Three monitor setup vs dual monitor setup
How to set up 3 monitors on one computer
1. Check your GPU for video inputs
2. Make sure you have enough cables
3. Check for available plug sockets
4. Start connecting your monitors to the GPU
5. Switch on each monitor and make sure they’re registering with the PC
6. Configure your 3 monitor setup in Windows Display Settings
7. Save your monitor configuration settings and you’re finished
Best monitors for a 3 monitor setup
Best gaming monitors for 3 monitor setup
ASUS VG279Q
Best editing monitor for multi-monitor setup
Acer B287K Monitor
Best budget monitor for triple monitor setup
Acer Nitro VG240Y
Final thoughts
Despite gaming monitors now seemingly bigger than ever – I’m looking at you 55-inch Ark – there is still high demand for great 3 monitor setups amongst both productivity and gaming users.
For many, a 3 monitor setup is the perfect way to improve their gaming and productivity experience. However, going from a single monitor to a triple monitor setup can be more difficult than you first thought. Luckily, we’ve got a tonne of experience when it comes to multi-screen configurations, explaining everything you need to know about triple monitor setups in this guide.
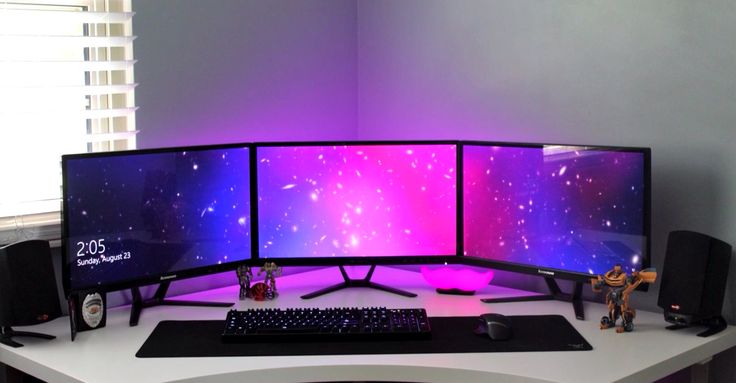
Three monitor setups have been growing in popularity over the years, with many of the best racing sim setups utilizing a 3 monitor setup. It isn’t all about gaming though. Twitch streamers, multitaskers, and everyday users will all find benefits in using more than one monitor – effectively tripling the amount of desktop real-estate they previously had.
All being said, we’re here to discuss everything you need to know when it comes to a 3 monitor setup. We’ll be explaining how to construct a triple monitor setup, what monitors are great for multi-screen usage, comparing 3 monitor setups to dual monitor setups, and more in this simple guide.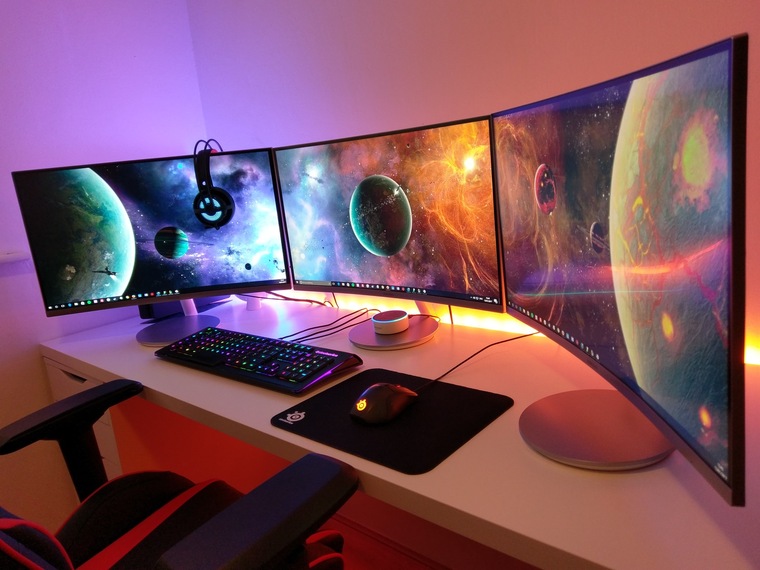
What is a 3 monitor setup?
A three monitor setup is a computer setup in which three monitors are used at the same time. In 3 monitor setups, the monitors in question can be oriented in any formation, attached by HDMI, DisplayPort, VGA, DVI, or Thunderbolt 3.
As you can imagine, a 3 monitor setup can be incredibly versatile. Whether you’re into gaming, content consumption, productivity, or editing, most people can find benefits from using a triple monitor setup. They’re particularly handy for individuals that like to have numerous tabs and processes running at the same time, allowing them to maintain high levels of productivity on a 2nd or 3rd screen.
For gaming, the racing sim is arguably the most common use case for a 3 monitor setup. Many games support a multi-screen setup though, allowing you to experience your virtual world from a complete different angle.
Are 3 monitor setups worth it?
That all depends on what you plan to do when you’re on your PC. If you’re the sort of person that likes to play competitive games but does a little bit of work on the side, chances are you probably won’t reap the full rewards of a triple monitor setup. That said, for individuals that use Twitch, a triple monitor setup can be extremely versatile.
Popular streamers will use 2 or even 3 monitors to ensure they’re not only interacting with their audience but also allowing them the freedom to seamlessly flick between their streaming software and other applications. Having a dedicated third monitor for your Twitch chat is also incredibly handy as it means you can interact with a larger percentage of your audience.
Twitch streaming aside, a 3 monitor setup is also great for productivity users and traders. If you’re looking to keep a keen eye on a number of different stocks or currencies, the best way of doing so might be with several screens. Some people love having Bitcoin prices visible at all times – especially when you consider the volatility of cryptocurrency.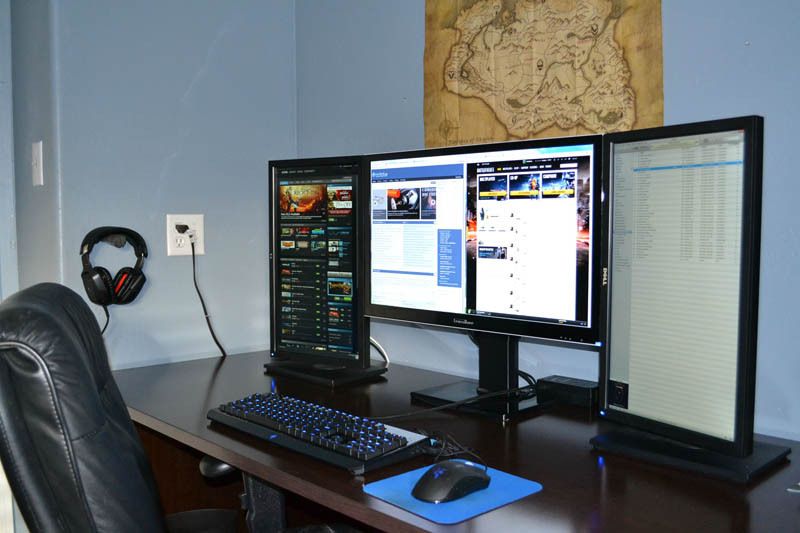
Below we have listed the most common scenarios which would benefit from a three monitor setup:
- Racing simulator/gamer
- Trader
- Video/photo editor
- Productivity user
- Individual working within social media
- Twitch Streamer
- Journalist
Is a 3 monitor setup expensive?
That all depends on the monitors you plan to use. There are plenty of smaller, budget-tailored 24 inch monitors that are great for triple monitor setups. You don’t have to get the best gaming monitors for a multi-screen configuration – you can use something much less premium.
That said, if you want a great gaming experience, you will have to prioritize high refresh rates and low response times. This way you won’t be riddled with screen artifacts like tear and smearing.
Overall, you can create a 3 monitor setup for any budget. If you want the cheapest possible setup and don’t prioritize gaming, you can grab yourself three budget 60hz monitors and away you go. However, if you plan on gaming quite regularly, you will likely have to pay a premium for atleast one of the screens in your setup.
Is there a size limit to 3 monitor setups?
Strictly speaking, no – you can theoretically use any monitor as part of a 3 monitor setup.
That being said, with 4K monitors now offering up high refresh rates, not all GPUs will be able to accommodate a large 3 monitor setup.
For many, the perfect specifications for a 3 monitor setup seem to be 24-27 inches per panel, with a 144Hz refresh rate across the three.
Three monitor setup vs dual monitor setup
So, do you go dual monitor setup or three monitor setup? Of course, the three monitor setup is much more versatile than the dual as it comes equipped with an additional 24 inches (minimum) of screen real estate. However, you may not need that additional workspace.
If you feel you can be more productive with a dual monitor setup, you will save yourself a few bucks in the process. Of course, if you’re only getting two monitors, you’ll be able to splash out on slightly more premium options – allowing you to get a better experience on a monitor-by-monitor basis.
Furthermore, two monitors only requires two input cables from the GPU. Let’s not forget, not every GPU offers three video inputs – meaning you may actually be limited to a dual monitor setup.
How to set up 3 monitors on one computer
If you’re all in on an 3 monitor setup, let’s take a closer look at how to set one up.
Luckily, the process for setting up 3 monitors on your computer is incredibly easy. However, there are some preliminary checks you need to do.
1. Check your GPU for video inputs
One of the first things you need to do before, well, even buying the monitors is to check whether your GPU can accommodate a triple monitor setup.
Check the rear of your GPU to see if it has three inputs available. If it does, then we’re off to the races.
2. Make sure you have enough cables
The next thing you need to do is ensure you have all the relevant cables for your new setup. You’ll need to match your cables with the inputs found at the rear of your GPU – as not all GPUs offer three HDMI or DisplayPort options.
Instead, you’ll often find each GPU with a mix of inputs (HDMI, DisplayPort, VGA, DVI).
3. Check for available plug sockets
Again, while this might sound basic, it’s something people often overlook. Make sure you have all the available plug sockets before starting.
4. Start connecting your monitors to the GPU
If you have all the available cables, inputs, and sockets, start connecting your displays to the GPU.
At this stage, it might be worth labelling (sticky label) each cable with numbers so you can easily determine which cable goes to which monitor.
While this might sound stupid, it does help if you need to change monitors, cables, or are just reorganising your setup.
5. Switch on each monitor and make sure they’re registering with the PC
At this stage, each monitor should turn on and display either a black screen or your desktop background. If your monitor’s standby light isn’t active or you see the monitor cycling through the display inputs, chances are, it isn’t being recognized by the PC.
If this happens, you may have to skip to the next step and try to manually get the monitor to register. Of course, a monitor not working with a PC is fairly slim, so I wouldn’t worry a great deal.
6. Configure your 3 monitor setup in Windows Display Settings
At this stage, you’ll want to head into your Windows Display Settings (Right-click desktop and select if from the options) to configure them properly. Unless you’re lucky, you’ll often find that the orientation of the monitors is out.
For example, the monitor on the far left has actually been assigned the centre position – and so forth.
Inside Windows Display Settings you’ll be able to drag and drop the monitors into the correct orientation.
If you don’t know which monitor is which, simply ‘Identify‘ the monitors by pressing the ‘Identify’ button underneath the screen configuration section of Windows Display settings.
7. Save your monitor configuration settings and you’re finished
You can apply the settings at the bottom of the window. If it asks you to confirm the settings, simply confirm them and close the window.
Best monitors for a 3 monitor setup
If you’re interested in a more versatile multi-monitor setup, you’re probably wondering what the best monitors are for that job. Fortunately, we have a lot of experience when it comes to monitors, allowing us to recommend displays for all scenarios.
Below we have listed some of the best monitors for 3 monitor setups:
Best gaming monitors for 3 monitor setup
ASUS VG279Q
Size
27″
Refresh Rate
144Hz
Response Time
1ms
Panel Type
IPS
Resolution
1920 x 1080
The ASUS VG279Q might be an aging panel now, however, it still offers excellent value for money and decent gaming performance in a triple monitor setup. It offers a respectable 144Hz refresh rate, low 1ms response time, and IPS panel technology.
Best editing monitor for multi-monitor setup
Acer B287K Monitor
Refresh Rate
60Hz
Response Time
4ms
Screen size
28″
Resolution
3840 x 2160
The Acer B287K is a great monitor for a dual/triple monitor setup. It offers good coverage of the sRGB spectrum, decent colors right out of the box, and an sRGB emulation preset that is incredibly accurate. While it only has a 4ms response time and low 60Hz refersh rate, it does bring a 4K resolution to the party.
See the full Acer B287K monitor review here.
Best budget monitor for triple monitor setup
Acer Nitro VG240Y
Size
23.8″
Refresh Rate
75Hz
Response Time
1ms
Panel
IPS
Resolution
1920 x 1080
The Acer Nitro VG240Y is a budget monitor that, despite its price tag, still ticks a lot of the right boxes. It may not be as big as the previous two mentions, however, it still provides enough screen real-estate when it comes to a 3 monitor setup.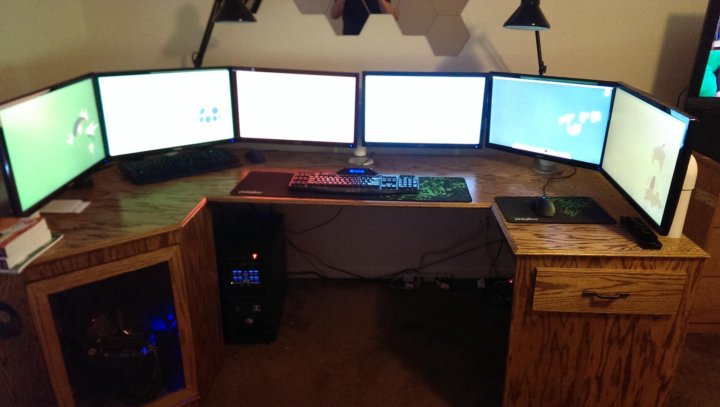 It feature an IPS panel, low 1ms response time, and 1080p screen resolution – not a bad combination of specifications for everyday use.
Final thoughts
So, there you have it, our quick guide to 3 monitor setups. Hopefully we’ve explained everything you need to know if you are considering upgrading your current gaming setup. If not, feel free to drop us a question in the comments section and we’ll get back to you as soon as we can.
WePC is reader-supported. When you buy through links on our site, we may earn an affiliate commission. Learn more
How to set up three monitors for ultrawide multi-monitor PC gaming
Curved monitors like the Samsung CHG90, Acer Predator Z35p and AOC AG352UCG are all well and good for making you feel more immersed in a game, what with those ultrawide edges supposedly wrapping themselves closer round your eyeballs like some kind of pixelated caress on your peripheral vision, but let’s face it. Curved monitors are hideously expensive and any bend they do possess is often so tiny that you’d be forgiven for thinking you’ve actually bought a flat screen by mistake.
Watch on YouTube
No, the only way to get truly suckered into a game is to go multi-monitor. I’m not talking two monitors, either. I’m talking about creating a THREE-sided boxed-in bezel palace that shuts off all notion of the outside world. Here, there are only games stretching, quite literally, as far as the eye can see. And I’m going to tell you how to set it all up in five easy steps.
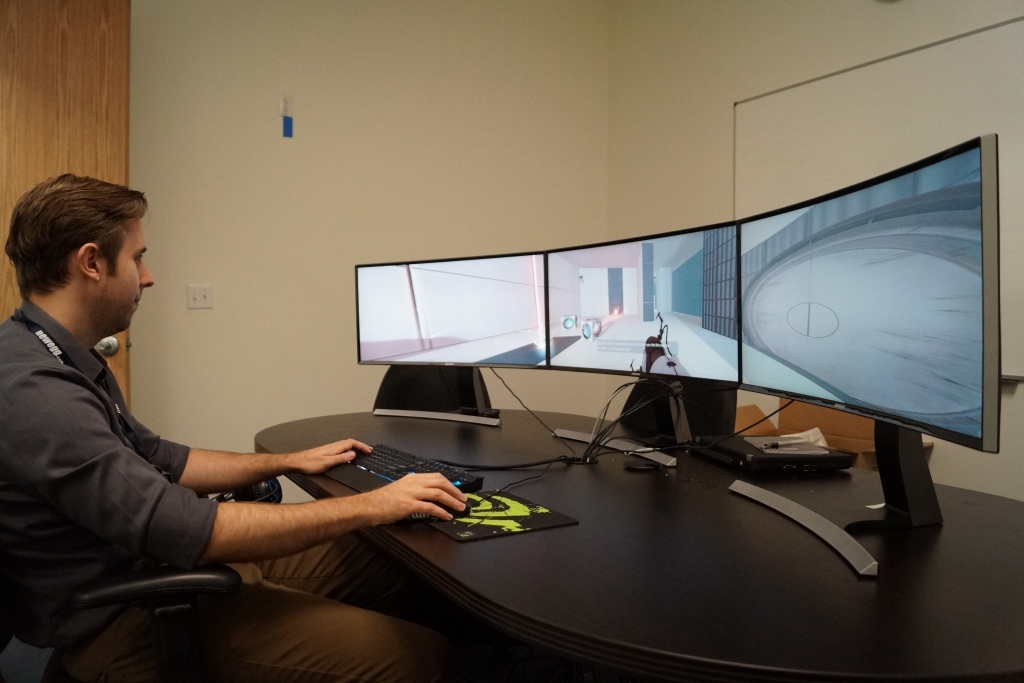
Step One: Don’t try and fit three 27in monitors on a desk that can barely hold two of them without one hanging dangerously off the edge.
Okay, the real Step One: The first thing you need to do is make sure you’ve got a graphics card with enough outputs on the back to support three monitors. Doesn’t matter what combination of ports you’ve got. As long as you’ve got three or more and your graphics card supports more than two displays, then you’re good to go. My Nvidia GeForce GTX 1070Ti, for example, has three DisplayPorts, one HDMI and one DVI-D, and for the purposes of this experiment I used two DP and one HDMI.
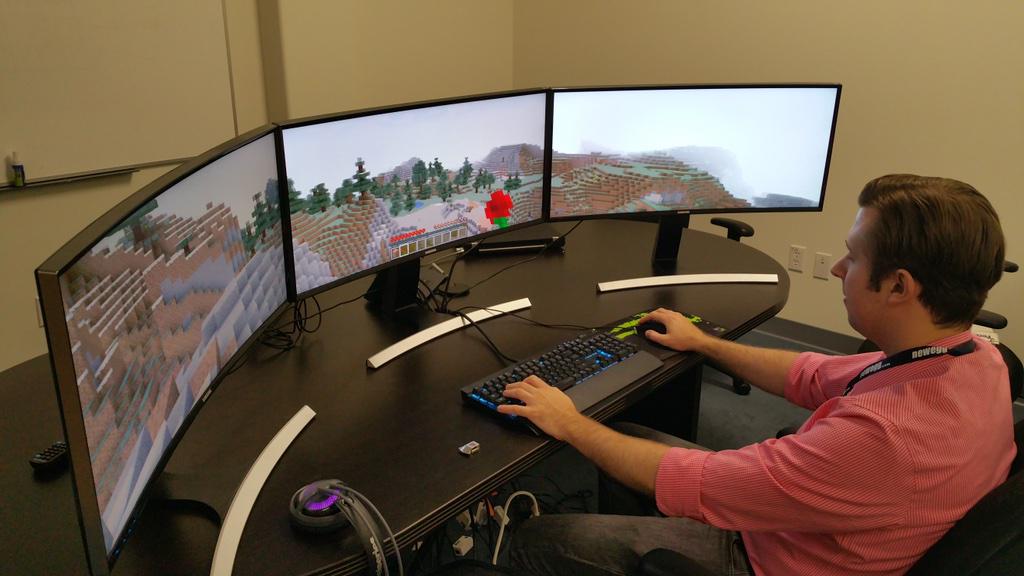
Step Two: Buy/scrounge/cobble together three monitors and connect them up to your PC. It doesn’t matter if they’re all the same screen or a different make — you just need three of them. If you need some help deciding what screen to buy, then have a gander at our best gaming monitor list and buying guide.
Step Three: Once you’ve acquired and arranged your displays, preferably not hanging off the edge of your desk, then it’s time for the fun bit — setting them up. If you’re running Windows 7 or Windows 8, just right click anywhere on your desktop and select Screen Resolution. Windows 10 users, on the other hand, will need to right click and choose Display Settings. Once there, you’ll need to arrange each monitor correctly. Click Identify and a big number will pop up on each screen.
Click to expand…
Make sure they match the order that’s shown in the Display Settings menu and drag and drop them into place if not. Windows 10 will save any changes automatically, but Windows 7 and 8 peeps will need to click Apply for anything to take effect.
Next, you’ll want to select ‘Extend these displays’ in the Multiple Displays option. I’d also recommend making your central screen your main display, as this is where your shortcuts will be placed. You can, of course, make a different one your main display if you prefer.
Step Four: So now we’re all set up for using three monitors for everyday use, it’s time to configure them for gaming. This is done through your Nvidia or AMD control panel.
For Nvidia graphics cards, you need to enable Surround. To do this, find the 3D Settings option on the left hand menu and select ‘Configure Surround, PhysX’. Tick the box that says ‘Span displays with Surround’ and hit Configure. You’ll probably need to close some programs before you do so, but once that’s done you’ll be taken to the Surround Setup screen.
Click to expand
A bit like the Windows display settings, you’ll need to make sure the monitors are all in the correct order. Select 1×3 in the Topology box, and then tick the boxes in the Display menu underneath to match the numbers being displayed onscreen.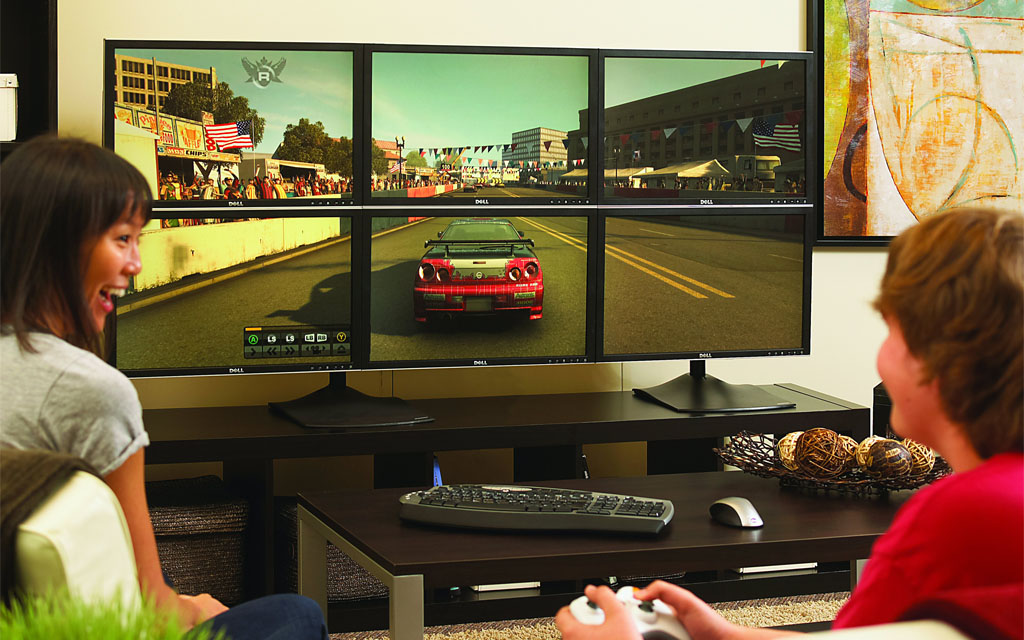 Check the resolution’s as high as it can go in the Resolution box, and make sure your refresh rate is set to 60Hz (or higher if all three of your monitors support higher refresh rates). Then click Apply.
For AMD owners, you’ll need to enable Eyefinity. Open up AMD Radeon Settings and click the Eyefinity tab along the top menu.
Now, Quick Setup is fine if your monitors all have the same resolution, but you’ll need to use the Advanced Setup if your monitors are different. In my case, I had two 2560×1440 monitors and one 3840×2160 one and Quick Setup doesn’t take into account 4K scaling, so I had a giant black bar across my 4K screen from 2560 pixels down. For what it’s worth, Nvidia’s Surround software just gets on with it and handles it all automatically, negating the need for the faff that’s about to ensue.
In Advanced Setup, select 3×1 in the layout option and hit Next. Then it will ask you what orientation you’d like, but unless you want to throw any vertical monitors into the mix, just hit Next. Now it’s arrangement time. Here, you’ll need to click Start Arrangement and select which box corresponds to the location of the monitor that’s currently highlighted in blue. Hit next.
Now you’ve got to align them, which is the fiddly part. The Align All tool is quite handy, as this repositions everything automatically, but you can faff around with it manually if you really want to. Those with different monitor resolutions will have to ignore the numbers, as they simply don’t match up. For sake of argument, I used the tool to have my two smaller outer monitors aligned in the middle of the 4K one. Once that’s done, you’ll need to decide how your desktop’s going to be shown onscreen.
I picked the Fill option here, as it was the only one that brought my 4K monitor in line with my two 1440p ones without cutting anything off. Yes, you lose some of the top and bottom resolution of the 4K monitor (essentially making it a third 1440p monitor), but that’s the price you pay for ultrawide gaming on different monitor resolutions.
Step Five: Once that’s all done, congratulations! You’re ready for some incredi-widescreen gaming, like playing Final Fantasy XII: The Zodiac Age in an aspect ratio no one ever asked for or really needs.
Fancy playing Final Fantasy XII across three monitors? Well, now you can!
You’ll need to configure the resolution for each game you play (not all games support three-monitor setups, but the WSGF has a pretty extensive list of those that do), but otherwise you’re pretty much good to go. You may also want to fiddle with the field of view setting if you can, as low fields of view can make everything feel a bit too close while higher ones might look too distorted.
It’s also worth bearing in mind that some games will still revert to a single 16:9 screen during cutscenes and pre-rendered video, as these sections were obviously never intended to support this ridiculous kind of aspect ratio.
You may also want to turn off Nvidia Surround or AMD Eyefinity for everyday multi-monitor use as well, as maximizing any given window will see it hogging your entire three-screen setup rather than just a single monitor. Wallpapers and such will also stretch across the entire display area with Surround and Eyefinity turned on, whereas you’ll get three separate desktop backgrounds when they’re disabled.
Otherwise, enjoy your new multi-monitor setup and happy gaming.
Frequent problems with multiple monitors
Solutions
There are many benefits to working with multiple monitors — even when compared to a single huge ultra-wide monitor — from increased productivity to the versatility of placing them on your desk. But life isn’t always perfect. Sometimes you plug in a second monitor and it doesn’t work or minimizes the game every time you accidentally move your mouse over it.
If you’ve followed our guide to setting up multiple monitors and are having trouble, check out the list of the most common problems with multiple monitors below and learn how to fix them.
No signal
When you see «No Signal» on your new monitor, it can be cause for concern, but it’s probably the simplest problem. The appearance of such an inscription simply means that the visual data does not reach the display. There are a number of reasons why this happens and many solutions to fix this problem.
Use Windows Detection: Windows may not have recognized that a second display is connected. To force the system to detect connected devices, right-click on the desktop and select «Display Settings» from the menu that appears. In the Display Settings window, click the Detect button.
Turn the screen off and on again: Some connection types do not support hot-swapping when the monitor is on. Turn the display off and on again. This may be all that is needed in order to recognize the video and start displaying it correctly.
Check cable connections: this may seem obvious, but a loose cable is one of the most common causes of a signal transmission error. If you think the cables are secure, unplug them and plug them back in to make sure.
Make sure you select the correct connector: monitors with multiple connector options need to select which cable you are using. Use the buttons on the monitor to make sure you select the same input as the cable you are connecting to.
Replace data cable . If you’re using an older cable standard like VGA or DVI-D, you can try a newer alternative like HDMI or DisplayPort. You can also just replace the cable with the same one you are using in case there is a problem with that particular cable.
Replace graphics port: If you are using a dedicated graphics card with multiple outputs, try replacing the one you are using. Sometimes the ports themselves can be damaged, and to fix the situation, you just need to change the port.
Update drivers. Although Windows 10 supports multiple monitors by default, the setup might fail for some reason. Make sure your system is using the latest graphics drivers — this can sometimes fix the problem of no signal.
If you’re still having issues with the secondary monitor, make sure it works when connected separately. Detach the other screen and repeat the above steps. If it helps, try using it as your main screen until you find the cause of the problem. If this does not help, we recommend that you contact your retailer or manufacturer to discuss a return or screen replacement.
Wrong resolution
If you plugged in a new monitor with a higher resolution and find that it is not displaying at the correct resolution, it may be borrowing some settings from your old display or simply trying to fit a different existing screen.
Step 1: Right-click on the desktop and select « Display Settings » from the menu that appears.
Step 2: In the top window, click on the monitor you want to edit.
Step 3: Scroll down and find the heading « Scale and layout «. In the Resolution section, select the correct monitor resolution from the drop-down menu.
Step 4: Choose the screen resolution that suits you best. Windows 10 will mark one of these resolutions as «recommended» depending on your display configuration.
If that doesn’t help, make sure your monitor and video card can handle the resolution you’ve chosen. If you’re still having issues, try updating your graphics drivers.
Note: You can use two monitors of different sizes, refresh rates, and resolutions only if you have the correct cables. However, monitors will still be limited by their individual characteristics. If one monitor has a significantly lower resolution than another, then it won’t get bigger, and some things will naturally look different. When installing two monitors, we recommend that you do not overclock settings such as the refresh rate. GPUs already struggle with dual monitors, so don’t make it harder for them.
Incorrect update rate
If you’ve bought a cool new gaming monitor with a high refresh rate, you’ll want to make sure you’re taking full advantage of its power. Windows 10 has a tendency to not choose the fastest settings supported by a new display, so manual adjustment is often required.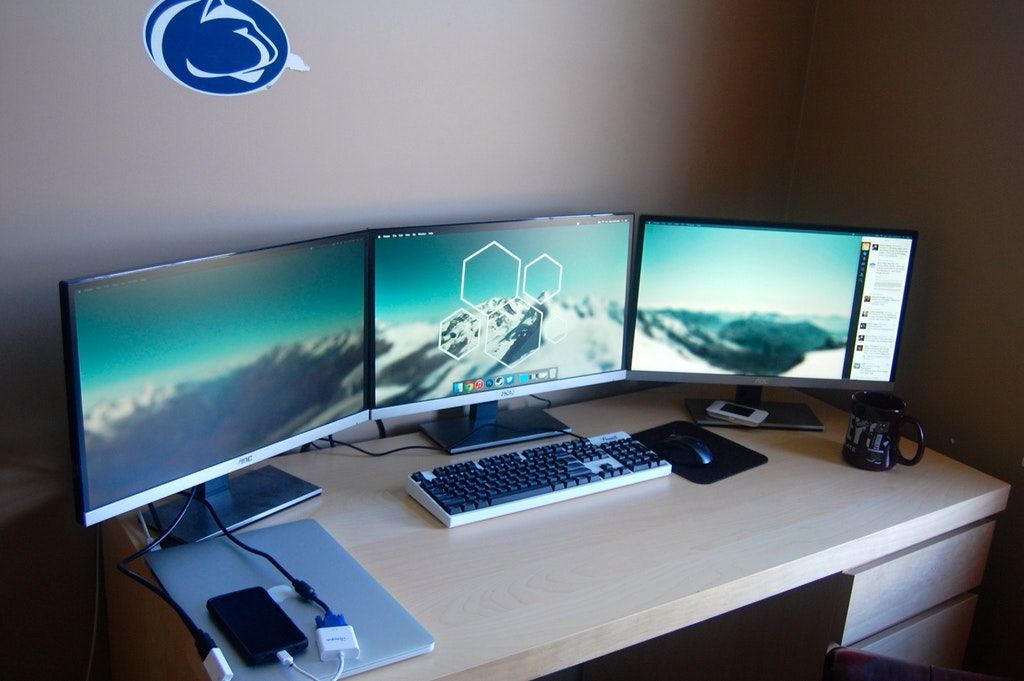
You can double check your monitor’s refresh rate with tool Testufo .
Step 1: Right-click on the desktop and select « Display Settings » from the menu that appears.
Step 2: Scroll down to the bottom of the window and click « Advanced Display Settings «.
Step 3: Click « Show adapter properties for X » where «X» is the display whose refresh rate you want to adjust.
Step 4: Select the 9 tab at the top0017 Monitor «.
Step 5: Under the heading « Monitor Settings «, open the drop-down list to select the refresh rate you want.
Duplicate or extended screens
There are several ways to display content on two screens, but «Duplicate» is often the default. If you have a copy of what’s on your home screen and you want your screen to be extended, here’s how to change that.
Step 1: Press Windows key + P to bring up the Project menu.
Step 2: Select «Expand» by clicking on it with the mouse or by using the right or left arrow keys and pressing the «Enter» key, or by pressing the Windows + P keys to cycle through the options.
You can also right-click on the desktop and select «Display Settings» and select «Multiple Displays» from the drop-down menu at the bottom of the window. You can also customize which monitor is shown on the left and which is on the right by dragging the numbered displays at the top of the window.
In the same way, you can change the display from » Extend » to » Duplicate «, if this way of display suits you better.
Can connect 2 monitors, but not 3.
If you are working with three monitors, you may find that the first two monitors connect without problems, but the third monitor may not respond at all or behave differently than the others.
Disconnect monitors and connect each monitor in turn: is sometimes enough for the computer to recognize and use all three monitors correctly.
Make sure «Extend these screens» is selected in Settings: Under «Multiple screens» under «Screens in Windows 10», the option «Extend these screens» must be selected. It’s also a good idea to check all display settings to make sure they’re set to work with multiple monitors: sometimes a Windows update can reset them. Make sure all graphics drivers are up to date: install updates and reboot if necessary.
Games keep winding down
If your games keep minimizing for no apparent reason when playing on one monitor, you may have accidentally tapped the bar on your second monitor. Some games do not lock the borders of their full screen window , which means that when hovering over the edge of the screen, the pointer may jump to a second window.
When pressed, this second screen, or something on it, is selected, minimizing the game. This is especially problematic for games that don’t use a mouse, such as FPS . Here are some ways to solve the folding problem:
Check the display settings in the game itself. If you are playing in windowed mode, try switching to full screen mode. If that doesn’t help, try switching to borderless window . In this mode, the mouse can move to another screen, but this will prevent the game from minimizing. To return to the game again, you just need to click back on the window.
Applications such as the Dual Monitor Tool can bind the mouse pointer to a single monitor. After you are done playing, you will need to unlock it.
Turn off the second screen. It’s a bit drastic, but if you disable the second unnecessary screen while playing, you won’t be able to get to that screen in the middle of the game. You can do this by pressing the power button or by pressing Windows key + P and then select « PC screen only » from the list.
Distortions and artifacts
Sometimes the second monitor works, but there are distortions and artifacts on it that make it difficult to use or make it impossible to use in games. If your first monitor doesn’t have these display issues, then the problem is probably with your hardware. It can usually be fixed by doing the following:
Check monitor ports: make sure all ports on your computer are clean and free of dust. If there is still dirt, very carefully clean it with gentle jets of compressed air and check for damage in the port or cable.
Buy a new cable for the second monitor: Your cable may be outdated and broken. This is especially true if the cable is unshielded and is subject to interference from Wi-Fi, Bluetooth, and nearby electrical interference. Choose a new cable with good shielding.
Shorten the cable length: choose a new cable shorter than the old one. The longer the data travels on the cable, the greater the chance of interference, so a shorter cable can reduce artifacts and similar problems.
If you’re using converters or adapters, try connecting without them: look for cables that don’t require separate adapters or switches to manage.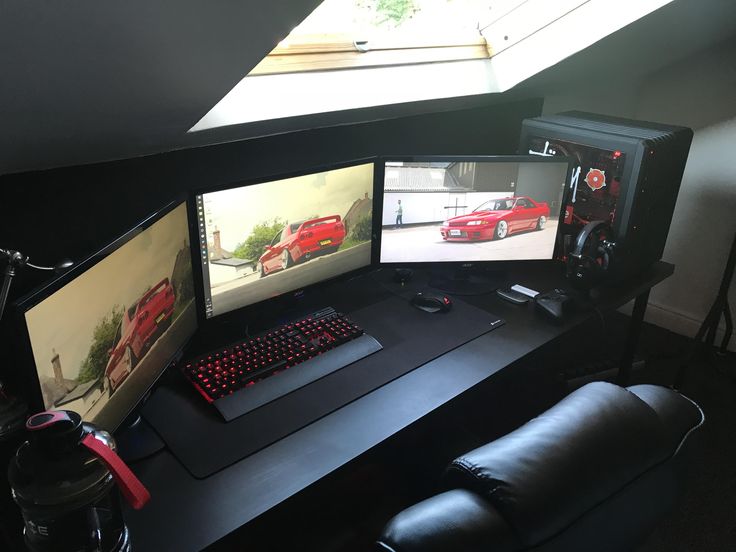
Additional monitors suddenly stop working
If you’ve been using multiple monitors for a while now and everything was fine, but all of a sudden the extra monitors just stop working. Fortunately, this can usually be fixed.
Check your connections: check that the second monitor is connected correctly and that the cables have not been disconnected since the last power-up.
Remind Windows: Sometimes Windows hangs a bit and sort of loses information about additional monitors. Restart your graphics card drivers by pressing the Win + Ctrl + Shift + B keys. Hold them for a second and release. See if that helps bring the second monitor back to life.
Restart everything: turn off Windows and all monitors. Then turn everything back on. Often this helps solve the problem.
Roll back driver updates if necessary: If the display driver has recently been updated, this may also be causing problems. Go to «Device Manager», select «Display adapters» and select your display adapter to see more. Go to Properties, find the Driver tab and select Roll Back Driver.
Scaling issues related to high resolution Windows device
Overview
When you use a Surface Pro 3, Surface Pro 4, or Surface Book HD device with external monitors, you experience the following problems:
-
Elements such as applications, taskbars, icons, toolbars, text, and dialog boxes are not displayed clearly.
-
Items are too large or too small compared to the rest of the desktop.
-
Blurry text appears in applications or in the Windows interface.

Although these symptoms may appear on a single monitor, they are more common when using multiple monitors that have different screen resolutions. This behavior is also seen when the hardware configuration changes, such as when you dock and unpin a device that is using an external monitor, or unpin the external monitor from the device.
These problems usually occur in the following cases:
-
Applications move between monitors using different display resolutions.
-
Monitor what applications are displayed for changes between docking station and configurations.
-
Users mix connections during the same logon session.
 For example, users sign in using Remote Desktop (RDC) and later connect directly without first signing out.
The display of information about is determined when the user logs on. The login/logout process resets display information and improves behavior. However, the problem recurs when you change the monitor configuration during the same logon session, when you dock or unpin the device, or disconnect the external monitor.
This problem is becoming more common as monitors introduce 4K and higher resolutions, especially when these monitors are mixed with older standard monitors.
For more information about how to scale Windows applications, see Core Groups blog:
Scaling in Windows 10 images
Show change scale for Windows 10 Anniversary Update
Zoom performance improvement
Improved support for high DPI desktop applications
Solution
To resolve this issue, use the following methods.
-
Check for software updates Improvements are continually being added to Windows 10 and Office 2016 apps. If certain problems occur, first check to see if it has disappeared in the latest release of Windows or a cumulative update. To check for Windows 10 updates, see the following article in the Microsoft Knowledge Base:
Windows 10 update stories
-
Appropriate screen resolutions Consider deploying monitors with additional resolutions.
When using multiple monitors (including docking or connecting to remote displays), problems may occur that are caused more by differences in resolution between external devices and native devices. See the OneDrive presentation below for more information:
Multi-monitor support manual and Surface Pro 3
-
Check for known issues For more information about known issues in these specific products, see
Office 2016
Office applications are displayed incorrectly or blurry on an external monitor
Note. Office 2016 applications launched starting September 2016. Additional updates are planned.
Internet Explorer
Internet Explorer 11 window display changes between the built-in device monitor and an external monitor
Workaround
To work around the scaling issue, try the following:
-
Setting screen parameters
Windows 10Select Show > Resize text, apps, and other items and then drag the slider for each monitor.
Legacy Windows systems
Right-click the application, select Properties , select the Compatibility tab and check the box Disable image scaling at high screen resolution .
-
Changing application properties In File Explorer or the Start menu, right-click the application name, select Properties , select the Compatibility tab, and check the box Disable image scaling on high DPI .
Note
In Windows 1703, version 10 and later, the text setting disable screen scaling at high DPI is changed to scaling is performed to override the high DPI behavior: application .
-
Check if an application is DPI capable To determine if an application is scalable, follow these steps.
-
Download and run Sysinternals Process Explorer Programs.
-
In Process Explorer, click Columns, and then add column DPI Awareness to the view.
-
Start the application to be tested.
-
In Process Explorer, find the application and then view column DPI Support .
State of awareness definitions dpi
Each monitor to remember: Monitor per inch. These applications check the DPI at startup and adjust the scale whenever the DPI value changes. These applications are not automatically scaled by the system.
Type of system: System in. These applications do not scale to change dpi. Request a DPI resolution once and then use that value for the lifetime of the application. If the DPI changes, the application does not adjust the DPI value. It will automatically scale up or down on the system when the DPI changes with the system value.
Know: fixed dots per INCH. These applications do not scale to change dpi. They always assume that the scale is 100 percent (96 dots per INCH). These applications are scaled automatically by the system at Screen Resolution.
For more information, see the following MSDN topic:
PROCESS_DPI_AWARENESS enum
-
-
Report a problem Many user interface elements have been updated due to customer feedback. Because scaling issues can include multiple symptoms and configurations, feedback from users can help us identify specific situations and prioritize updates development.
Follow these steps to provide this feedback.
-
Write monitor configuration.
 To do this, take a screenshot of the window ( Start > Settings > System > Display ).
 -
Please note, for each monitor, make and model, scaling percentage and resolution.
-
Write down the steps you need to take to reproduce the problem.
-
Before and after scaling issues take screenshots or videos of the desktop and applications.
-
Run DXDiag.exe on the system.
-
MSDN: Building DPI-enabled Win32 Applications
High DPI
TechNet
High DPI Support for IT Professionals
Thurrott’s blog: July 13, 2015 accounting regarding scaling.
 The article is based on the «Devices» chapter of the 10 box of the Windows manual.
 Windows 10 feature focus: Display scaling
Windows Blog: July 15, 2013.
Windows 8.1 DPI scaling improvements
Buildings 2015: Display scale: what it is and what you need to know about it to have excellent visual objects
http://channel9.msdn.com/Events/Build/2015/2-63
http://video.ch9.ms/sessions/build/2015/2-63_Build_2015_Windows_Scaling.pptx
Build 2014:
Windows Desktop Development Platform improvements
http:/video.

-