Connecting to Raspberry Pi without a monitor for Beginners
Congrats on your new Raspberry Pi. You are holding a great little device with a unlimited potential in it. You can create your own version of Dropbox, or a crazy little LEGO tank of maybe a server to host your own website with this little credit card sized computer.
Like most of the users, you probably don’t have a spare monitor, keyboard or mouse lying around or maybe, just the thought of working on a Pi with it’s separate keyboard, mouse and a monitor big enough of a pain that your Pi has been gathering dust for a long time now.
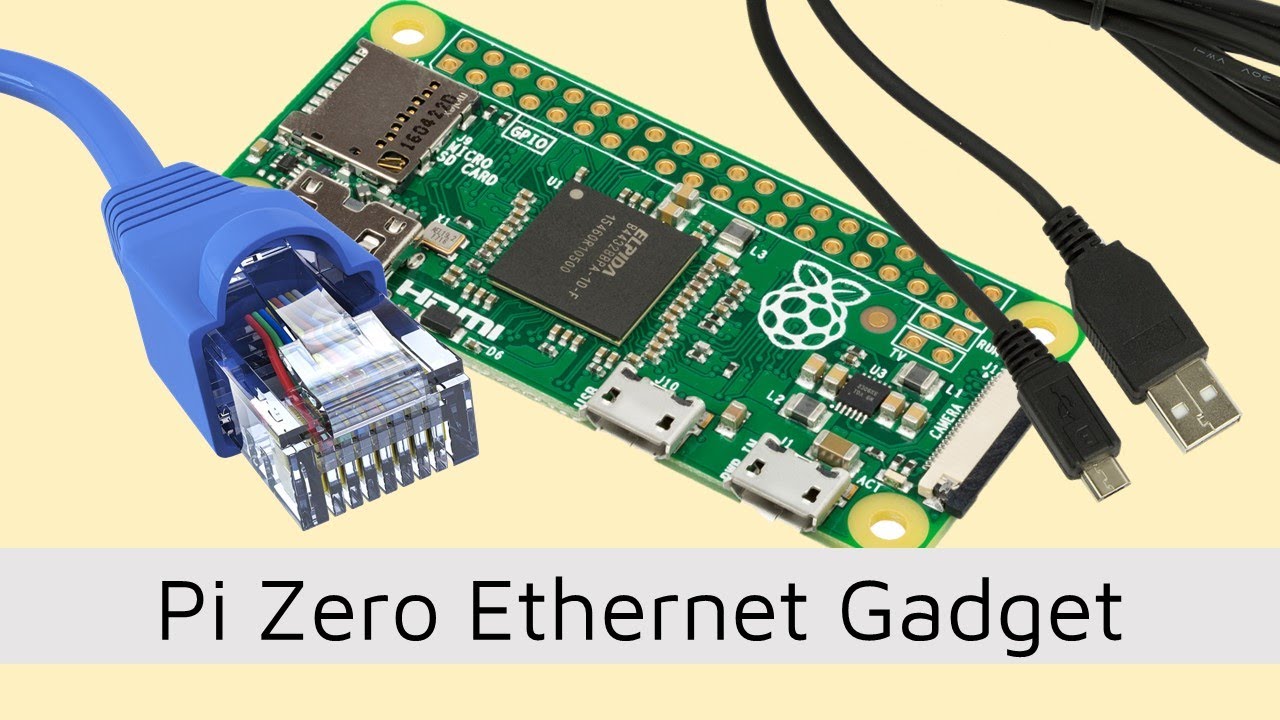
So here’s a guide which will help you to set up Raspberry Pi so that you can directly access the terminal or the Desktop via VNC over the network (WiFi or Ethernet) without the need for a monitor, keyboard or a mouse. This mode is called Headless mode for connecting to the Raspberry Pi.
This one is going to be a bit long, but you can reap endless rewards once you are done with it.
The Dexter Industries SD card comes configured with Bonjour, software which allows you to get the networking up and running with zero configuration.
- If you are using Windows and don’t have iTunes installed, download Bonjour from here and install it, then move down to the Windows section below.
- If you are on a Mac or already have iTunes installed then you have everything you need, and just move on down to the Mac section below.
- If you are using your own image, just install avahi-daemon in your Raspbain image:
sudo apt-get update
sudo apt-get install libnss-mdns
Windows
- Make sure the Raspberry Pi board is switched off, motors are not connected and the batteries are not connected.
- Make sure your sd card is in the Raspberry Pi securely.
- Plug in your wifi dongle to a USB port on the Raspberry Pi.
- Connect your ethernet cable to your computer and to the Raspberry Pi.
- Plug in the wall power adapter into the Raspberry Pi, and then plug it into the wall to turn the power on. Once the power is connected to the wall, the Raspberry Pi will be on.
- On your computer, open Putty and enter the Host Name as raspberrypi.local and press open.
If everything goes according to plan, you’ll be prompted with a security prompt. Press “Yes”
This will open a terminal and ask for a Username and Password. The username is “pi” and the password is “raspberry“. After entering the credentials, you’ll get logged on to the Raspberry Pi terminal.
Next, go down to Step 2, where you will set up your Wifi.
Mac
- Make sure the Raspberry Pi board is switched off.
- Make sure your sd card is in the Raspberry Pi securely.

- Plug in your wifi dongle to a USB port on the Raspberry Pi.
- Connect your ethernet cable to your computer and to the Raspberry Pi. (If you have a Macbook air you may need an ethernet to USB adapter)
- Plug in the wall power adapter into the Raspberry Pi, and then plug it into the wall to turn the power on.
- Open “Terminal” on your computer. This can be found in Applications/Utilities folder. You can also just search through it with “spotlight” (click on the magnifying glass on the top right hand side of your screen or press “command + spacebar which will open up the search bar and you can type in “Terminal”) to find it. Click on the terminal icon.
- Type in:
ssh [email protected]
You’ll be prompted to verify you’re trying to login to the Raspberry Pi.
7. Type “yes” and press return. Type the password, which is “raspberry” and press return.
Boom! You’re logged into your Raspberry Pi and ready to start programming your robot!
8. The next step will be to get setup with VNC, which is a way to see a mini desktop version of what is going on in your robot.
To make your Raspberry Pi robot work remotely, without keeping it plugged into the computer and wall at all times, we’ll want to set up the Wifi!
1. Your wifi dongle should already be in the Raspberry Pi and you are connected to it through terminal.
Make sure you know which wifi network your computer is using, as well as the password for that wifi network.
2. Go to: https://www.realvnc.com/download/vnc/
3. Click Download for whichever version matches your computer.
4. If you don’t know what version of OS X you are running, click the apple icon in the far left top part of your screen and choose “About This Mac” and it will display the version of OS X you are running.
5. Open the VNC file in your browser, of if it is not there, go to Finder->Downloads, and you will find it there.
6. Select Continue.
7. Select Continue.
8. Select Agree on this pop up.
9. Select Continue.
10. Deselect VNC Server, because you only want VNC Viewer. Select Continue.
11. Select Install and then you will get confirmation that the installation was successful. Select Close.
12. Go to Finder-> Applications-> Real VNC -> VNC Viewer to open VNC Viewer.
13. In the VNC Server box type: raspberrypi.local:1
This is telling the VNC Viewer the following:
- look for the “raspberrypi”
- location is “local” (connected to your computer)
- port = 1 (port is …)
You will probably get a pop up that looks scary and is a warning. Don’t worry!
It just means that the connection between your Raspberry Pi and your computer is not encrypted, which is a secure way of transferring data. This isn’t a big concern if you are doing this at home or in a trusted place, because no one else can get access to your computer.
14. Select Continue (and choose the check box if you don’t want to be warned about this again).
15. You will be prompted to put in a password to access the Raspberry Pi “hard drive” (SD card) connected to your computer. The password for all Dexter Industry SD cards is: raspberry
16. Type: raspberry
17. Select OK.
You’ve done it! This screen is the VNC desktop. Remember, the VNC (virtual network computer) is basically a little virtual computer you are running inside your computer. This is the “Desktop” for the Raspberry Pi computer connected to your computer!
It works pretty much the same way that your normal desktop does. The files and shortcuts you see will open files and run programs on the SD card in your Raspberry Pi.
18. Click on the icon in the middle of the desktop that says “WiFi Config”
19. Select the second tab: Manage Networks. Select the Scan button. The program will scan for wifi networks nearby.
This may take a moment, and in the meantime your screen will just be still.
20. Select the same network your computer is on by double clicking and you will get a pop up where you will enter your PSK (which is the password for your wireless network).
21. It will take you back to the Scan screen, and just select Close.
22. Click on the first tab Current Status, then choose your network from the dropdown Network list, then select Connect.
23. This might take a few minutes. Do not panic if it tries to connect and comes back without an IP address. Just select Connect again and after 3-5 minutes you should have an IP address showing.
24. If you do not get an IP Address to show, check the following:
- Go back to Manage networks, select your wifi network by double clicking and re-enter the PSK (password). Maybe you entered in the password incorrectly before.
Good test to see if you are connected:
- Open LXTerminal icon on the VNC desktop (the Dexter Industries desktop).
- Type: ping google.com
- If you get a response like the picture below, then YOU ARE CONNECTED!!! Press “Control + c” to get this to stop.
- Check the wifi Dongle and make sure it is securely attached, and there should be a blinking light inside the wifi dongle.
Have questions? Ask on our forum!
If you liked this tutorial, consider getting the SD Card with Raspbian for Robots , Raspberry Pi, Ethernet cable and Wifi Dongle for the Raspberry Pi to try out this tutorial.
How to Setup a Raspberry Pi Without a Monitor or Keyboard
Anyone that’s interested in learning about computers or the internet will love experimenting with a Raspberry Pi. The only issue is that it doesn’t come with a monitor or keyboard. This actually isn’t a problem though, because there’s a way to setup and work on the Pi without ever connecting it to a monitor or keyboard. It’s known as running the Pi “headless”.
In this tutorial, I’ll walk you through the steps of setting up a Raspberry Pi without a monitor and keyboard on a new installation of Raspbian. All you need is another computer with internet access, an SD card adapter, ethernet cable, and access to the internet router on the network you want to connect to.
BONUS: I made a quick start guide for this tutorial that you can download and go back to later if you can’t set this up right now. It covers all of the steps, diagrams, and code you need to get started.
Here’s a video showing the steps, but read below for the details:
Gather all the Pieces
The first step is to download the Raspberry Pi’s operating system. I’ll be using Raspbian Jessie Lite in this tutorial. You can download it here from the Raspberry Pi Foundation.
Just download the ZIP file and Extract it to a new folder. Then you’ll have a single .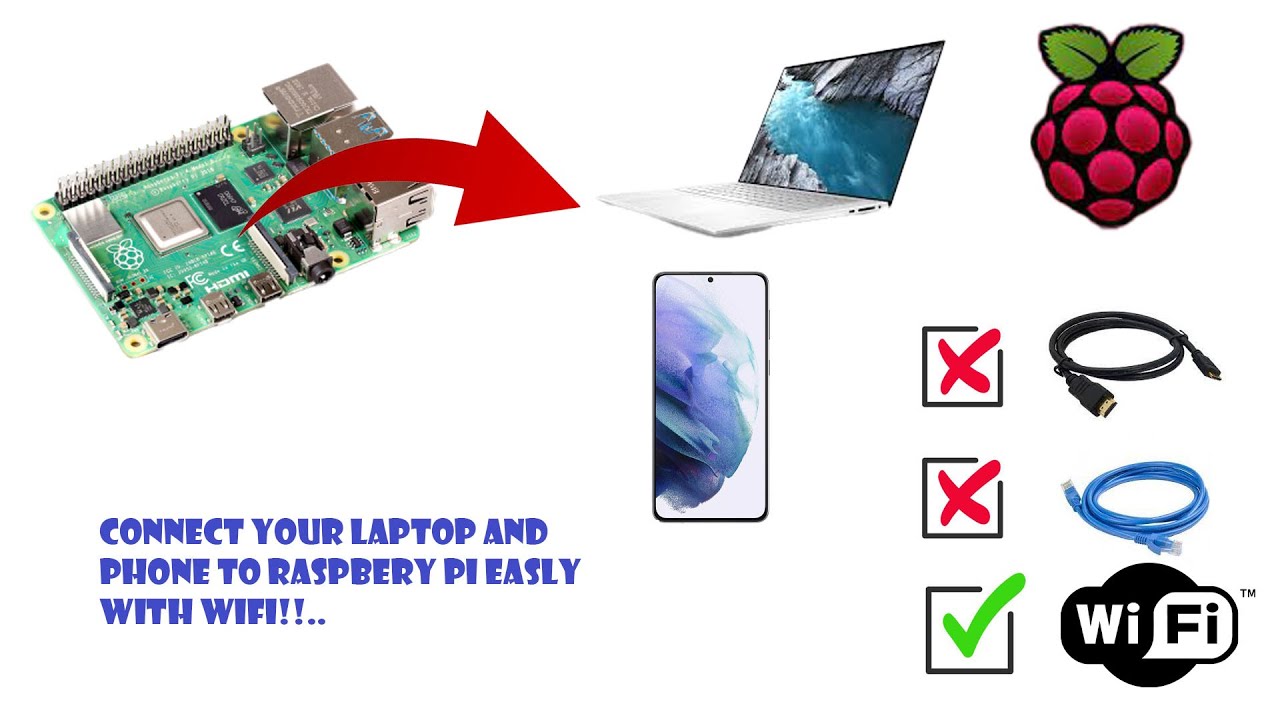 img image file that contains the operating system:
Next we’ll need a program that can write the operating system image file onto a microSD card. We’ll use Win32DiskImager to do that, so download and install it:
Now we need a way to access the Raspberry Pi’s command prompt. We can do this with a remote SSH client called PuTTY. PuTTY establishes an SSH connection between the Raspberry Pi and another computer. It opens up a window that gives you access to the Raspberry Pi’s command prompt. Download and install PuTTY to your PC.
If you’re using a Mac, you can SSH into the Pi with Terminal. Click here for good tutorial on SSHing via Terminal.
We’ll also need a way to find the local IP address of your Raspberry Pi when it’s connected to your router via the ethernet cable. There are lots of ways to do this, but Advanced IP Scanner is pretty easy to use. It will scan your home network and list all connected devices and their local IP addresses.
Another way to find your Pi’s local IP address is to log into your router’s configuration page and get a list of the connected devices. But you need to know your router’s username and password to access it. If you want to do it this way, find the router’s product number on the back, then search online for the user manual. There should be instructions on how to access the router’s configuration page and how to view the connected devices.
Write the Raspian Operating System to the microSD Card
Now that we have everything we need, let’s write the operating system image to the microSD card.
Insert a blank microSD card into your computer using the SD card adapter. Then open Win32DiskImager, and select the operating system image file that was extracted earlier by clicking on the little folder icon:
Next, select the drive that has the microSD card from the drop-down list below “Device”:
Now click “Write” on the bottom of the window. This will take from 1 to 15 minutes depending on your computer and the size of your microSD card:
Wait for the process to complete:
If you’re using a version of Raspbian released after November 2016, there is one extra step:
SSH was disabled by default in Raspbian versions released after November 2016.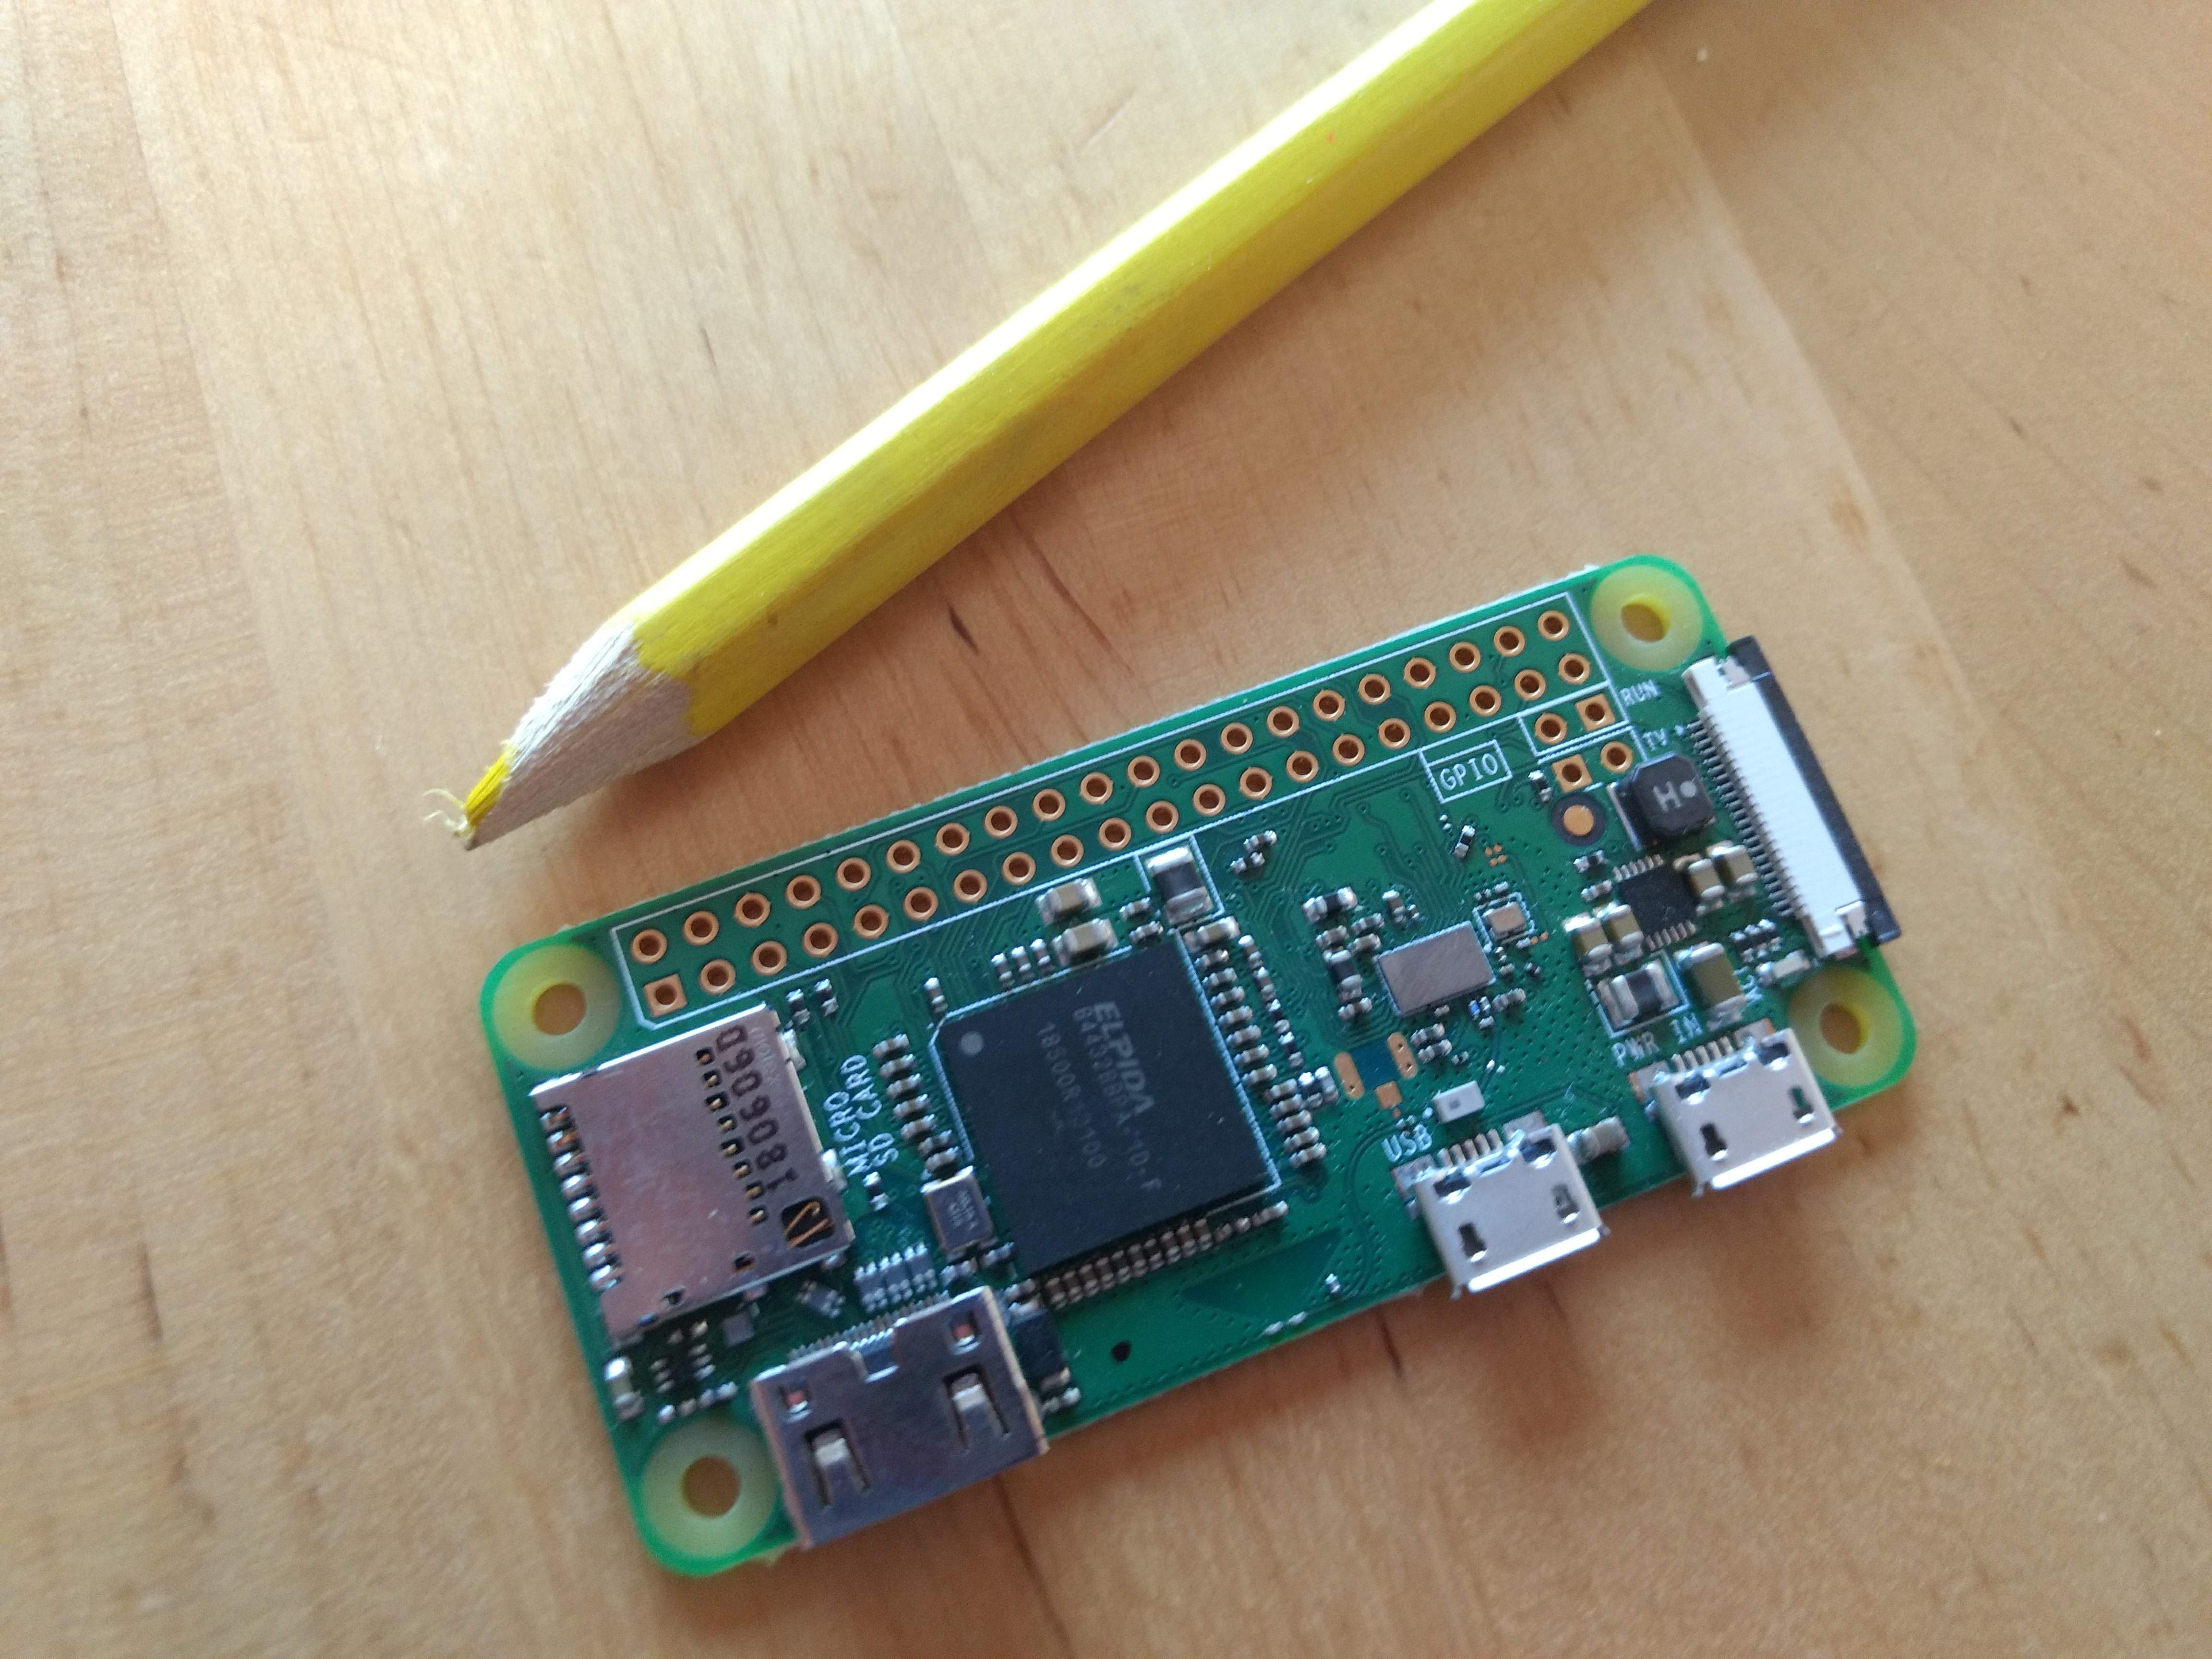 One way to enable it is to access the raspi-config menu and turn it on. However, we’re setting it up headless so we don’t have access to the command prompt yet. Luckily there’s another way to turn on SSH…
All you need to do is create an empty file called “SSH” and place it in the root partition of the SD card. The file should have no extensions like “.txt” or “.doc”. The easiest way to do this is to open up a text editor like Notepad and save the blank page as “SSH.txt”. Close the text editor, then rename the file to delete the “.txt” extension. After that, move the file to the top level folder of the SD card (the root partition).
Now you can eject the SD card from your computer and insert it into your Pi.
Establish an SSH Connection to your Raspberry Pi
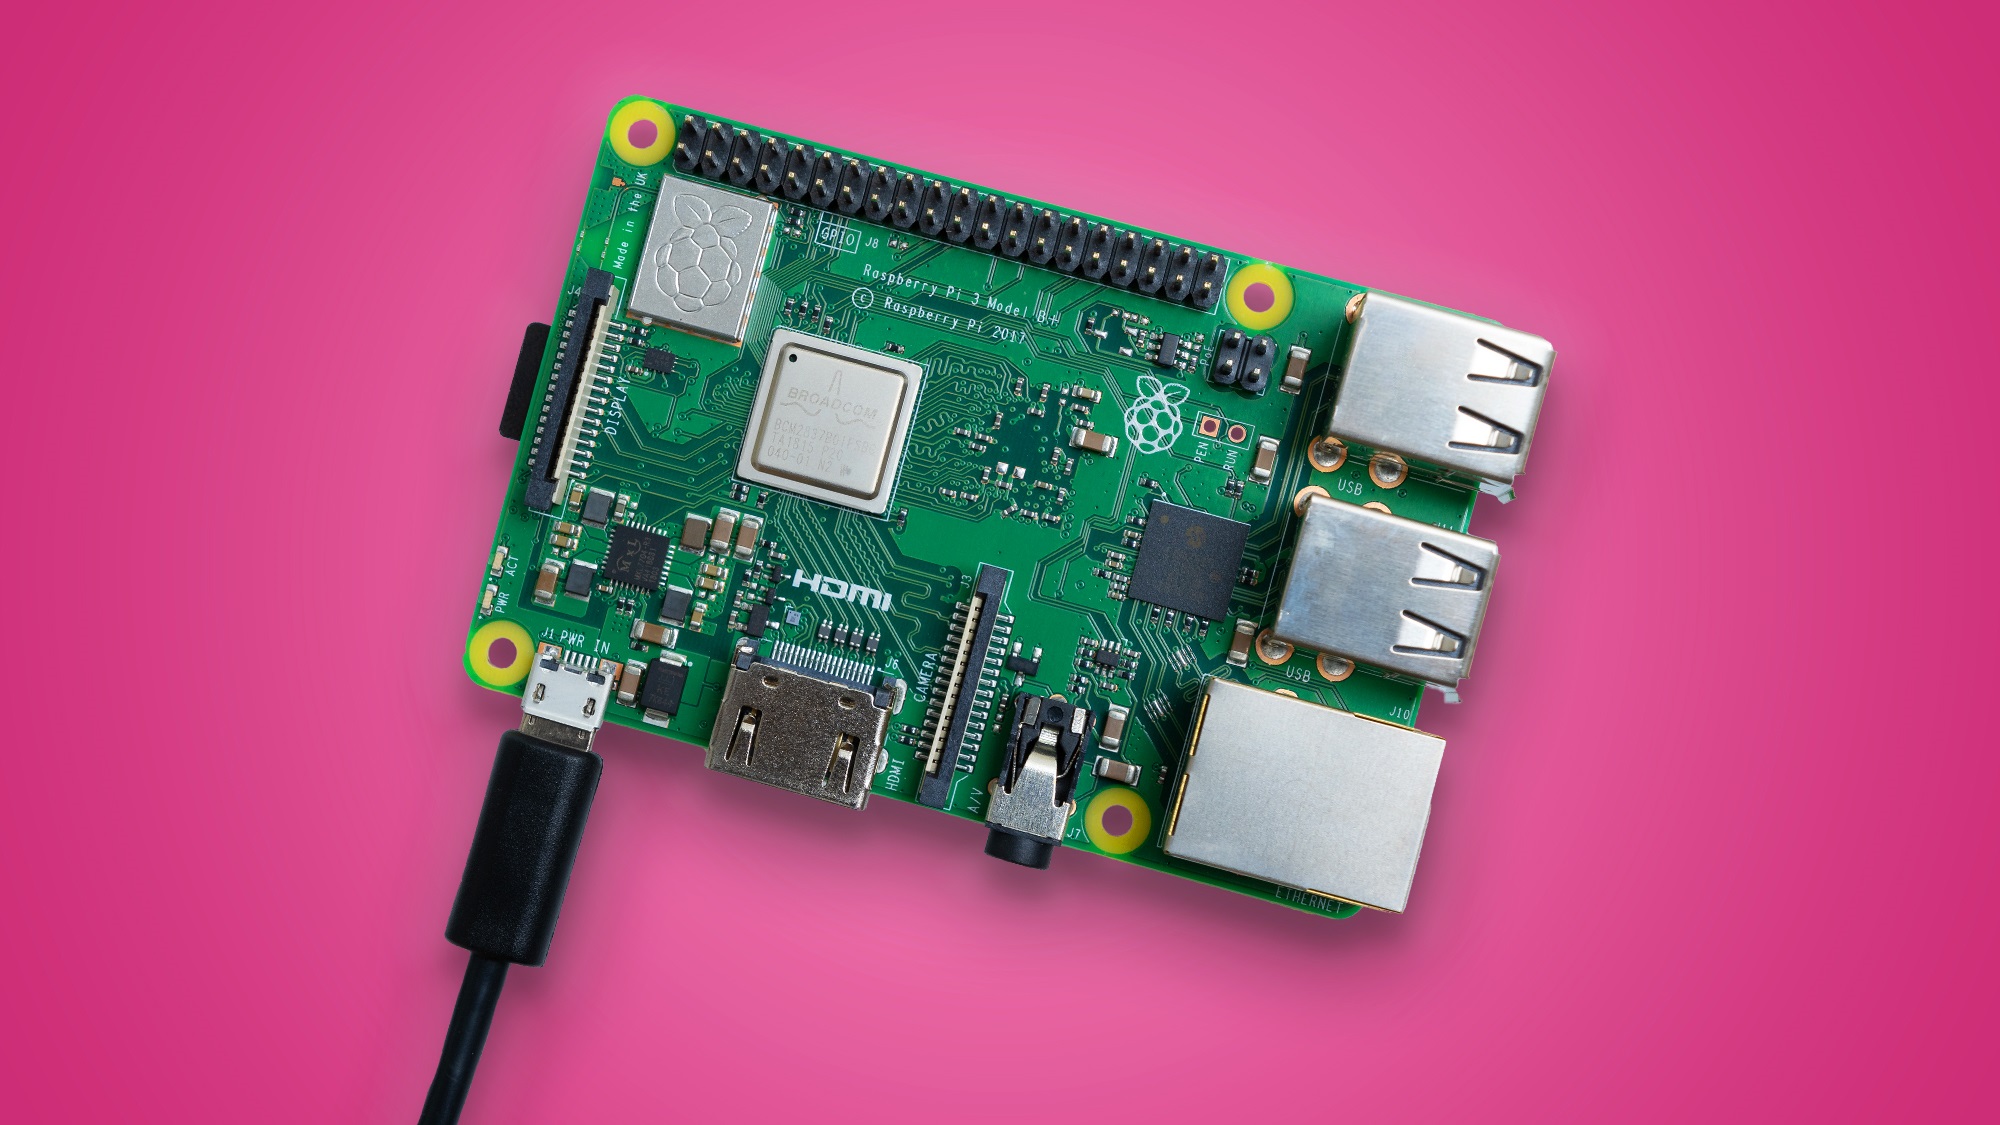
Connect the Pi to your internet router with an ethernet cable, then plug in the power cord so it boots up.
Now we need to find out the local IP address your router has assigned to the Pi. Open up Advanced IP Scanner and click “Scan” in the upper left hand area of the window. A list of the connected devices and their local IP addresses will be generated:
Write down the IP address for the device that says Raspberry Pi Foundation in the “Manufacturer” column. In my case it’s 10.0.0.105.
Now it’s time to connect to the Pi. Open up PuTTY, and enter the local IP address into the “Host Name” field:
Now click “Open” to initiate the connection.
On the first connection attempt, a security warning will appear. Just press “Yes” since you’re connecting to your own Pi:
If the SSH connection is successful you’ll be greeted with the login prompt of your Raspberry Pi:
If this is your first login and you haven’t changed the username or password yet, enter pi for the username, and raspberry as the password.
Now you’re logged in to your Raspberry Pi via SSH:
At this point, it’s a good idea to configure your Raspberry Pi by entering sudo raspi-config to enter the configuration settings menu:
This is where you can change all of the default settings for Raspbian, and do other useful tasks like expand the file system and overclock the processor.
Now that SSH is set up, the next step is setting up WiFi and establishing a remote desktop connection so you can access the Pi’s desktop environment. This tutorial will walk you through that:
How to Set Up WiFi on the Raspberry Pi
If you have any questions about this post, or are having issues setting up your Raspberry Pi over SSH, please leave a comment below and I’ll try to answer it! And don’t forget to subscribe to get an email when we publish new tutorials. Thanks for reading!
Raspberry Pi initial setup without a monitor I bought a starter kit and a lot of additional hardware that can work with Raspberry (I hope to write about the 4tronix Initio 4WD Robot Kit later). Upon receipt, he began to master the whole thing. I don’t have a TV and a separate monitor, but I didn’t consider this a big problem — the kit included a MicroSD card with NOOBS and a wifi adapter. Having connected Raspberry to my home network via a twisted pair cable and looking at the ip address on the router, I tried to connect via ssh, but it didn’t work out for me — no one was waiting for me on port 22.
 The Raspberry Pi B + uses MicroSD — but I didn’t have the corresponding reader or SD adapter at hand. The kit included a serial port with a USB interface.
Under the cut is a story about how I still started the Raspberry Pi through the serial port and put the x2go server there.
NOOBS, when booting in graphical mode (which is not visible without a monitor), waits for the choice of OS for installation — therefore the task is to install without questions.
The cable turned out to be unmarked:
I found out from VID and PID that it is Prolific PL-2303. Under Windows 8.1, the port did not work, the manufacturer writes that PL-2303HXA and PL-2303X are not supported in Windows 8 and recommends using PL-2303HXD or PL2303TA — but I still don’t know which model I have.
Under Mac OS X 10.9, the port worked with drivers from the manufacturer’s website, under Ubuntu 14.04 it worked immediately, without drivers.
An additional advantage of the port is the availability of power.
IMPORTANT: only one power supply must be used — either from the port or via microUSB — but not both.
Port connection:
Red cable — power — connected last or not connected at all when using microUSB power.
Mac OS port connection:
$ screen /dev/cu.usbserial 115200
The documentation says the port is /dev/cu.PL2303-00001004 , but my port was /dev/cu. usbserial .
Linux port connection:
$ sudo screen /dev/ttyUSB0 115200
On Windows, you can use PuTTY (since the port did not start under Windows, I did not check this option).
After turning on the Raspberry with NOOBS, we see:
 Uncompressing Linux... done, booting the kernel.
Welcome to the rescue system
recovery login:
Login using:
 login: root
password: raspberry
The file system is mounted read-only, remount it for writing:
# mount -o remount,rw /dev/mmcblk0p1 /mnt
Remove all distributions except Raspbian:
 # cd /mnt/os
# rm -r Arch/ Pidora/ RaspBMC/ data_partition/ OpenELEC/ RISC_OS/
Leave the only option to install Raspbian in / mnt/os/Raspbian/flavors. 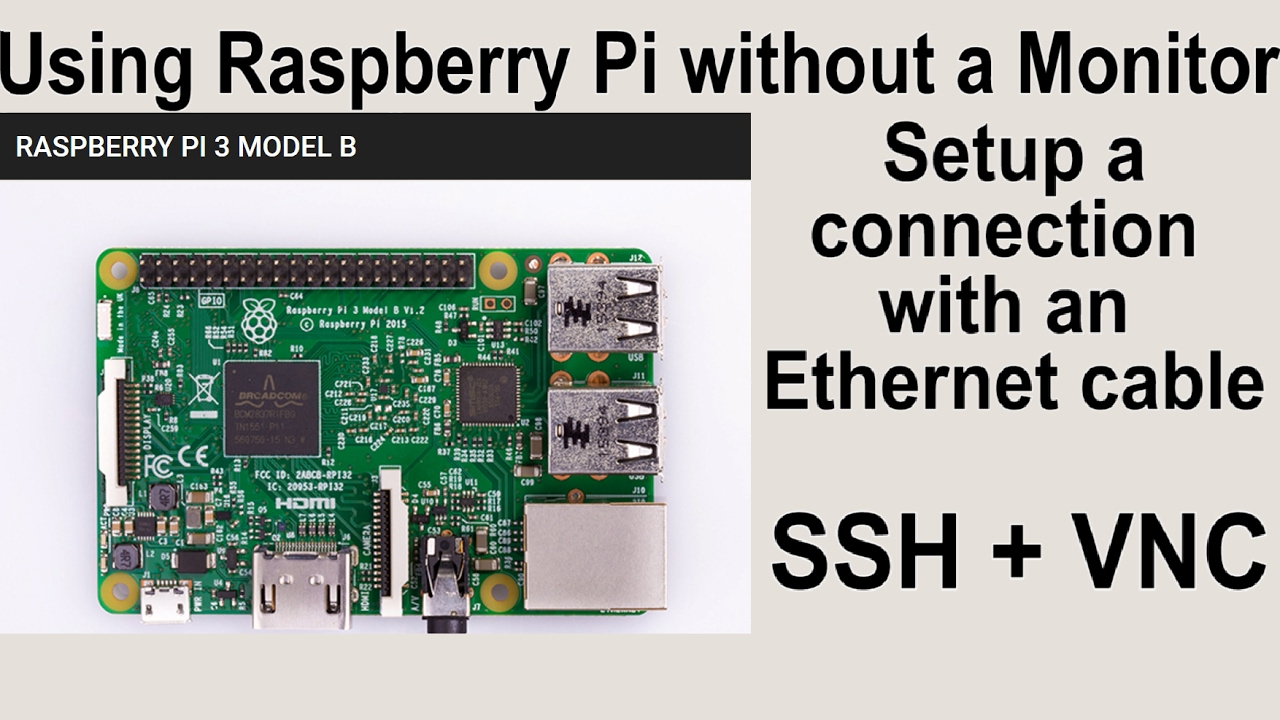 json
json
File before editing:
 {
  flavors: [
    {
      "name": "Raspbian - Boot to Scratch",
      "description": "A version of Raspbian that boots straight into Scratch",
      "feature_level": 123900
    },
    {
      "name": "Raspbian",
      "description": "A Debian wheezy port, optimized for the Raspberry Pi",
      "feature_level": 123900
    }
  ]
}
after editing:
 # cat /mnt/os/Raspbian/flavors.json
{
  flavors: [
    {
      "name": "Raspbian",
      "description": "A Debian wheezy port, optimized for the Raspberry Pi",
      "feature_level": 123900
    }
  ]
}
#
I use vi for editing:
# vi /mnt/os/Raspbian/flavours.json
Minimum command set:
dd — delete line;
5dd — delete 5 lines;
— exit with saving;
— exit without saving changes.
Edit /mnt/recovery.cmdline adding runinstaller to the beginning (if it is not there) and silentinstall end:
# vi /mnt/recovery.cmdline
Minimum command set:
i — switch to insert mode;
a — switch to insert mode from the next character;
— Exit edit mode.
Check that everything is ok with the file:
 # cat /mnt/recovery.cmdline
runinstaller quiet vt.cur_default=1 coherent_pool=6M elevator=deadline silentinstall
If you have access to the SD card from under other OS, the above described editing and deleting files can be done in your favorite editor and file manager.
Restarting Raspberry by unplugging/plugging in power and waiting for the installation to finish, which takes half an hour. You can check that the installation is taking place by logging into the console and entering the command top — after the installation is completed, a reboot will occur and now Raspbian will be loaded:
... [ 13.281406] EXT4-fs (mmcblk0p6): re-mounted. Options: (null) [ 13.785784] EXT4-fs (mmcblk0p6): re-mounted.Options: (null) Raspbian GNU/Linux 7 raspberrypi ttyAMA0 raspberrypi login:
Login using:
 login: pi
password: raspberry
 Linux raspberrypi 3.12.22+ #691 PREEMPT Wed Jun 18 18:29:58 BST 2014 armv6l
The programs included with the Debian GNU/Linux system are free software;
the exact distribution terms for each program are described in the
individual files in /usr/share/doc/*/copyright.
Debian GNU/Linux comes with ABSOLUTELY NO WARRANTY, to the extent
permitted by applicable law.
NOTICE: the software on this Raspberry Pi has not been fully configured. Please run 'sudo raspi-config'
pi@raspberrypi:~$
In raspi-config I enable ssh and perform further configuration by connecting via ssh through the local network.
Update Raspbian:
 $ sudo apt-get update
$ sudo apt-get upgrade -y
Set up wifi:
$ sudo apt-get install wpasupplicant wireless-tools $ sudo vi /etc/wpa_supplicant/wpa_supplicant.conf
Add to the end of the file (I use WPA2 PSK):
 network={
        ssid=""
        psk=""
        key_mgmt=WPA-PSK
}
Turning off the wired network, rebooting, and then using wifi.
For Scratch , which, unlike Python, my son is already familiar with, I need a GUI.
For remote GUI access on Linux, I prefer x2go — unfortunately, there is only a client in the repository for Raspberry so far, the server had to be built from sources, slightly updating the instructions from here:
sudo apt-get install -y debhelper libpng-dev libjpeg-dev zlib1g-dev quilt libfontconfig1-dev libfontenc-dev libfreetype6-dev libxmltok1-dev libxml2-dev autoconf pkg-config x11proto-core-dev man2html-base git clone http://code.x2go.org/git/nx-libs.git cd nx-libs/ git checkout redist-server/3.5.0.27 dpkg-buildpackage -us -uc cd.. git clone http://code.x2go.org/git/x2goserver.git cd x2goserver/ git checkout 4.0.1.18 dpkg-buildpackage -us -uc cd.. git clone git://code.x2go.org/cups-x2go.git cd cups-x2go/ git checkout 3.0.1.0 dpkg-buildpackage -us -uc cd.. sudo apt-get install -y autotools-dev libqt4-gui libglib2.0-dev m4 qt4-qmake libqt4-dev dh-autoreconf git clone git://code.x2go.org/pinentry-x2go.git cd pinentry-x2go git checkout 0.7.5.7 dpkg-buildpackage -us -uc cd.. sudo apt-get install -y libc6 lsof bc openssh-server openssh-client libconfig-simple-perl pwgen libdbd-pg-perl libdbd-sqlite3-perl libfile-basedir-perl libcapture-tiny-perl adduser xauth psmisc net-tools sshfs x11 -apps x11-session-utils x11-utils x11-xfs-utils x11-xkb-utils x11-xserver-utils fontconfig xinit xfonts-base x11-common sudo apt-get install -y libxml2 libjpeg8 libpng12-0 libstdc++6 zlib1g libgcc1 sudo dpkg -i x2goagent_*.deb nxagent_*.deb libnx-x11_*.deb libxcomp3_*.deb libxcompext3_*.deb libxcompshad3_*.deb sudo dpkg -i x2goserver_*.deb x2goserver-xsession_*.deb x2goserver-extensions_*.deb
Assembly took several hours, if anyone needs the assembled packages, write — I’ll post it somewhere.
This weekend is over — I’ll put the Raspberry on wheels next weekend.
Raspberry Pi Connection Without Monitor (Remote Work!) — PiCockpit
If you travel regularly, the last thing you want to do is carry around a monitor, keyboard and mouse just for your Raspberry Pi.
This is a real pain. Checking luggage is expensive and takes time at carousels.
But one thing you will always take with you as a remote worker is your laptop.
Your notebook is equipped with a monitor, keyboard and trackpad.
As a modern worker, you probably also have a modern smartphone.
And I have a bright idea…
Setup
The goal is to allow you to control your Raspberry Pi via VNC, which gives you the ability to work in Remote Desktop mode where you can control your Raspberry Pi with your laptop’s mouse and keyboard .
I was able to set up SSH and VNC access to my Raspberry Pi 4 and the only thing connected was USB-C power.
This will be the minimum required equipment.
A USB-C power adapter is no extra baggage, as you probably already have one if you’re using an Android phone. Because USB-C chargers tend to be universal, you can bring either your Pi’s power bank or your phone’s power bank with you. Or bring a USB-C to Lightning converter with you if you’re using an iPhone so you don’t have to carry two power supplies.
How a Smartphone Helps Connect to a Raspberry Pi
All smartphones I’ve owned since the HTC Desire can act as a hotspot.
Typically, this is for sharing your phone’s data connection.
But in reality, the access point also acts as a router.
Generally, if you want to connect to your Raspberry Pi via SSH or VNC, you will need a router. This is usually not a problem as long as you are at home and have a suitable router.
But when you are away from the base, you can use your phone as a router.
The question is, how can I connect to the phone’s hotspot if you don’t have a display, keyboard, or mouse?
Option 1: Flash a new image
Click the gear icon for more settings in the Raspberry Pi Imager
The Raspberry Pi has added a new settings menu to the latest version of its Imager utility. This is where the magic happens. Click on the gear icon.
The settings here allow you to flash a new image with your phone’s SSID and hotspot password.
Once booted, the Raspberry Pi will connect to this WiFi. When you connect your laptop to it, you will both be on the same network.
An additional benefit of using the Raspberry Pi Imager is that you can also enable SSH here.
Be sure to check «Enable SSH», «Set username and password», and «Set up wireless LAN».
Fill in the relevant details, and be sure to fill in your phone’s wireless LAN details.
Option 2: no flash, add config files instead
If you don’t want to start from scratch flashing a new image, you can tell your Raspberry Pi to connect to a specific WiFi by adding the wpa_supplicant.conf setting file to the boot is the volume of your Pi’s SD card.
You will need a microSD card reader for this. My laptop has an SD memory card reader, so I can also bring a microSD to SD adapter with me.
On Windows, use Notepad to add the code (see below).
On a Mac you can use TextEdit, but you need to make sure you Format > Make Plain Text before saving.
In the wpa_supplicant.conf file, add the following:
 country=US # US = USA, CA = Canada, DE = Germany, etc.
ctrl_interface=DIR=/var/run/wpa_supplicant GROUP=netdev
network={
    ssid="WIFI_NETWORK_NAME"
    psk="WIFI_PASSWORD"
    key_mgmt=WPA-PSK #This works with WPA2-PSK
}
If you haven’t already, you can also enable SSH by placing an empty file named » ssh «. No extensions and no content in the file. Just an empty file.
Finding your Raspberry Pi’s IP address
Once your Raspberry Pi boots up, it will connect to the WiFi hotspot you configured.
On my Samsung phone, you can find the IP address of the Raspberry Pi by clicking on the connected «raspberrypi» device. You may have to fiddle around to find the Raspberry Pi’s IP address if you have a different brand of smartphone.
My Raspberry Pi’s IP address was 192.168.43.38.
On your computer, open a Terminal or Command Prompt and type ssh [email protected][your-pi-ip-address] (e.g. ssh [email protected] )
Pi if you followed the instructions above and if you don’t have a firewall preventing it.
If a prompt appears asking if you want to trust your Pi, you must answer «yes» to continue.
Enabling VNC with Raspberry Pi SSH
To enable VNC so you can use Remote Desktop, you need to use the command sudo raspi-config .
Go to Interface Settings > VNC and enable VNC.
Connecting to a Raspberry Pi using VNC
That’s it. Now you can connect to your Raspberry Pi using the RealVNC Viewer.
It’s quite simple. Download the VNC Viewer on your laptop and connect to your Raspberry Pi with the same IP address you used to SSH into the Pi.
Enter an IP address in the box labeled «Enter VNC server address or search».
Enter your username and password and you can control your Raspberry Pi remotely.
Disadvantages
The disadvantage of using your smartphone as a router is that it can be slow. Your phone is not designed to be used as a router.
When I first connected to my Raspberry Pi via my phone, I found that it was excruciatingly slow. It took several seconds to press the buttons before I got a response.
So I reduced the graphics to the lowest resolution and lowest quality. You can reduce the quality by right clicking on the photo, go to Properties and then go to Options and reduce the image quality in Image Quality .
When I connected to it for the second time, everything was much better and it was usable.
If you have another router, you can use the VNC Viewer to change the connection from your smartphone to the router, and repeat the steps to reconnect to the Pi from your laptop.
But that leads to another problem.