How to Install Windows 7 on NVMe SSD for Laptop & PC
Updated by
Jean on Feb 22, 2023
Written by
Jerry
| Home > Disk/Partition Clone
PAGE CONTENT:
- Preparation for Windows 7 Installation on NVMe SSD
- How to Connect NVMe SSD to Laptop or PC
- 3 Ways to Install Windows 7 on an NVMe SSD
- Final Words
Upgrading to an NVMe SSD can bring significant speed improvements to your computer, but if you’re still running Windows 7, you may wonder how to make it work. And because Windows 7 has been around for a decade, it doesn’t have native support for the more recent NVMe drives. But that doesn’t mean it’s impossible.
With a few extra steps, you can install Windows 7 on an NVMe SSD for your laptop and PC and enjoy the benefits of faster boot times and improved performance. This article will describe how to install Windows 7 on an NVMe SSD for your laptop or PC.
Preparation for Windows 7 Installation on NVMe SSD
Before you begin installation process, there are a few important things you’ll need to do to prepare your computer for Windows 7 on an NVMe SSD:
- Ensure your computer meets the system requirements before installing.
This includes firmware with UEFI 2.3.1, 4GB RAM, recommended processor, display, and graphics card, among others.
- Create a backup for all your files on another drive or device if you have any on your SSD.
- Check your computer’s BIOS settings. You’ll need to ensure your computer’s BIOS settings are configured correctly to boot from the USB drive and properly detect the NVMe SSD.
These steps will prepare you for the installation, ensuring a smooth process.
How to Connect NVMe SSD to Laptop or PC
Connecting an NVMe SSD to your laptop or PC is a straightforward process, but there are a few key differences to remember depending on whether you’re working with a desktop or a laptop.
For desktop PC connection:
First, power down and unplug your PC.
- Open the case of your desktop PC and locate the PCIe slots where you’ll install the NVMe SSD.
- Carefully align the NVMe SSD with the PCIe slots and secure it with the screws provided.
- Connect the power and data (SATA) cables to the NVMe SSD and SATA port on your motherboard.
- Close the case and plug your PC back in.
For laptop connection:
- Start by turning off and unplugging your laptop.
- Remove the battery and locate the NVMe SSD slot on the bottom of the laptop.
- Carefully insert the NVMe SSD into the slot, ensuring it’s securely connected.
- Replace the battery and power your laptop.
If your laptop doesn’t have an NVMe SSD slot, you can consider using a USB drive by following these steps:
- Get a USB to NVMe SSD adapter like Inateck FE3001.
- Connect the NVMe SSD USB cable to the adapter.
- Plug another end of the USB cable into your laptop.
With that, your laptop will detect the NVMe SSD as an external drive.
You can now install Windows 7 with your NVMe SSD connected. Remember to set the NVMe SSD as the primary boot disk in BIOS.
3 Ways to Install Windows 7 on an NVMe SSD
Installing Windows 7 on an NVMe SSD can be tricky, as the operating system doesn’t have native support for NVMe drives. But there are still a few ways to work around this and get Windows 7 up and running on your NVMe SSD. Here are three we recommend:
| Workable Solutions | Step-by-step Troubleshooting |
|---|---|
| Way 1. Clone Windows 7 to NVMe SSD | Cloning your Windows 7 installation onto an NVMe SSD is a simple and effective…Full steps |
| Way 2. Add NVMe Driver to Windows 7 ISO | Including an NVMe driver in the Windows 7 installation ISO is another option…Full steps |
| Way 3. Manually Load NVMe Driver at Windows Setup | Some might find this method easier than the last or more complicated…Full steps |
Way 1. Clone Windows 7 to NVMe SSD
Cloning your Windows 7 installation onto an NVMe SSD is a simple and effective way to get it done. This method requires third-party disk cloning software, and the best one for the job is EaseUS Disk Copy.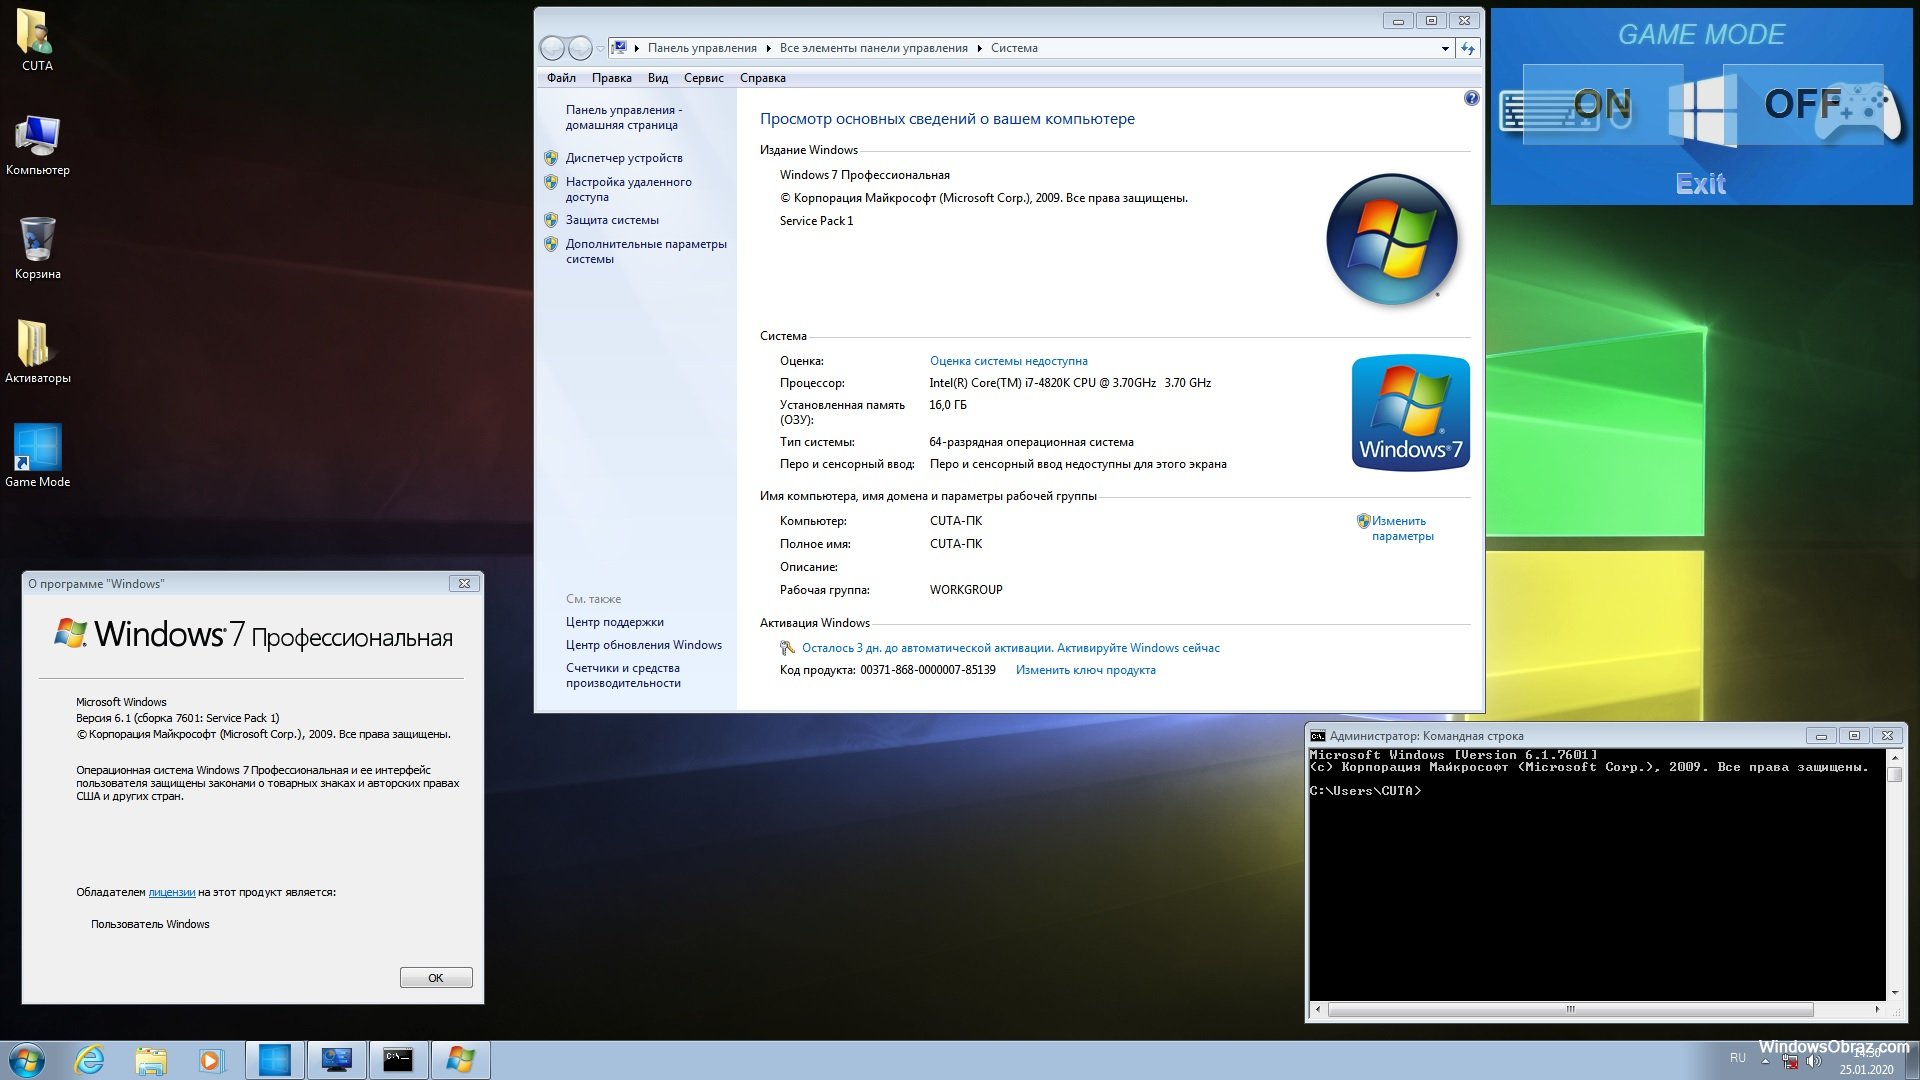
EaseUS Disk Copy is a practical and professional cloning tool for Windows 11/10/8/7. It allows you to clone a hard drive with bad sectors. It also supports back-and-forth cloning from MBR to GPT while being compatible with any Windows version from 7 to 11. And it also allows you to clone C drive to an external hard drive and allows for full disk and partition level cloning. It can also enable you to migrate Windows 10 to NVME or M.2 and resize a partition when cloning disks.
Here’s how EaseUS Disk Copy can help you clone Windows 7 to an NVMe SSD in a few easy steps:
Prior Notice:
- The «Sector by sector copy» asks the size of your destination disk to be at least equal to or larger than that of the source disk. Leave this feature unchecked if you wish to clone a larger hard disk to a smaller hard disk.
- All data on the destination disk will be completely erased, so take care.
Step 1. To start copying/cloning an entire disk to another, choose this disk as the source disk under «Disk Mode» and click «Next».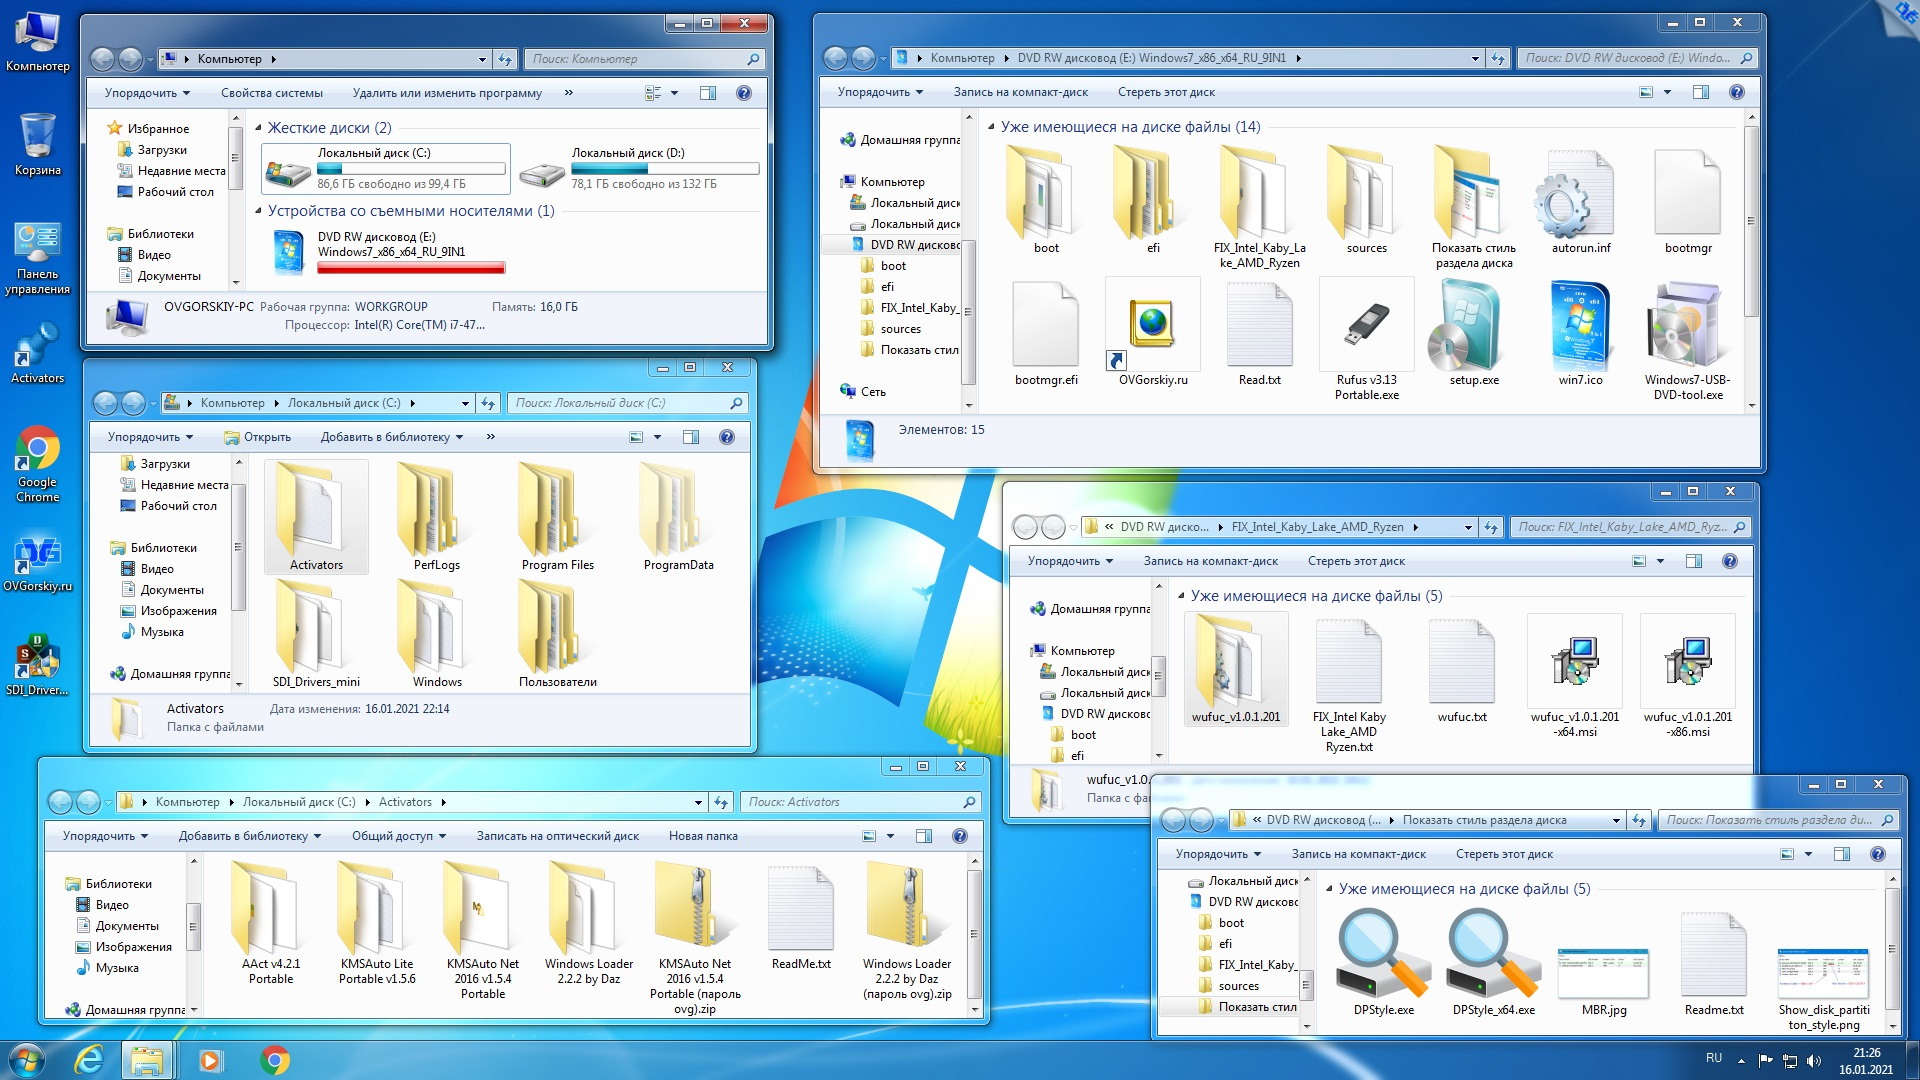
Step 2. Choose the other disk as the destination disk.
A message now appears, warning you that data will be lost. Please confirm this message by clicking «OK» and then click «Next».
Step 3. Check the disk layout of the two disks. You can manage the disk layout of the destination disk by selecting «Autofit the disk», «Copy as the source» or «Edit disk layout».
- «Autofit the disk» makes some changes by default on the destination disk layout so that it can work at its best status.
- «Copy as the source»does not change anything on destination disk and the layout is the same as source disk.
- «Edit disk layout» allows you to manually resize/move partition layout on this destination disk.
Tick the «Check the option if the target is SSD» option to put your SSD in its best performance.
Step 4. Click «Proceed» to officially execute the task.
Way 2. Add NVMe Driver to Windows 7 ISO
Including an NVMe driver in the Windows 7 installation ISO is another option for installing the operating system on an NVMe SSD. This method is more complicated, but it lets you install Windows 7 on an NVMe SSD if you don’t want to go through our most recommended method — cloning. Here are the steps to follow:
Step 1. Download the NVMe driver for your specific SSD model from the manufacturer’s website.
Step 2. Extract the driver files to a folder on your computer.
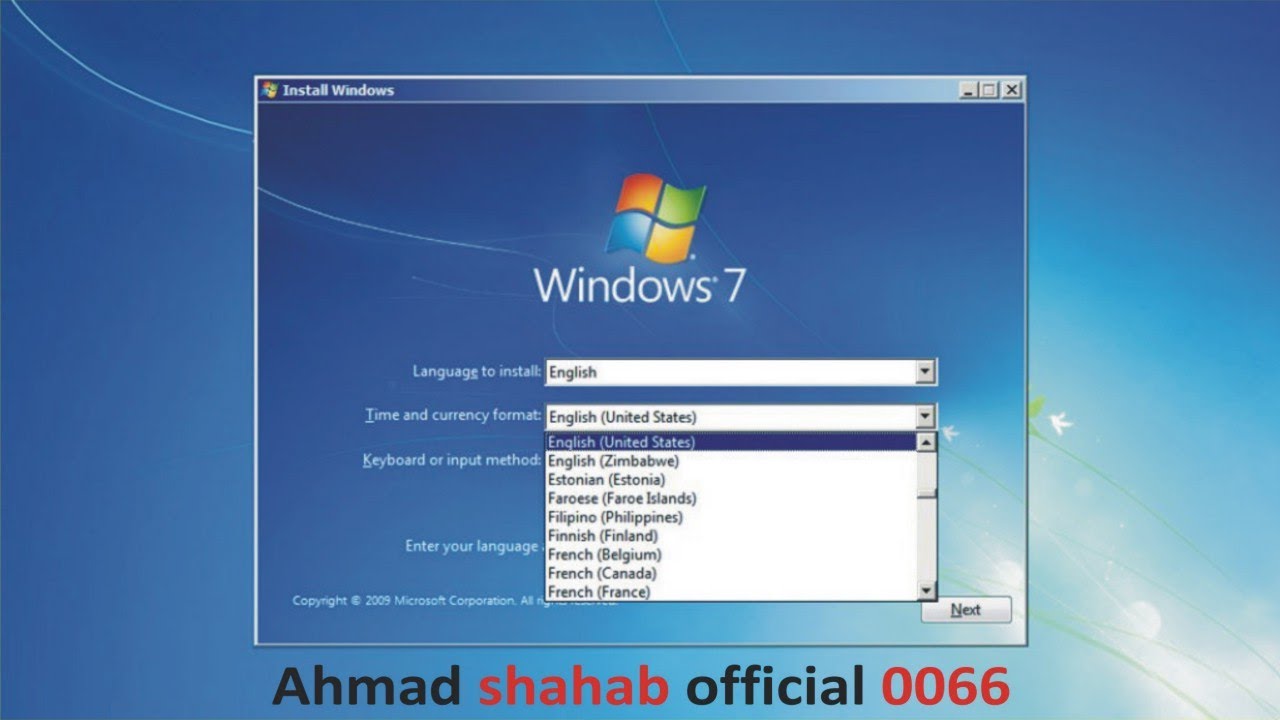
Step 3. Download the Windows 7 USB/DVD Download Tool and create a bootable USB drive with the Windows 7 installation ISO
Step 4. Mount the bootable USB drive, and copy the extracted NVMe driver files to the USB drive.
Step 5. Use the newly created bootable USB drive to install Windows 7 on the NVMe SSD; the NVMe driver will automatically be installed during the setup process.
Way 3. Manually Load NVMe Driver at Windows Setup
Some might find this method easier than the last or more complicated. But there are more steps to take.
Here’s how you can do it manually:
Step 1. Create a bootable USB drive with the Windows 7 installation files and connect your NVMe SSD as a secondary drive.
Step 2. Locate the driver and copy it to the USB bootable drive that you created
Step 3. Restart your PC.
Step 4. Enter the BIOS or UEFI setup, look for the option to change the boot order, and set the USB drive as the first boot device.
Step 5. Press the F10 key to save and exit, and Windows setup will begin.
Step 6. Prepare NVMe for installation by manually loading the driver.
Step 7. Point the installation to the driver location during the setup process.
Step 8. Continue with the setup process, and you should be able to select NVMe SSD to install Windows 7
Final Words
That is all about how to install Windows 7 on NVMe SSD. Installing Windows 7 on an NVMe SSD can be done easily through the three methods explained above: cloning, adding an NVMe driver to the ISO, and manual loading. Each method has its steps, which in this guide have been well explained to help you successfully install Windows 7 on an NVMe SSD.
Among the three ways, using EaseUS Disk Copy may be the easiest and simplest one. Its user-friendly interface and relatively fast cloning speed can help you clone Windows 7 to an SSD easily and quickly. In addition, it can also help you to clone M2 SSD with only one slot and clone Windows 10 to an external hard drive.
FAQs
1. Can I install Windows on an NVMe SSD?
Yes, Windows can be installed on an NVMe SSD. The process is a bit more complex than installing it on a traditional hard drive, but it can be done with the right tools and instructions.
2. Can Windows boot from NVMe?
Yes, any version of Windows with support for UEFI will support booting from NVMe./i.s3.glbimg.com/v1/AUTH_08fbf48bc0524877943fe86e43087e7a/internal_photos/bs/2021/1/1/PBAIGqQjWaOOqH6vf3EQ/2014-10-22-windows7-home-premium.jpg) This is true for Windows 7 through 11.
This is true for Windows 7 through 11.
3. How do I know if Windows is installed on NVMe?
To confirm if Windows is installed on an NVMe SSD, you can check the BIOS or Disk Management to see the SSD type. You can also use the Windows key + X to open the Device Manager and look for the NVMe controller.
4. How can I use an old PC with NVMe?
To use an old PC with an NVMe SSD, you will need to install an NVMe driver, clone your Windows to it, or reinstall Windows on the NVMe SSD. This will let your old PC use the faster speeds and better performance NVMe technology offers.
Reddit — Dive into anything
Screenshots guide on how to slipstream the NVMe drivers so you can install Windows 7 on an NVMe drive.
Prerequisites:
-
NVMe drivers, e.g. from Samsung, for your drive.
-
Windows hotfixes. No longer available on Microsoft website, find at a trusted place elsewhere.
-
KB2990941
-
KB3087873
Software:
-
Wix toolset to extract .exe to get the driver or .msi https://github.com/wixtoolset/wix3/releases
-
LessMSI to extract .msi to get the driver https://github.com/activescott/lessmsi
-
7zip or PowerISO to extract the .iso https://www.7-zip.org/download.html
-
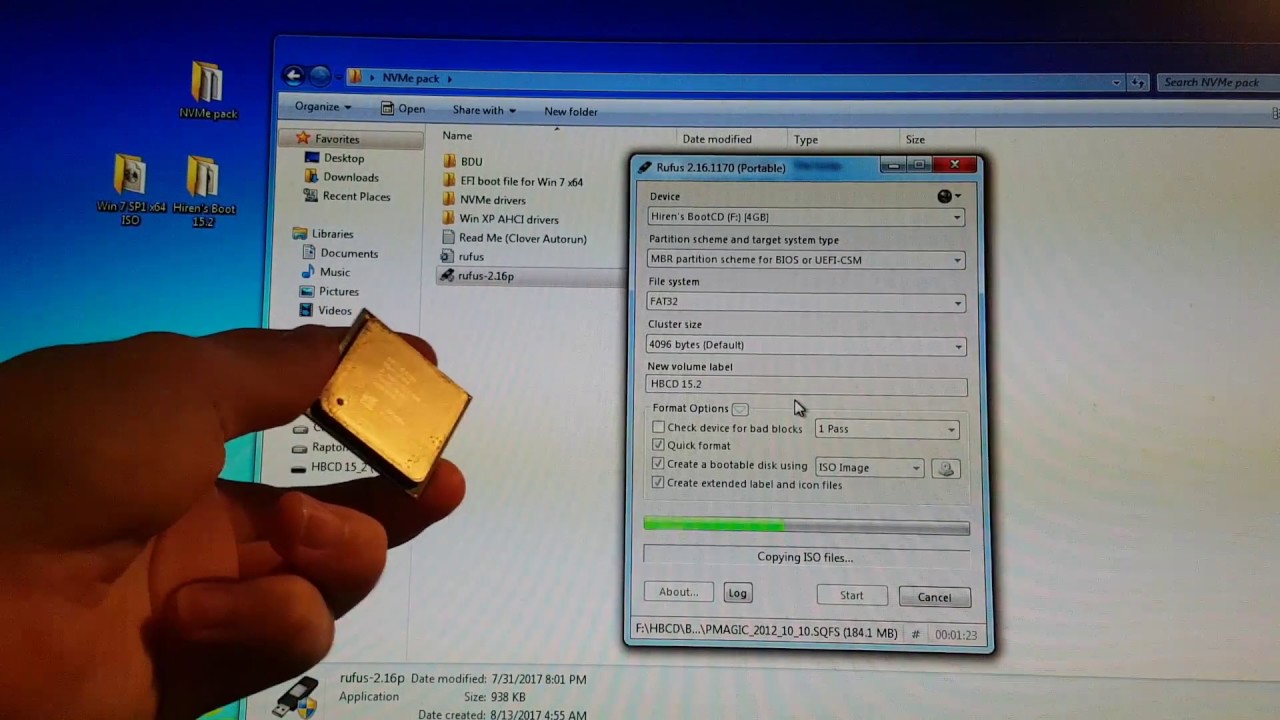
Rufus to burn the .iso to make a bootable USB https://rufus.ie/en/
-
Windows ADK if you want to compile the .iso on Windows 10 https://support.microsoft.com/en-us/windows/adk-download-for-windows-10-2a0b7ff2-79b7-b989-f727-43ae506e36ad
Tutorial:
Brief although not-comprehensive tutorial with screenshots (if this gets a lot of likes I will expand it with more details. Making a tutorial is a lot of work. )
)
I. Make a folder called tmp and put in root of C:/ drive. C:/tmp
II. Make 5 folders inside /tmp:
-
drivers
-
hotfix
-
mount
-
src
-
winremount
III. Put the extracted drivers in the /drivers folder. You can put all the drivers you need here and it will run with one command.
IV. Put the 2 hotfixes in the /hotfix folder.
V. Extract .iso into the /src folder.
VI. Ignore the /mount folder, it will be used to stage the src using PowerShell.
VII. Ignore the /winremount folder, it will be used to stage the Windows Recovery image (if one exists) using PowerShell.
-
Here are the commands you need.

powershell
2. Get the Win7 NVMe drivers (e.g. Samsung) for your system & drive, and use WIX to extract the .exe. Get the wix toolset and extract the binaries folder to C:/wix. Don’t install or you will need .net framework which may give you trouble. You don’t need it. Run wix from the command line as shown.
extract .exe
3. If the .exe extracts to an .msi, you need to extract again. Use LessMSI to extract as shown.
extract .msi
extract msi
4. Your NVMe drivers should look like this. There should be an .inf file.
NVMe drivers
5. Here are the two hotfixes you need. Microsoft removed them, so you have to find elsewhere. Be careful, most sites are viruses.
hotfixes
6. Extract .iso to the src folder. I used PowerISO. 7zip might also work, didn’t try it.
.iso extract
7. Example of slipstreaming the drivers using PowerShell. It’s not as complicated as it looks
example powershell
8. After you have everything slipstreamed the drivers and hotfixes, then you use oscdimg in PowerShell from the Windows 10 ADK to recompile the .iso from the updated /src.
If you have Windows 11, oscdimg is built in and you don’t need the ADK.
9. Now that you have an updated .iso, use Rufus to burn it.
make USB with rufus
All can be done with free tools. This is a lot of work so set at least a day aside for it. It took me 4 days to migrate Windows 7 to a new disk. So many problems I had to solve.
Tips:
-
You need to use MBR, GPT just would’t work
-
I used a disk cloning software, in my case AOMEI Backupper. Not required, but helpful.
-
gParted Live is also useful.
-
Have at least TWO USB sticks, or at least 2 computers. If the install doesn’t work you won’t have a working OS to recreate the USB and try again.
 Have Windows 10 or 11 working install disk on a USB stick BEFORE YOU START. That way if all fails you can put Windows 10 or 11 on to try again.
-
Get good sleep. Don’t expect to finish in 1 day, it’s ok. Don’t get overwhelmed, it is a lot of work, but it is worth the payoff for defeating Microsoft and not having a spyware computer. It sure feels good to have Windows 7 on such a fast NVMe drive.
-
If you get an error read the error. It will tell you what is wrong, for example, it doesn’t exist because your path is wrong or there is not an installation on that index.
Hope it helps!
Motivation:
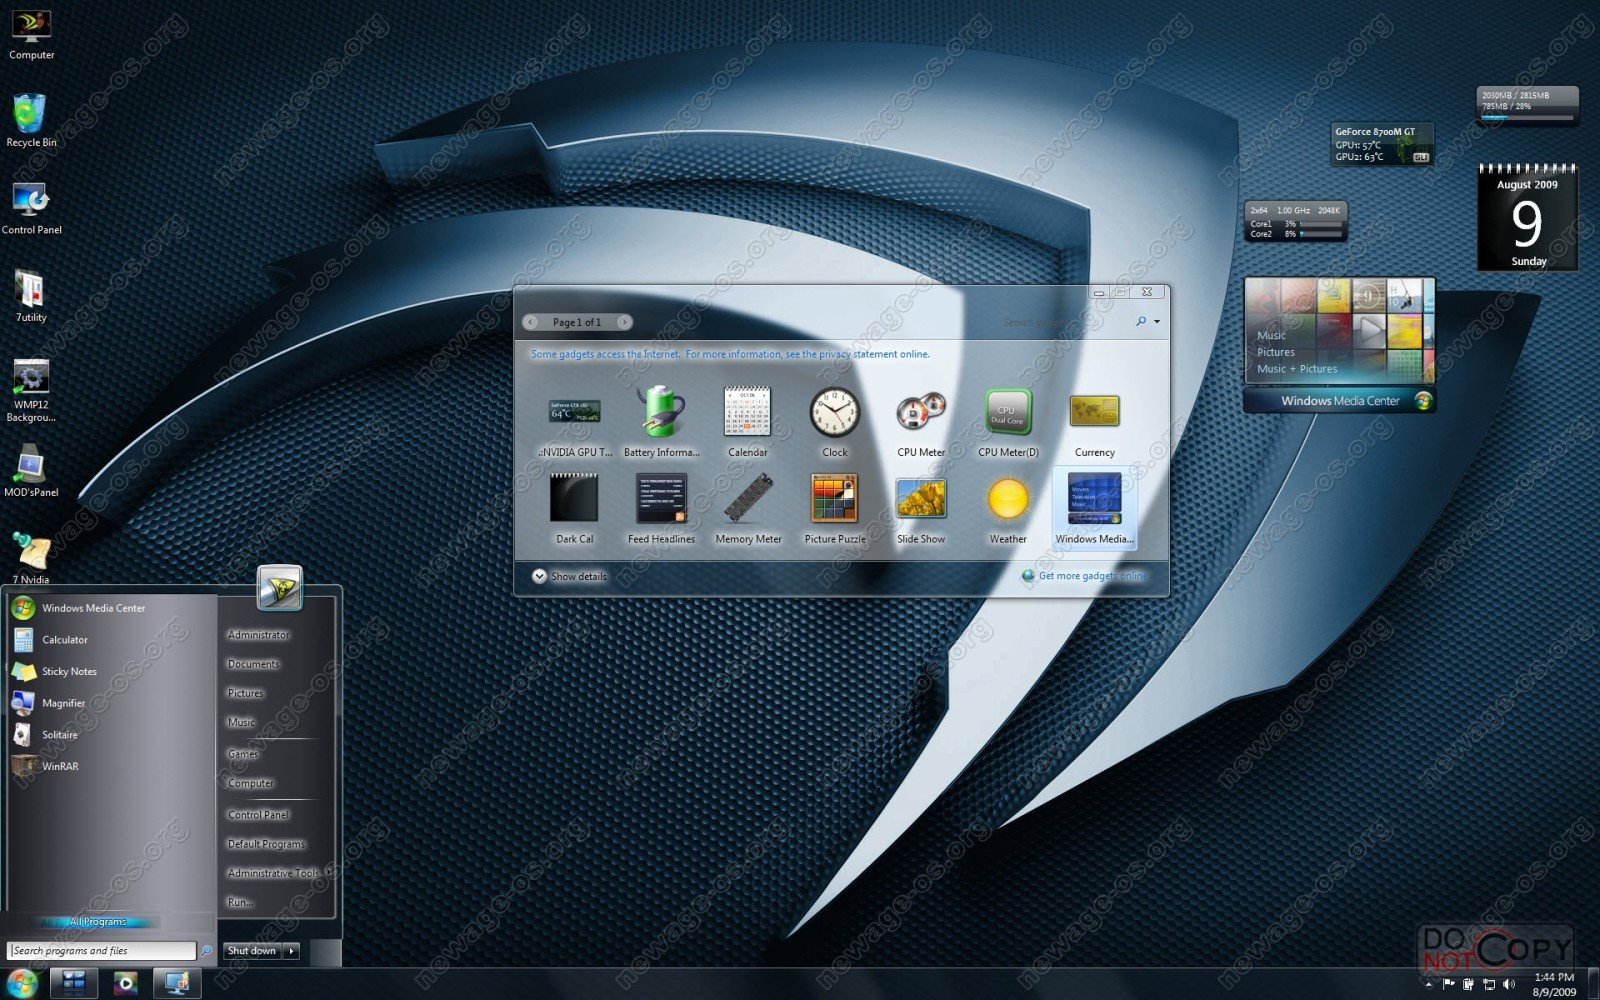
My install after I finished doing it today. 2TB internal superfast NVMe. Wow my laptop is speedy now! Way faster than the factory m.2 drive.
Windows 7 5in1 WPI & USB 3.0 + M.2 NVMe by AG 03.2020 (x86-x64) (2020) Rus 020
Version_build: 6. 1.7601.24549
Developer site : microsoft.com
Bit depth : 64bit & 32bit
Interface language : Russian (after installation, you can change to en / de in editions : Ultimate/Enterprise)
Tablet : Present (Manual)
Build Author :
AG
System Requirements :
— 32/64-bit processor, 1 gigahertz (GHz) or faster;
— from 2 GB of RAM (RAM) for x64, recommended from 4 GB;
— from 1 GB of RAM (RAM) for x86, up to 4 GB is recommended;
— from 40 GB of hard disk space;
— DirectX 9 graphics device with WDDM driver version 1.0 or later.
Description and composition of editions 5in1 :
Windows 7SP1 x64 Professional / Ultimate / Enterprise
Windows 7SP1 x86 Professional / Enterprise
(IE11 to v11.0.180) Do not upgrade from update packs, it will end badly.
with integrated updates for March 2020
Microsoft .NET Framework 4. 8 and DirectX update already in all editions.
Bootloader in 5in1 image used from win 10, so usb to install any
and UEFI with GUID partition table ( GPT ) no problem (GPT only with x64)
If the hardware manufacturer does not declare compatibility with OS below Win 8 or Linux,
then you should not expect a miracle, but you can believe it.
The 5in1 image is not intended for installation from under the installed OS.
All changes described below are performed automatically
after the installation of the OS. Integrated drivers, see below.
Before installing, check the quality of the installed RAM using the memtest program.
Use program 9 to avoid anomalies when loading0063 Rufus for writing an image to a flash drive.
In this distribution, the approach to USB 3.0 and NVMe drivers has been changed, details below.
«Assembly based on official MICROSOFT MSDN releases:»
«Minimized number of installer questions, autounattend. xml and its modest features:»
«List of programs in the MInstAll shell:»
«The following components are automatically changed: »
«Composition of the Soft folder automatically copied to the desktop:»
«Writing an image to a flash drive:»
«Activation and what you need to know when choosing an edition before installation:»
«Integrated drivers:» [spoiler=»Changed approach to USB 3.0 drivers | The standard ability to add drivers to the image is enabled before installing the system|:»]Drivers for USB 3.0 were not added in the OS edition, instead the standard method for adding drivers during OS installation is used.
Drivers must be placed in the image along the path \sources\$OEM$\$$\Temp\WinDrivers\ Drivers should be located in this directory,
which will be automatically added to the OS before the first reboot.
Drivers for Intel chipset series 8x to 200 (v5.0.4.43) are unpacked by default and will be copied into the system, as well as all unpacked \sources\$OEM$\$$\Temp\WinDrivers\
Drivers for
The WinDrivers directory contains two folders with drivers for Intel USB 3.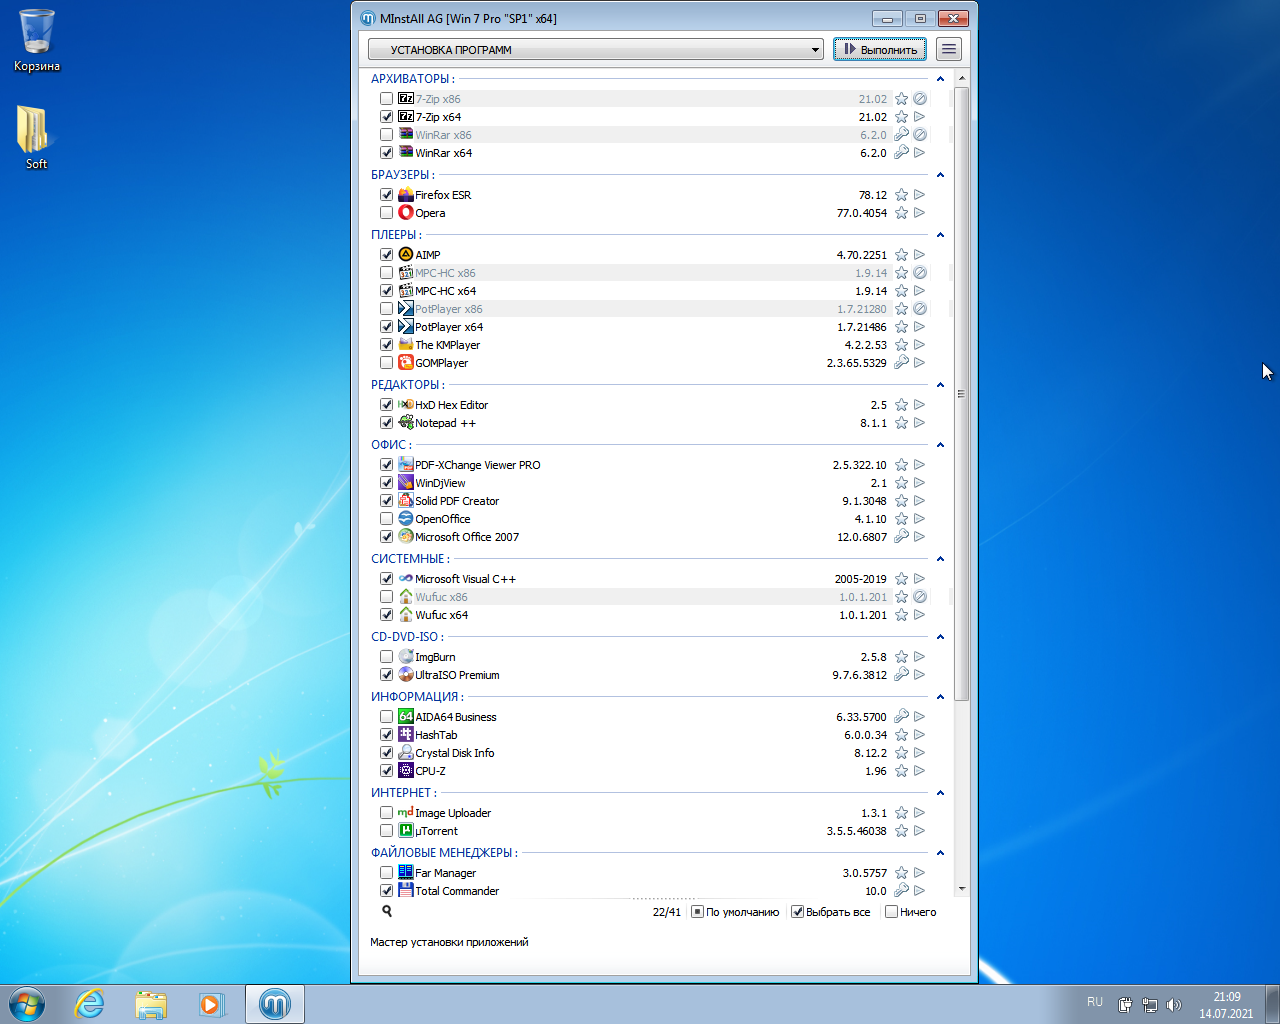 0 chipsets, separately for 7x series chipsets and separately for 8 and up.
If you are installing the system on an older Intel 7x series of chipsets, then you need to delete the folder with USB drivers for older chipset series, —
, and in the Intel_USB3 folder for 7x series, unzip the archive to the same folder. (v1.0.10.255)
Added modified signed driver for DEV_A36D_9DED_31A8, unpack to the same directory before installation, after removing other Intel USB 3 drivers.
Current driver image location and version:
In \sources\$OEM$\$$\Temp\WinDrivers\X**\USB3\
AMD x64 — AMD USB3* v1.1.0.0249 & v2.0.0.0048 & v1.0.5.3
\ $OEM$\$$\Temp\WinDrivers\X64\USB3\AMD\ZEN-3000 Serie_149C_Drivers_2019.12.12.exe (unpacked driver mod for new AMD chipsets)
————— —————————————-
ASMedia x64 — v1.16.59.1
Intel x64 — Intel USB3* v1.0.10.255.exe — (v1.0.10.255 unpacked driver for B75/H77/Z77 *…*)
Intel x64 — Intel USB3* v5.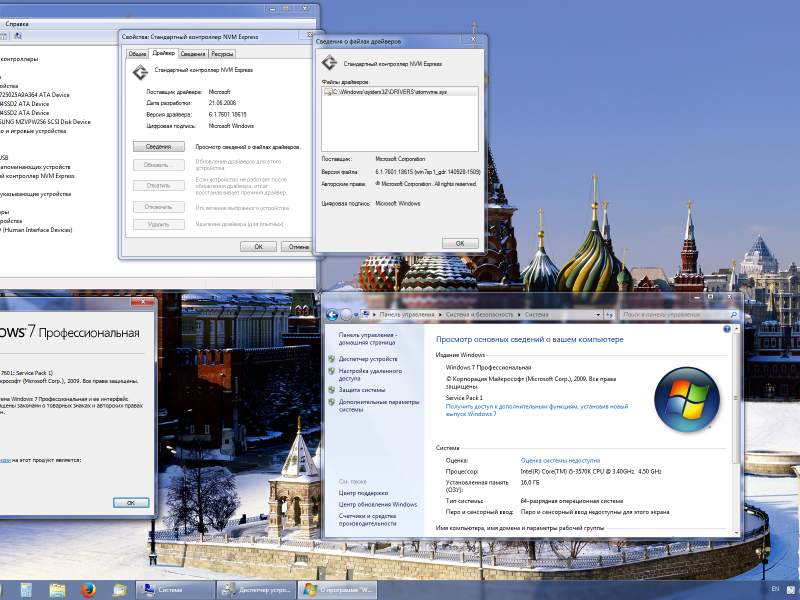 0.3.42 — unpacked by default, for Intel Series Chipsets 8x/9x/100/200/B365/Z370
Intel x64 — NEW_USB3.1_mod.exe — (v5.0.5.55 unpacked driver DEV_A36D_9DED_31A8 for B360/Z390/h410/h470 *…*)
Intel x64 — Intel T.B. v17.2.70.3 (Thunderbolt)
—————————————— ——————-
Intel x86 — Intel USB3* v1.0.10.255.exe — (v1.0.10.255 unpacked driver for B75/H77/Z77* …*)
Intel x86 — Intel USB3* v5.0.3.42 — unpacked by default, for Intel Series Chipsets 8x/9x/100/200/B365/Z370
Intel x86 — NEW_USB3.1_mod.exe — (v5. 0.5.55 unpacked driver DEV_A36D_9DED_31A8 for B360/Z390/h410/h470 *…*)
Intel x86 — Intel T.B. v17.2.70.3 (Thunderbolt)
—————————————- ————————————————— ————
\sources\$OEM$\$$\Temp\WinDrivers\X64\IRST\intel_rst_15.9.6.1044_x64.exe (unpacked driver)
\sources\$OEM$ \$$\Temp\WinDrivers\X64\IRST\intel_rst_16.0.0.1055_x64.exe (not unpacked driver)
Unpack if necessary, as Intel chipset SATA sometimes needs iaAHCIC. inf
inf
It is better to make changes to the image through the UltraISO program, you can manually write the image to the flash drive with Rufus.)
Attention!
Do not leave different versions of Intel chipset drivers — v1.0.10.255 — v5.0.4.43 — v5.0.5.55 unpacked in the image at the same time, these drivers are not compatible and will be copied to the system at the same time.
After installing the system, installation of the complete standard USB 3.x driver package is required. Intel (in Soft folder on desktop v1.0.10.255 / v5.0.4.43)
AMD has its own integrated chipset driverpack https://www.amd.com/ru/support/chipsets/amd-socket-am4/b450 (for Win 7 and 10)
Modified USB drivers can be found here https:// www.win-raid.com/f52-Windows-Vista-Server.html[/spoiler]
«Snappy Driver Installer with 02.2020 drivers for LAN/WI-FI/Chipset/MassStorage/USB added to image:»
«After installation and the first reboot, a red «square» appears with the warning «Secure boot violation»:»
«Deciphering Windows Error Codes 0x******:»
«AM4-based AMD boards that have problems with Windows 7:»
«Official USB drivers for the new Intel h410 chipsets/ B360/h470/HM370/Z390 does not exist under Win 7:»
«Recommendations for disabling spectro-meldonium brakes in games:»
«Anyone who needs original images with updates without changes:»
«Checksums:» Screenshots:
Download Windows 7 5in1 WPI & USB 3. 0 + M.2 NVMe by AG 03.2020 (x86-x64) (2020) {Rus} via torrent
windows-7-5in1-wpi-usb-3_0-m_2-nvme-by-ag-03_2020.torrent
[18.13 Kb] (downloads: 1337)
Size: 7.05GB
12-03-2020, 18:26
6 901
0
Comments
How to Install Windows 7 on a PCI Express (NVMe) Solid State Drive
Author Verbitsky Andrey For reading 3 min. Views 246 Posted
If you try to install Windows 7 on a PCI Express (NVMe) connected SSD, you may encounter the problem that the drive does not appear in the installer. Because of this behavior, it is not possible to install the Windows 7 operating system on such hardware. Here is the solution.
Most modern PCs come with solid state drives that use either SATA (AHCI) or NVM Express. They use a SATA connector when using SATA, otherwise the connector may differ depending on the form factor — on a desktop they go into a PCIe slot, on an ultrabook they use an M.2 connector. But Windows 7 was only designed to work with SATA drives. Windows 8.1 was the first to support NVMe. Luckily, Microsoft has released an update with native drivers for Windows 7 that adds support for NVM Express.
To solve the problem of not being able to install Windows 7 on an NVMe SSD, you should do this first. Take, this is a download of hotfixes KB2990941 and KB3087873. After that, you can rebuild the installation media and integrate the updates into it. These updates also include TRIM support for your NVMe SSD!
Do the following.
- Download fixes from the following links:
KB2990941
KB3087873 - Suppose you are downloading packages (MSU files) to C:packages
- Copy all files from the Windows 7 SP1 installation media (ISO/DVD/USB) to a folder, say C:ISO Win7SP1.

- Open an elevated command prompt.
- At an elevated command prompt, type the following command:
Dism/Get-WIMInfo/WimFile:C:ISOWin7SP1sourcesinstall.wim
It will show you the indexes of the images contained in the WIM file. Look for an edition of Windows 7 for which you have a product key and corresponding index. Suppose, for example, that you are using Windows 7 Ultimate.
- Type the following command to mount an offline Windows image:
Dism/Mount-WIM/WimFile: C: ISO Win7SP1 sources install.wim/Name: "Windows 7 Ultimate"/MountDir: C: ISO unpacked
This command will mount the Windows 7 SP1 Ultimate release files to C:ISO unpacked. The folder must exist on your system, otherwise correct the path.
- Type the following command to integrate KB2990941 for 64-bit version of Windows 7
Dism/Image: C:ISO unpacked/Add-Package/PackagePath:C:packagesWindows6.1-KB2990941-x64.msu
For 32-bit Windows 7, enter the following command
Dism/Image: C:ISO unpacked/Add-Package/PackagePath:C:packagesWindows6.