conversion — How to convert an iso file to img format in linux?
I had downloaded a «.iso» image of the ubuntu website and for some official work i need to convert this to «.img» format. i see a lot of windows software’s available but how do i do this conversion in linux?
- iso
- conversion
3
Actually there isn’t any difference between iso’s and img’s apart the extension. Look at this link.
So you have to just change the extension.
To me an iso file is an image (img) file with the iso9660 file system. In other words, iso files are a subset of image files. As a matter of fact, most iso files are synthetic images, not created by making images of drives, but typically made in order to create boot drives in DVD disks, USB pendrives or memory cards.
-
So I agree with the answers, that you can replace the extension iso with img.
mv file.iso file.img
-
In order to make an img file accepted by some cloning tool that wants iso files, you could do it the other way too. But in principle that may not be quite correct, because an img file might be an image of a drive or partition, that does not contain an iso 9660 file system (and it might not be an image of a bootable drive). So it could make people confused.
geteltorito f1.iso > f1.img
TL;DR
I’ve found an advice to convert iso to img to boot from USB. I was not able to boot from USB with written downloaded ISO. Some time later I found an advice to convert to img via:
geteltorito f1.iso > f1.img
And indeed I was able to boot from USB where I’ve written img file. The files were different:
$ file 6muj31uc.iso
6muj31uc.iso: ISO 9660 CD-ROM filesystem data '6muj31us' (bootable)
$ file 6muj31uc.img
6muj31uc.img: DOS/MBR boot sector; partition 1 : ID=0x4, active, start-CHS (0x0,1,1), end-CHS (0xe,63,32), startsector 32, 30688 sectors
Boot image sounds like img file:
man geteltorito
geteltorito is a Perl script which extracts the initial/default
El Torito boot image from a CD if one exists.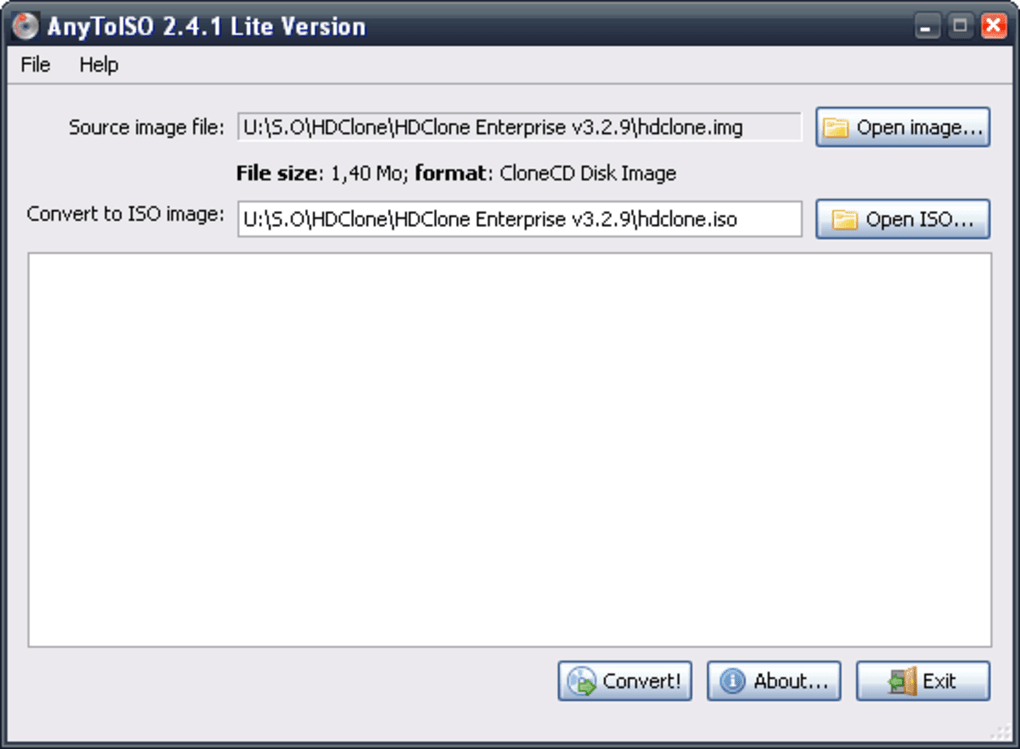
actually one of the users had posted the answer but deleted it,
the foll. had worked for me:
dd if=/home/asic/ubuntu.iso of=/home/asic/ubuntu.img
2
Sign up or log in
Sign up using Google
Sign up using Facebook
Sign up using Email and Password
Post as a guest
Required, but never shown
Post as a guest
Required, but never shown
By clicking “Post Your Answer”, you agree to our terms of service, privacy policy and cookie policy
disk image — How to create an .
 img file from .iso on Ubuntu?
Just rename the file. Any .iso file can be safely renamed to have a .img extension.
ISO vs. IMG
A raw disk image is a binary file that contains a sector-by-sector binary copy of the binary data stored on a storage device. A raw disk image is a complete snapshot of the source medium, including the MBR, GUID OR Apple partition table.
An ISO image is a raw disk image that contains a sector-by-sector copy of the binary data stored on an optical disk. ISO images contains the binary data of an optical media formatted in the ISO-9660 filesystem.
ISO images form a subset of raw disk images. An ISO image (.iso extension) can be renamed to a raw disk image file (.img extension) but the opposite isn’t automatically true unless the disk image contains ISO-9660-formatted data. A raw disk image that contains ext4-formatted data isn’t an ISO image.
Quite often though, ISO images are used as bootable mediums if they contain a MBR boot sector or an ESP boot partition. The BIOS/UEFI firmware will be able to execute the bootloader code and boot the system.
I downloaded an Ubuntu 22.04 bootable ISO for a quick demo, probing for the filetype shows:
root@ubuntu:~# file ./ubuntu-22.04-desktop-amd64.iso
ubuntu-22.04-desktop-amd64.iso: DOS/MBR boot sector; GRand Unified Bootloader, stage1 version 0x79, boot drive 0xbb, stage2 address 0x8e70, 1st sector stage2 0xb8db31c3, stage2 segment 0x201
The ISO image uses a GPT (GUID partition table) layout that includes a protective MBR. The protective MBR contains the bootstrap code for the first-stage bootloader, which is just a tiny executable code used to load the second-stage bootloader (i.e. GRUB) responsible for loading the kernel in the legacy BIOS boot process.
The second-stage bootloader is stored in the ESP (EFI system partition) and newer computers that have a UEFI-compliant firmware can directly execute the second-stage bootloader by probing the disk to find the ESP.
The protective MBR also contains a partition table that defines a single stub partition with the size of the entire disk. This prevents software that don’t understand the GPT layout to see the disk as empty.
Exploring the image’s content
To explore the image’s content, we can attach the ISO image to a loop device.
A loop device is a block device that maps its data blocks not to a physical storage device but to the blocks of a regular file in the filesystem or to another block device. This is useful to provide a block device for a raw image stored in the filesystem.
You can list the loop devices with ls -l /dev/loop*. The special character device /dev/loop-control is the kernel driver for loop devices. It’s used to dynamically find a free loop device to use, and to add and remove loop devices from the system.
Attach the ISO image to an available loop device:
root@ubuntu:~# losetup -f --show -P ./ubuntu-22.04-desktop-amd64.iso
/dev/loop0
List the partitions:
root@ubuntu:~# fdisk -l /dev/loop0 Disk /dev/loop0: 3.41 GiB, 3654957056 bytes, 7138588 sectors Units: sectors of 1 * 512 = 512 bytes Sector size (logical/physical): 512 bytes / 512 bytes I/O size (minimum/optimal): 512 bytes / 512 bytes Disklabel type: gpt Disk identifier: A09DB2B8-B5F6-43AE-AFB3-91E0A90189A1 Device Start End Sectors Size Type /dev/loop0p1 64 7129427 7129364 3.4G Microsoft basic data /dev/loop0p2 7129428 7137923 8496 4.2M EFI System /dev/loop0p3 7137924 7138523 600 300K Microsoft basic data
Mount the ISO-9660 and EFI partitions:
root@ubuntu:~# mkdir -p /mnt/{iso,esp}
root@ubuntu:~# mount -o ro /dev/loop0p1 /mnt/iso
root@ubuntu:~# mount /dev/loop0p2 /mnt/esp
Note: ISO-9660 is a read-only filesystem so the partition must be mounted with the
rooption.
You can verify the mounted filesystems with the following:
root@ubuntu:~# df -T /dev/loop0p{1,2}
Filesystem     Type    1K-blocks    Used Available Use% Mounted on
/dev/loop0p1   iso9660   3564682 3564682         0 100% /mnt/iso
/dev/loop0p2   vfat         4214    3222       992  77% /mnt/esp
To unmount the partitions and deallocate the loop device, run:
root@ubuntu:~# umount loop0p{1,2}
root@ubuntu:~# losetup -d /dev/loop0
convert ISO to IMG — File Extension
Input file
ISO
Output file
IMG
By converting a file to another file extension, you can use other programs to support it. But we should not forget that the ISO file after converting to IMG may differ slightly from the original, for example, in the placement of data. The most important information should be kept, but if you want the file, after converting from ISO to IMG, to be identical, you should act judiciously and choose the appropriate application from the list below. This does not guarantee that the conversion will be 100% what you expect, but it can still help a lot. If, nevertheless, the effect of converting an ISO file to IMG did not meet your expectations, you can try to find on the Internet another version of your file in ISO format, previously correctly converted by someone else into an IMG file. If you can’t, use the information provided in the next part.
Software for converting ISO to IMG:
-
ISOBuster
-
MagicISO
-
PowerISO
-
Ultra ISO
-
AnyToISO
-
gBurner
-
AnyToISO for Mac
Other possible ISO 9 file conversions0013
If after converting the ISO file you do not get the corresponding result, you can try changing the ISO file format to another than IMG. On our site you will also find information about the following converting capabilities:
Converting the file with ISO extension to another format
- ISO
- ISO in B5T
- in BIN
- in BIN
- in BIN
- in C2D
- ISO CCD
- ISO DAA
- ISO DAO
- ISO DMG
- ISO ISZ
- ISO MDF
- ISO MDX
- ISO in NDIF
- ISO in NRG
- ISO in UDF
- ISO in UIF
- ISO in ZIP
ISO
What are still possible?
Unfortunately, if after performing the two previously described steps (trying to find your ISO file converted by someone else, and trying to convert it to IMG format yourself) you still have a problem with your file, then there are few solutions left. You can try again to find and install an application that can open the ISO file in its original format (without converting to an IMG file. This solution will be difficult to perform, but will no doubt bring the best result.
How to convert IMG to ISO on Windows 10
Some file types such as IMG and ISO can be used as archive files. In particular, the IMG and ISO formats mimic the file structure of certain types of portable media such as CDs and DVDs.
Windows allows you to mount and burn ISO images directly in Windows, and you should be able to use the built-in Windows file management features to do the same with IMG files.
However, some third party applications require you to use ISO files over IMG, especially if your IMG file is compressed. If you need to convert IMG to ISO on Windows 10, here is what you need to do.
Windows programs, mobile applications, games — EVERYTHING is FREE, in our closed telegram channel — Subscribe 🙂
Choosing an IMG to ISO conversion tool
There are a number of third-party tools for converting IMG files to ISO.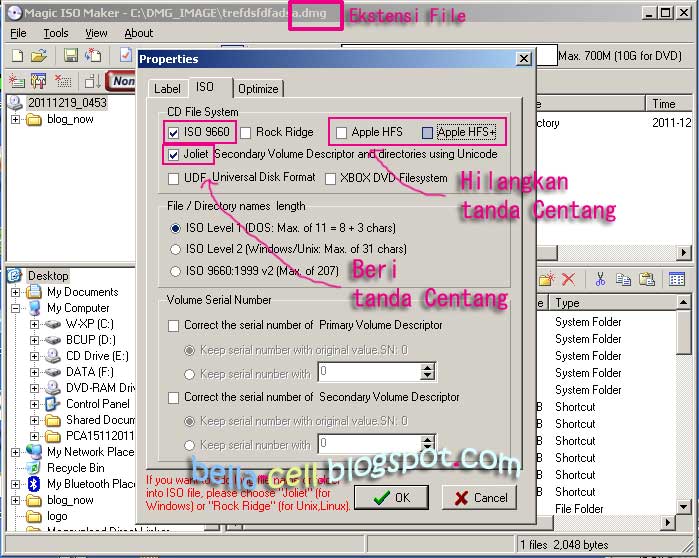 These include paid tools as well as free and open source alternatives.
Among the free tools available is IMG to ISO , a simple tool for switching uncompressed IMG files to ISO format. Other alternatives include OSFMount , a free and powerful tool for mounting and converting disk files on Windows.
You can also use 7-zip to extract the contents of an IMG file and add it to a new ISO archive file manually. While this path may take longer, 7-Zip is a well-known and respected tool that will get the job done.
In some cases, you can also change the IMG file extension to ISO. However, this only works if the file structure is identical to the ISO file. For example, if the file is compressed, you can corrupt the file by doing this.
How to convert IMG to ISO on Windows 10
While there are many options to convert IMG files to ISO on Windows 10, we suggest using OSFMount to do so.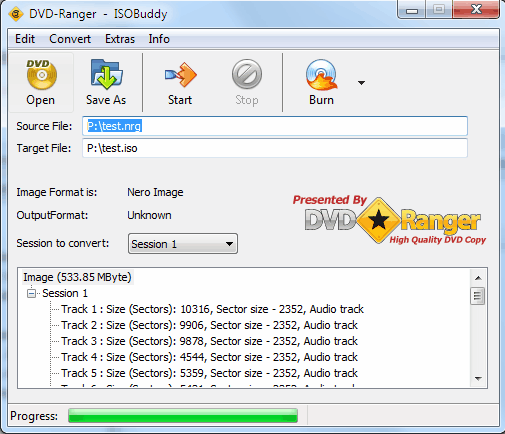 It’s free, offers support for many image file types, and receives regular updates, making it a good option for beginners.
First, download the OSFMount installer from the OSFMount website and install the software.
Mounting the IMG file in OSFMount
Once installed, open OSFMount and click the Install new button in the bottom left corner. Or click File > Mount New Virtual Disk or press Alt + N keys on your keyboard.
to Mount virtual disk select the img file you want to convert by pressing button Open button. Use the built-in explorer window to find the file, then click Next to continue.
In the partition selection menu, accept the preselected options for mounting the file. In most cases, this will be Mount the entire image as a virtual disk .
Press Next continue.
In the last mount options menu, leave the previously selected options unchanged. However, you can choose a custom drive letter or type, or uncheck Read-only disk so that you can make changes to your file after it has been mounted.
Press install to mount the file once you’re done.
Convert IMG to ISO in OSFMount
Once you have mounted a file in OSFMount, it will become available as a virtual drive in Windows Explorer and elsewhere. The next step is to convert the mounted IMG file to ISO format.
To do this, right-click the mapped drive in the main window of OSFMount. Select 9 from the menu0035 Save to image file option or press Alt + I instead.
in the Save window, find where you want to save the file, and paste the new filename into the File Name box.
When you are ready to save the file, click the Save button.
Wait a while while OSFMount saves the mounted disk as an ISO file. Once this process is complete, the converted file will be available for use in the save location you choose.
Mounting an ISO file in Windows 10
Once you have converted an IMG file to ISO, you can use it in several ways. For example, if you want to use it to burn a DVD or a USB flash drive, you can do so.
However, one way to use the file is to mount it as a virtual drive. Windows allows you to do this without any additional third party software in Windows Explorer.
First, open File Explorer and navigate to the location of the converted ISO file. To mount it, right click on the file and select install option.
If install does not appear, you may need to first set the default application to handle ISO files as Windows Explorer in Windows Settings.
Once connected, Windows will create a virtual drive for your file, allowing you to view the content as if it were a CD or DVD. If you want to disable the drive at any time, right-click the virtual drive in File Explorer and press the 9 button0035 Extract option.