MSI MEG CoreLiquid S360 Review: Pretty and Powerful
Tom’s Hardware Verdict
The MSI MEG CoreLiquid S360 lands with top-notch cooling performance, quiet(er) cooling fans and an excellent implementation of a simple-to-use MSI Center UI, to deliver system performance stats, or even your favorite photo or animated GIF. At $280, it’s definitely a premium cooler, but MSI backs up that price with some real performance clout.
TODAY’S BEST DEALS
Pros
- +
+ Top-notch cooling performance
- +
+ Brilliant, customizable LCD display
- +
+ Useful software suite
Cons
- —
Expensive
Why you can trust Tom’s Hardware
Our expert reviewers spend hours testing and comparing products and services so you can choose the best for you. Find out more about how we test.
Today’s best MSI MEG CoreLiquid S360 deals
$279. 99
$259.99
View
Reduced Price
$426.08
$279.99
View
Reduced Price
$470.70
$347.44
View
Reduced Price
MSI is well known for things like laptops, GPUs and motherboards. But the company also makes all kinds of other components, including liquid cooling solutions. The new MSI MEG CoreLiquid S360 represents the flagship of the company’s cooling line, and it’s one sleek cooling beast.
The MEG CoreLiquid is a 360 mm AIO that at first seems more focused on performance and less on lighting, as it lacks RGB/aRGB on its trio of Silent Gale performance fans. But don’t get too upset about the omitted glitz and glimmer, as the pump unit features a beautiful 2.4-inch (61mm) display. Controlled via the MSI Center software UI, the screen offers at-a-glance system monitoring and information, making it a real-time interactive system billboard that can be customized to suit any build theme. Let’s dive deeper to find out if MSI’s latest can knock a cooler off our best CPU coolers list.
Specifications
Swipe to scroll horizontally
| Thickness | 1.125″ / 28.6mm (2.25″ / 57.15mm w/fans) |
|---|---|
| Width | 4.75″ / 120mm |
| Depth | 15.5″ / 393.7mm |
| Pump Height | 3.38″ / 85.9mm |
| Speed Controller | BIOS/Software |
| Cooling Fans | (3) 120 x 25mm |
| Connectors | (4) 4-Pin PWM, (1) 3-Pin tach, (1) SATA, (1) 9-pin USB |
| Weight | 61.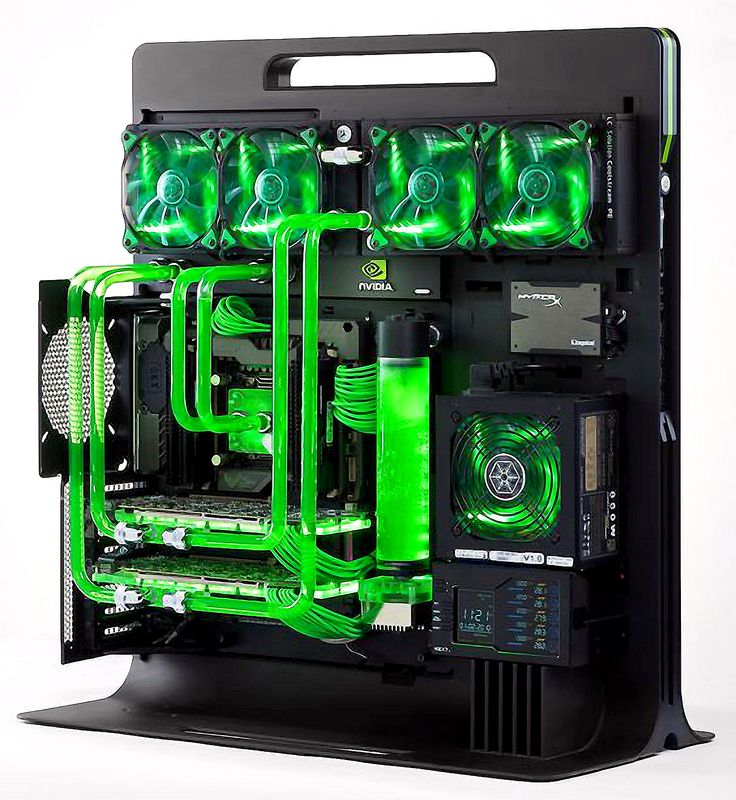 2 oz / 1735g 2 oz / 1735g |
| Intel Sockets | 115x, 1200, 1700, 2011x, 2066 |
| AMD Sockets | AM2(+), AM3(+) AM4, FM1, FM2(+), TR4, STRX4, SP3 |
| Warranty | 3 years |
| Web Price | $280 |
(Image credit: Tom’s Hardware)
MSI ships the new MEG CoreLiquid S360 with a reasonable assortment of mounting hardware, including a pair of mounting rings for AMD and Intel desktop sockets, and an adjustable Intel backplate bracket, as well as mounting standoffs to accompany respective installation needs. This cooler is suitable for nearly all current Intel desktop and HEDT CPUs (and future LGA 1700), as well as nearly all AMD processors, including first-third-gen Threadripper, provided the the appropriate Asetek AIO mounting bracket is handy—it’s not included in the box with this cooler.
MSI covers the MEG CoreLiquid S360 with a 3-year warranty.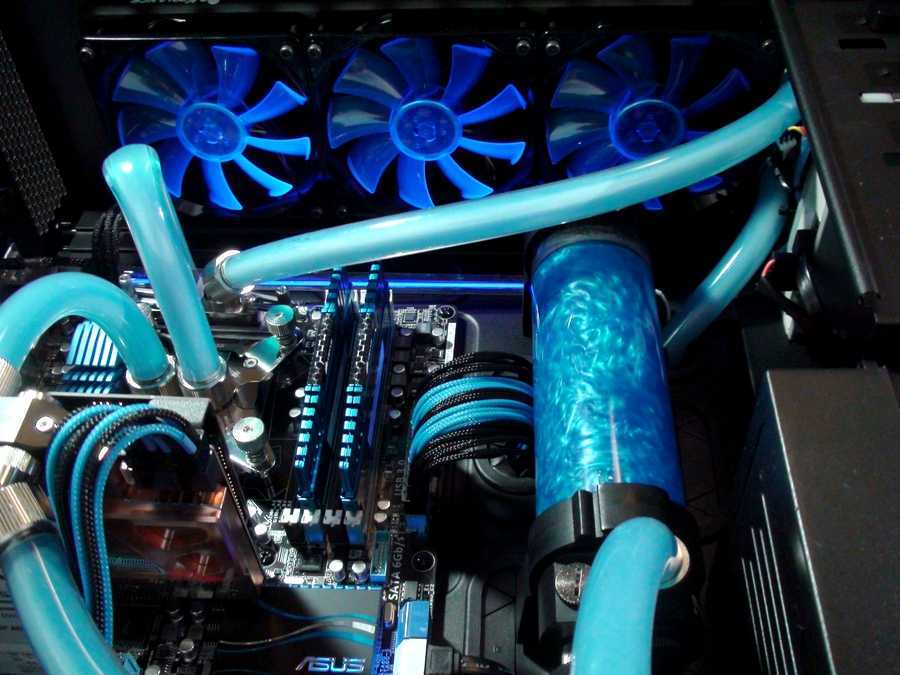
(Image credit: Tom’s Hardware)
- MSI MEG CoreLiquid S360 at Amazon for $259.99
The face of the MSI MEG CoreLiquid S360 features a removable lens shield and facade for the underlying 2.4-inch active LCD display, downdraft cooling fan and coolant circulation pump. The removable cover utilizes four magnets to keep it in place over the guts of the cooler once installation is complete, protecting against dust and physical damage while also adding to the premium looks.
(Image credit: Tom’s Hardware)
The base of the MEG CoreLiquid S360 consists of a milled-copper cold plate with a factory application of thermal compound. Power for the pump, LCD components and fans is pulled from the 12v SATA power connection, while a 9-pin USB motherboard header provides internal connectivity to your system mainboard to make use of the MSI Center software suite.
The 60mm Torx fan can be seen hiding behind the copper cold plate, nestled above the pump itself and drawing air in from the vented side panels of the housing.
Software Controls and Display
Image 1 of 4
(Image credit: Tom’s Hardware)(Image credit: Tom’s Hardware)(Image credit: Tom’s Hardware)(Image credit: Tom’s Hardware)
MSI’s Center software (sorry Lucky, no dragon here) controls the MEG CoreLiquid S360, powering a multitude of features from graphics, lighting and system cooling. The LCD display can offer up a revolving (or fixed) set of system information such as CPU core speed, coolant and processor temperatures, memory or system load—even local weather. Personalized text, logos and animated GIFs can be loaded to the display screen simply by choosing files or typing data in. Additional customization includes defining various performance configurations, such as various pump speeds, fan curves and cooling profiles.
The system also lets you define the correct vertical/horizontal axis for your applicable install, so that no matter the mounting position the information on the screen will be in the right orientation.
(Image credit: Tom’s Hardware)
The 360mm radiator on the MEG CoreLiquid S360 gets fitted with a trio of MSI Silent Gale P12 120mm PWM fans. These spinners lack RGB/aRGB lighting accents, but the 9-blade fans are designed to move volumes of air at lower ambient noise levels. The fans themselves can be directly managed from the 3-way PWM splitter, which offers UI control from within the MSI Center fan curve profile tab.
(Image credit: Tom’s Hardware)
Removal of the pump shield grants access to the mounting ring and standoffs around the MSI MEG CoreLiquid S360 base. The pair of 90-degree swivel fittings are easily seen, which allow tubing relocation to best suit the system install position. With the mounting nuts secure and the cooler installed, the cooler is ready to once again receive its shroud.
(Image credit: Tom’s Hardware)
With the face cover installed, the LCD display hides behind the mirror finish of the lens shield as a seamless mask hiding the components beneath. The cover also wraps around the sides of the housing, where the tubing enters and exits the pump chambers while also partially concealing the wiring harnesses for power and fan control.
(Image credit: Tom’s Hardware)
The end result with the shroud installed is bulky, but looks tidy.
MSI MEG CoreLiquid S360: Price Comparison
$279.99
$259.99
View
Reduced Price
$426.08
$279.99
View
Reduced Price
$470.70
$347.44
View
Reduced Price
powered by
- 1
Current page:
Specifications and Features
Next Page Test System Setup
Garrett Carver is a contributor for Tom’s Hardware, primarily covering thermal compound comparisons and CPU cooling reviews; both air and liquid, including multiple variations of each.
DeepCool LS520 Review: Compact Size, Big Bite
Tom’s Hardware Verdict
DeepCool’s LS520 is the strongest 240mm AIO cooler I’ve tested. It’s capable of cooling Alder Lake in most situations with no power limits enforced, and it’s also nicely priced.
Pros
- +
Strongest 240mm AIO I have tested
- +
Capable of cooling 230W+ with Alder Lake
- +
Unique fan connection system
- +
User Customizable Face Plate
Why you can trust Tom’s Hardware
Our expert reviewers spend hours testing and comparing products and services so you can choose the best for you. Find out more about how we test.
DeepCool was founded in Beijing in 1996 and has earned a solid reputation in the CPU Cooler space with options like the Assassin III and AK620, considered to be some of the best air coolers on the market. The company’s lineup includes both air and AIO coolers as well as computer cases, keyboards, power supplies, and other accessories.
We have DeepCool’s new LS520, a 240mm AIO liquid cooler which retails for $109 USD, on our test bench. While most AIOs on the market are based on Asetek designs, DeepCool is one of the few companies which make their own, in-house, pump designs. The LS520 features a redesigned pump system, but is that enough to tame Intel’s 12900K and earn a spot on our best AIO coolers list? We’ll have to put it through testing to find out. But first here are the specifications from DeepCool.
(Image credit: Tom’s Hardware)
Specifications for the DeepCool LS520
Swipe to scroll horizontally
| Cooler | DeepCool LS520 |
| MSRP | $109 USD |
| Radiator Dimensions | 282 x 120 x 27mm |
| Net Weight | 1305g |
| Socket Compatibility | Intel Socket LGA 115X / 1200 / 1700 / 2011 / 2066 |
| AMD AM4 / AM5 / sTRX4 / sTR4 | |
| Rated Noise Level | Up to 32. 9 dBA 9 dBA |
| CPU Block | Copper |
Packing and Included Contents
DeepCool’s LS520 ships in a medium-sized box, packed with molded cardboard and soft p;lastic coverings of the individual parts for protection.
Image 1 of 2
(Image credit: Tom’s Hardware)(Image credit: Tom’s Hardware)
Included with the package are the following:
- CPU Block + Radiator
- 2x FC120 120mm fans
- Mounts for all modern CPU sockets, including LGA1700, TR4, and AM4/AM5 motherboards
- Customizeable blank plate for CPU Block
- User Manual & Support Pamphlets
- Coolant Line Clips
(Image credit: Tom’s Hardware)
Cooler Installation
Installing the DeepCool’s LS520 was fairly easy. To begin, you’ll first want to secure the radiator to your case. Afterwards, press the backplate against the motherboard and mount the stand-offs. You won’t need to worry about thermal paste, as it is pre-applied to the CPU block.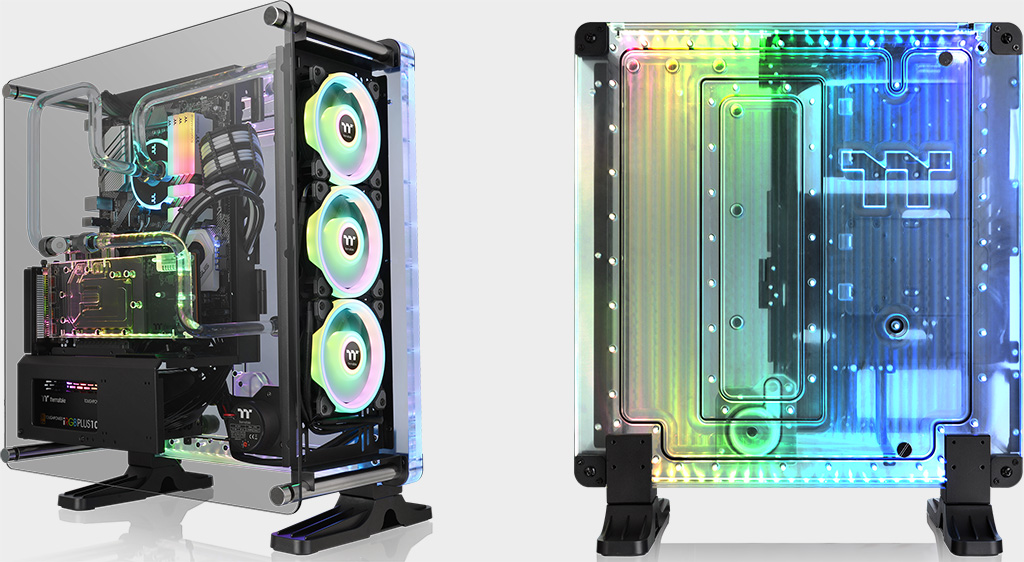 Press the CPU block against the standoffs, and then use the included thumb screws to secure it.
Image 1 of 2
(Image credit: Tom’s Hardware)(Image credit: Tom’s Hardware)
New Testing Configuration
Swipe to scroll horizontally
| Cooler | DeepCool LS520, 240mm AIO |
| Comparison Coolers Tested | BeQuiet Pure Loop 2 FX, 360mm AIO |
| Cooler Master Master Liquid PL360 Flux 360mm AIO | |
| Cougar Forza 85 Air Cooler | |
| Cougar Poseidon GT 360, 360m AIO | |
| CPU | Intel i9-12900K |
| Motherboard | MSI z690 A-Pro DDR4 |
| Case | BeQuiet! Silent Base 802 Window |
| PSU | DeepCool PQ1000M |
What’s different than other coolers?
Latest in-house pump design from DeepCool
The vast majority of Liquid Coolers on the market today are based around Asetek designs, with pumps integrated into the CPU block.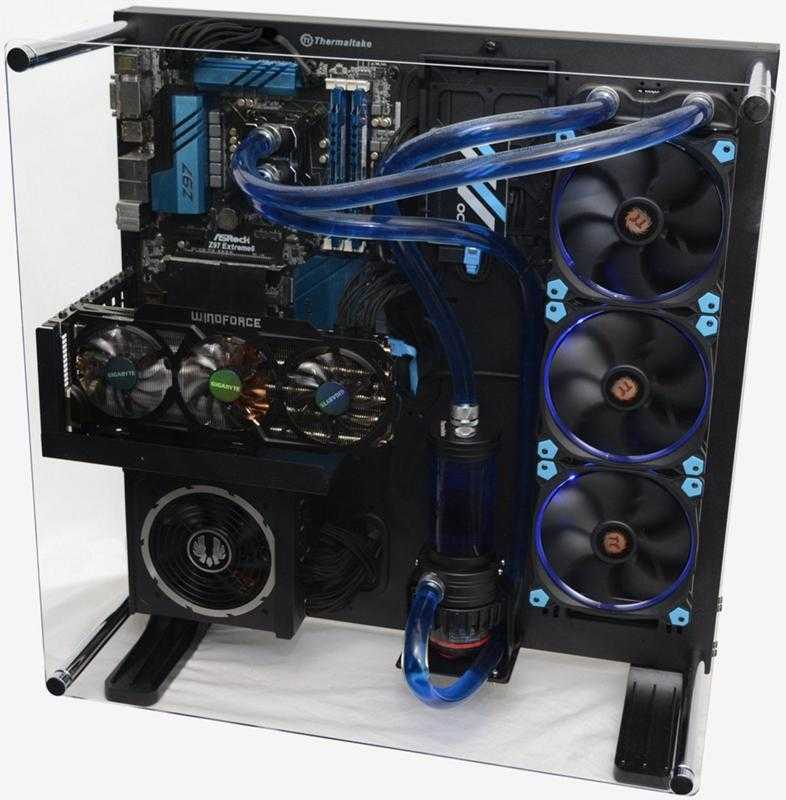 But the LS520 incorporates the latest generation in-house design from DeepCool.
(Image credit: DeepCool)
User Customizable Plate
Included with the LS520 is a blank CPU block plate, which lets you create your own design for the RGB-lit CPU block. Given that most companies just slap their logo here and give you no other options, this is a nice touch.
(Image credit: DeepCool)
Custom DeepCool FC120 fans
(Image credit: Tom’s Hardware)
The LS520 includesDeepCool’s FC120 fans, sporting a unique fan connection system which allows for easy daisy-chaining of both fan & lighting controls in a single cable. The FC120 fans are a stronger SKU than the retail models and feature upgraded airflow and static pressure as a result of higher maximum fan speeds.
(Image credit: Tom’s Hardware)
Swipe to scroll horizontally
| Model | FC120 |
| Dimensions | 120 x 120 x 25 mm |
| Fan Speed | 500-2250 RPM±10% |
| Air Flow | 82. 48 CFM ± 10% 48 CFM ± 10% |
| Air Pressure | 3.27 mmAq |
| Noise Level | Up to 32.9 dB(A) |
| Lighting | ARGB |
Testing Configuration
Swipe to scroll horizontally
| Cooler | DeepCool LS520 |
| MSRP | $109 USD |
| Comparison Coolers Tested | BeQuiet Pure Loop 2 FX |
| Cooler Master Master Liquid PL360 Flux | |
| Cougar Poseidon GT 360 | |
| CPU | Intel i9-12900K |
| Motherboard | MSI z690 A-Pro DDR4 |
| Case | BeQuiet! Silent Base 802 Window |
| PSU | DeepCool PQ1000M |
(Image credit: Tom’s Hardware)
I’ll be testing DeepCool’s LS520 with Intel’s i9-12900K.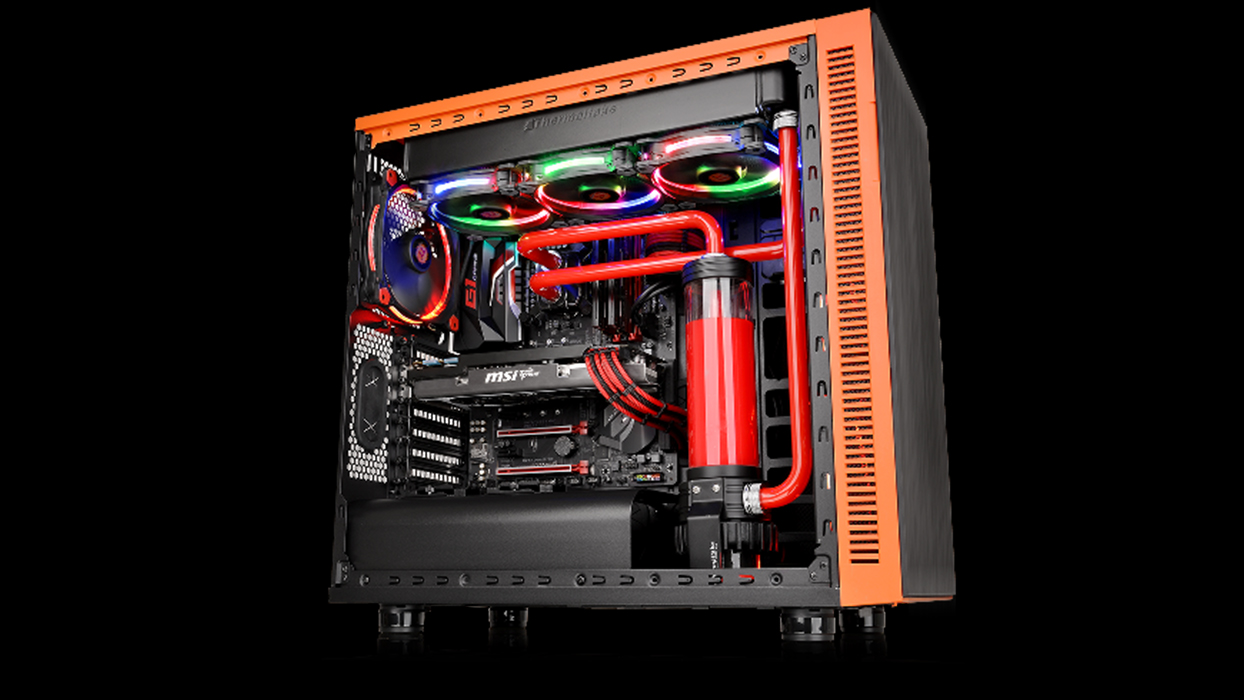 Due to the increased thermal density of the Intel 7 manufacturing process, as well as changes to core and component layouts, Alder Lake CPUs are more difficult to cool than previous generation CPUs in the most heat-intensive of workloads.
This means that coolers that kept previous generation products like the i9-10900K nice and cool sometimes struggle to keep Intel’s i9-12900K under Tj max–the top temperature before the CPU starts to throttle. Many coolers, including DeepCool’s last generation CASTLE EX AIOs, failed to keep the i9-12900K under TJ max when power limits are removed in workloads like Cinebench and OCCT when I’ve tested them.
Please note there are many factors other than the CPU cooler that can influence your cooling performance. A system’s motherboard can especially influence this, as there are boards on the market with CPU sockets that aren’t up to Intel’s spec, which can cause warping or poor contact with the CPU. The case you use will also influence cooling results.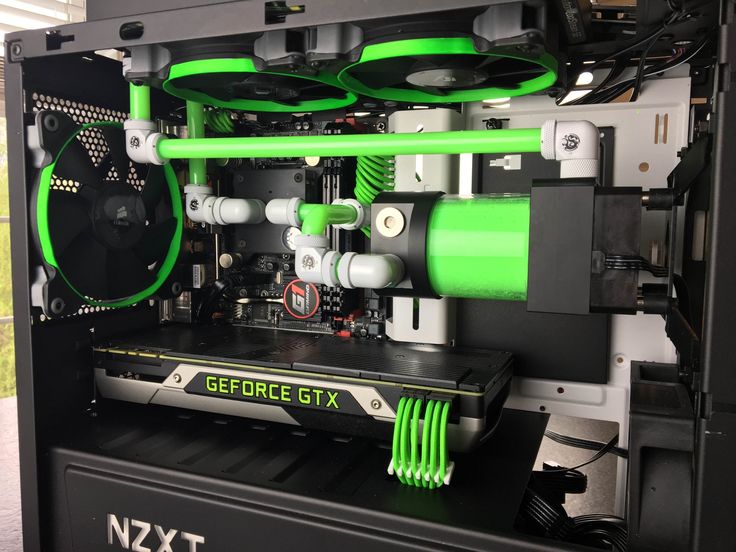
With Alder Lake’s cooling demands in mind, I’ll be rating CPU Coolers in 3 different tiers.
Tier 1: These coolers are able to keep the i9-12900K below TJ max in most loads, with no power limits enforced. I expect only the best liquid coolers to meet this standard.
Tier 2: These coolers are able to keep the i9-12900K under the TJ max threshold with CPU power limits of 200W enforced. I expect most liquid coolers and the best air coolers to meet this standard.
Tier 3: These coolers are able to keep the i9-12900K under TJ max with CPU power limits of 140W enforced.
Testing Methodology
To test the limits of a cooler’s thermal dissipation capabilities, I run two primary stress tests: Cinebench and OCCT each for 10 minutes. While this may be a short amount of time, it is sufficient to push most coolers–air and liquid–to their limits.
While stress testing in Cinebench, I run both with power limits removed and with an enforced 200W CPU power limit.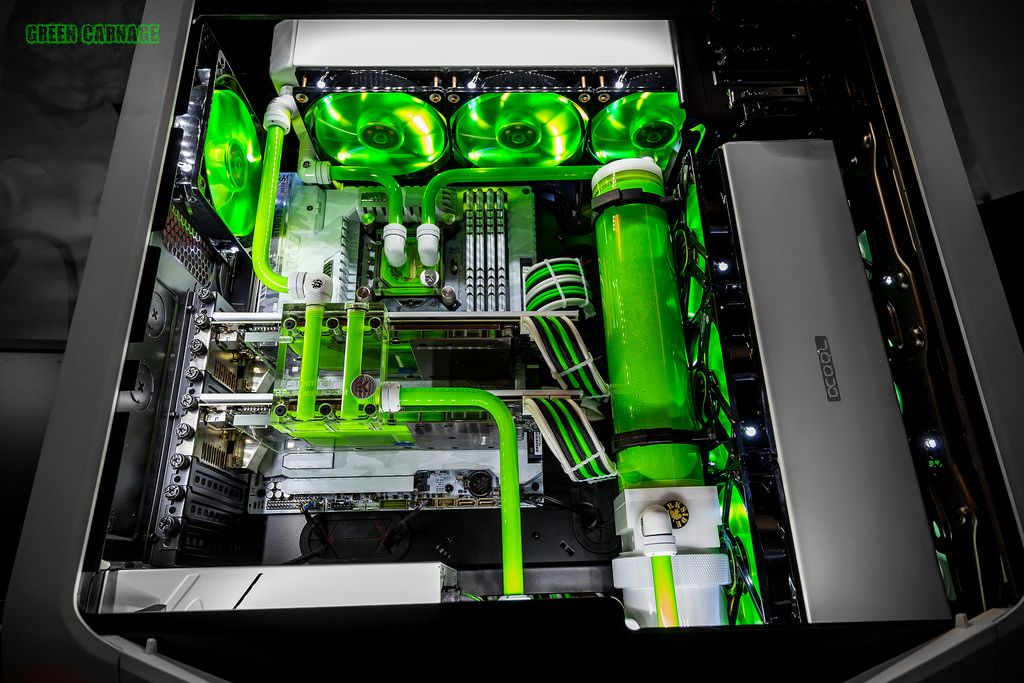 In this test setup using MSI’s z690 A Pro DDR4 Motherboard and Be Quiet’s Silent Base 802 Computer Case. Only the best coolers are able to pass Cinebench testing when power limits are removed.
I don’t test OCCT without power limits because attempting to do so results in CPU package power consumption jumping to over 270W and instantly throttling with even the best AIO coolers. Instead, I test at 200W to give coolers a chance at passing. I also include 140W results to give data closer to a lower-end CPU, such as AMD’s Ryzen 5600X or Intel’s i5-12400.
- MORE: How to Buy the Right CPU Cooler
- MORE: How to Overclock a CPU
- MORE: How to Check CPU Temperature
- MORE: All CPU Cooling Content
- 1
Current page:
Specifications and Features
Next Page Core i9-12900K Thermal Results
Albert Thomas is a contributor for Tom’s Hardware, primarily covering CPU cooling reviews.
A few more reasons why your PC doesn’t need water cooling / Sudo Null IT News
Hello Habr! I present to your attention a translation of an article from APC magazine.
Before you delve into the peculiarities of CWO, let me try to dissuade you from this idea, or maybe make you admire it even more.
Let’s talk about a dissident from the world of custom PCs. Yes, we are talking about water cooling. In particular, why is it not good. Over the course of five years, I had the opportunity to assemble about 60 personal computers. 12 of them had different CBOs, not counting the AIO builds. So I have a fairly complete idea of this very specific hobby. And, alas, I can say that dropsy is crap. Below I will explain in detail why.
01. Price
First of all, the biggest obstacle that everyone who wants to buy a CBO will have to face is its high cost. The problem is, if you’re craving a dropsy (because, frankly, it looks amazing, and for most of us, that’s the main reason we want to buy it), you’ll have to start by taking apart a graphics card that can cost $1,400. , and with a waterblock mount for $200.
02. Components
I do not even know where to start. When you think about tiny, expensive components for a water cooling system, you think something like this: “I’ll start with soft tubes, because this is the easiest,” and then you think: “I’ll buy more compression fittings and I’ll be done.” While it is technically possible, assembly with soft tubing and standard fittings alone is not the easiest way.
And what’s interesting is that the more liquid cooling components you collect, the more experience you will gain, and the more likely you will be inclined to add to and use this arsenal. And this, in turn, increases the price of the final assembly.
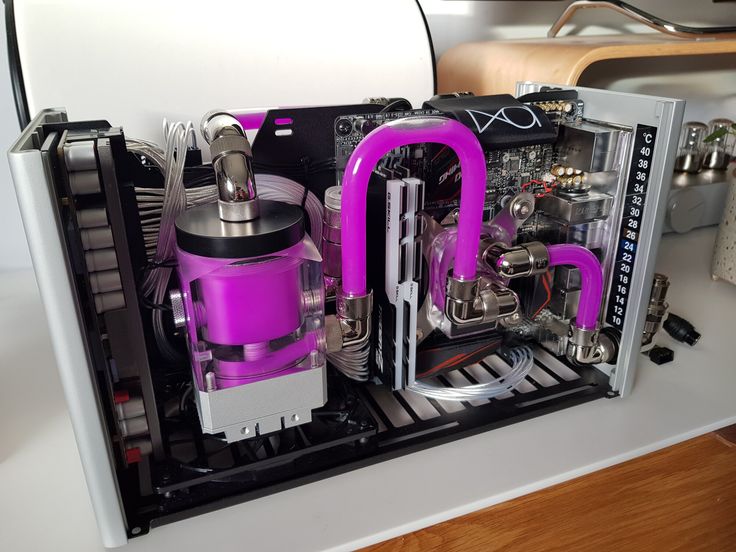
For example, the 4K game monster build we made at the end of 2019 was a set of 70 pieces of 12 different types and 2 brands for a total of about $1,000.
That’s a sky-high figure, but add the average price of a waterblock far in excess of $200, radiators ranging from $100 to $200, and don’t forget the pump and reservoir, and the price eventually rises to $2,500.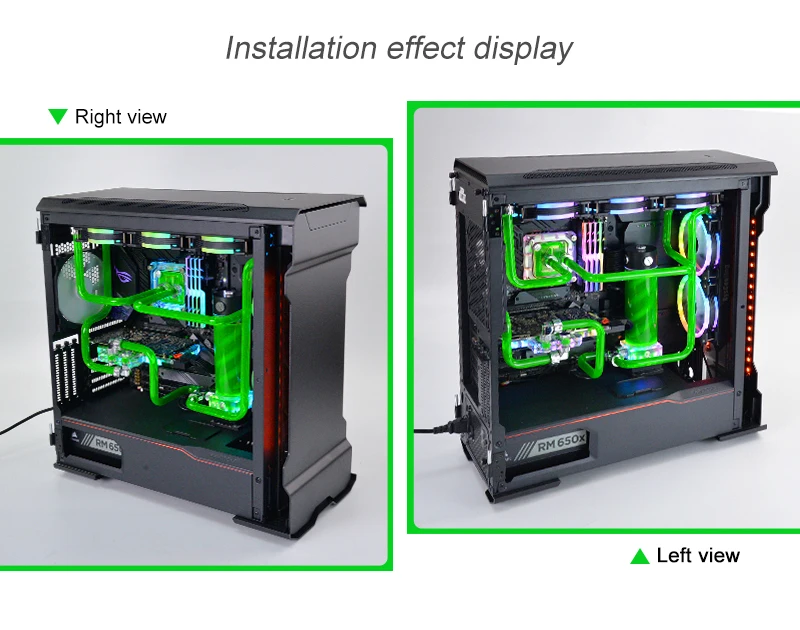
03. Experience
And then you will need to apply the knowledge gained in practice, which means a lot of trial and error, research and planning. And this process seems endless.
Here are some basic tips:
- first, make sure that the water from the tank is going to the pump;
- secondly, never use tubes of different metals and, if money permits, buy tubes of copper;
- thirdly, always test the operation of the components before proceeding with the assembly;
- Fourth, be sure to connect the tubes to the G1/4 ports;
- Fifth, check with extreme care that the compression fittings fit snugly on the tube and that the tubes themselves are placed correctly. Never forget the rubber o-ring.
04. Tube bending
After preliminary preparations, you will begin to bend the tubes, which in itself is a mystical act. To be honest, I always wonder why it works every time I do it.
When it comes to bending, you should pay attention to the material: whether the tubes are made of PETG or plain acrylic fiber (tubes made of PETG have a lower inflection point, different heating characteristics, impact resistant, but less transparent). Then you need to mark the place of the bend, the angle at which you want to bend the tubes, and a device for measuring angles.
Most, myself included, agreed that the optimal fold angle is 90°. If it is larger, then the tube section will look sloppy and generally incomparable to how you imagined it. Unless you are a professional in this matter.
On the other hand, if you’re aiming to add more angles, there are plenty of tube bending tools available. But, I think, most likely it will end up with you bending the tubes on the corners of the table or on some other rectangular object.
And one more thing: you can watch a thousand videos and read a million tutorials on pipe bending, but the best way to learn it is to try it yourself.
05. Productivity increase
It’s a shame to admit this, but, as practice shows, you should not expect a noticeable increase in performance.
Yes, of course, the components will heat up less, but their isolation within their own architecture can lead to the fact that they can play the silicon lottery. If you are a big fan of overclocking, CBO can definitely be useful to you, but it is not enough to solve stability problems. In fact, you can expect a performance increase of about 10-15% compared to air-cooled systems, and this is even in the best case.
Dropsy will be beneficial for owners of processors with auto-overclocking, such as Ryzen, especially with Precision Boost Overdrive technology and GPU Boost for video cards.
The best thing about liquid cooling technology is the ability to reduce the amount of noise your computer makes. And this is quite achievable. Connect two large 360 mm loops into a single loop. radiator, processor and graphics card, and you will immediately notice that the noise from your PC has become much less compared to traditional cooling through coolers and heat pipes.
06. Service
So, you have assembled and launched the CBO, it looks cool, the temperature inside the case is lower, and the computer performance is slightly higher. Now you need to learn how to maintain its performance. This means that in the first week you must get rid of the air remaining in the system. To do this, you can simply wait a while, or you can tilt and rotate the body so as to move air bubbles into the reservoir, and then fill it under the neck with even more coolant. Most likely, you will have to rack your brains over the last option. Once you’re done with that, congratulations — your system is working as intended.
However, over time, if not properly maintained, the coolant can contaminate the water block, which can lead to a decrease in its performance and a decrease in thermal output during operation. This means that every 6-12 months (in some cases more if you have a quality refrigerant), you will have to drain the entire system, disassemble it, flush the radiator and water block, reassemble and fill with water.
07. Actually
In fact, you have to shell out a lot of money to build the whole structure, and a lot of time figuring out how to put it together and planning to buy parts, but in the end it turns out that the increase in performance, with the exception of noise reduction, negligible. Throw in the anxiety that comes with taking apart the outrageously expensive components (thanks Nvidia) needed to build a system and keep it running, and you come to the conclusion that it makes no sense for the average user to do so.
But as someone who has built 12 liquid cooling systems and is still building them, I’m interested in learning something new with every build. And so I will continue to do this until I lose interest in this masochistic hobby.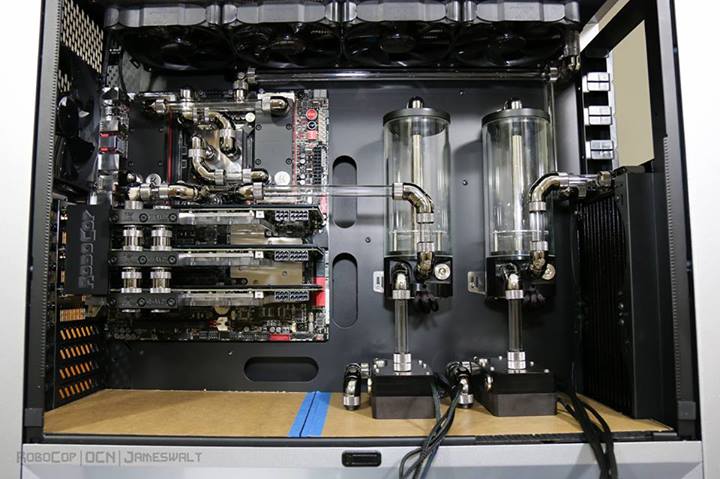 For what? Well, aside from my tender millennial ears wishing a PC would make less noise than a jet-powered plane taking off, this build looks pretty darn cool. CBO is amazing, successfully collecting it is like reaching the top of a mountain. And looking back at the many frustrations and massive investment of money and time it takes to build this short lifecycle performance marvel as core counts and clock speeds gain more weight in our industry, that there is something definitely beautiful about this masochistic hobby.
About water cooling: why you need and how to choose
- Computer store
- Blog
- Cooling (cooling)
- About water cooling: why you need and how to choose
Author of the article: Sergey Koval
([email protected])
Published: 24 August 2020
Does your PC need water cooling?
When assembling a PC, it is important to consider not only the key components: the motherboard, video card and processor.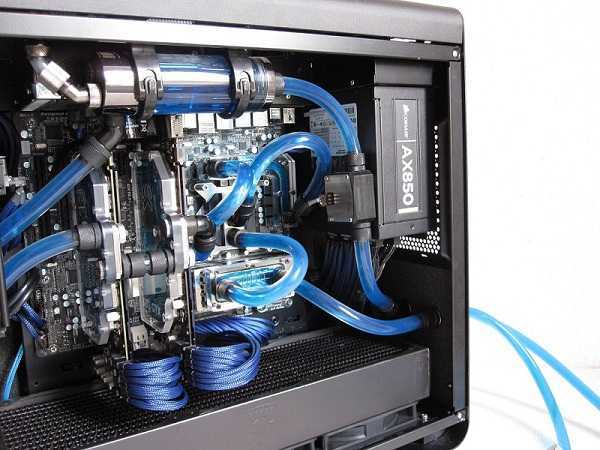 For efficient and long-term operation of all of the above components, active cooling is required. It is of two types — air or water.
Air cooling consists of a heat sink on the heat generating part and a fan that blows over this heat sink — there are many options and configurations.
Water cooling works in a similar way to tower coolers. The difference is that here cooling does not occur in a single circuit with a radiator, but due to the transfer of coolant through the cooling system from the heat sink to a separate radiator, which is blown by fans. Most of these systems consist of a water cooling unit, two hoses, a radiator, and several fans.
As with air-cooled systems, there is a wide range of options available, which fall into two broad categories: prefabricated all-in-one cooling systems or custom-made cooling circuits. Today we will focus on turnkey solutions.
Most ordinary users do not need water cooling.
Even a gaming PC most often does not require water cooling — a regular tower cooler is enough. The fact is that even an expensive processor in a gaming PC usually does not generate as much heat as water cooling covers. The potential of an expensive cooling system will not be used.
However, there are situations without which water cooling is a must. We are talking about an expensive and productive segment, in which there are processors with a couple of dozen cores. A processor with a large number of cores and an XE suffix can generate heat dissipation in excess of 350 W — air cooling simply cannot cope.
The same applies to overclocked processors — heat dissipation increases and the entire system needs serious cooling. If your PC has a powerful graphics card. and an overclocked processor, the whole system will turn out to be very hot — there is a chance that air cooling will not be effective enough.
Also, water cooling is relevant for those who are willing to overpay for a quiet PC. Fans are also used in water cooling, but the necessary power can be picked up by a larger radiator.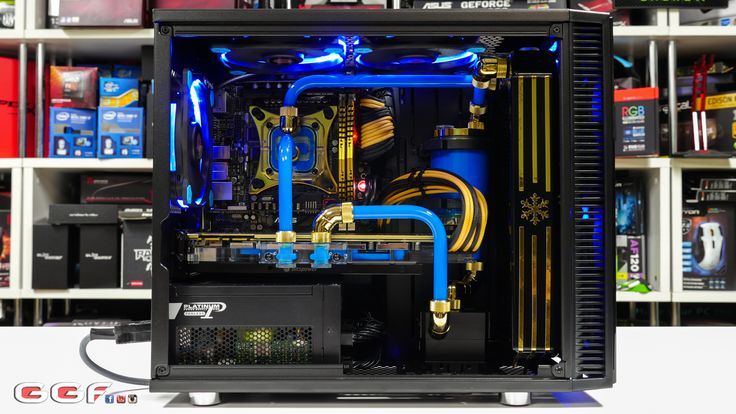 As a result, the system will be quieter than a tower cooler with a similar heat pack.
Let’s move on to specific models. The models of water cooling systems themselves differ slightly from each other. The main difference is the number of fans.
If you need water cooler with single fan, Cooler Master MasterLiquid ML120L RGB MLW-D12M-A20PC-R1 will do.
Separately, we note the model Cooler Master MasterLiquid ML120R RGB MLX-D12M-A20PC-R1 — this single-section system with two fans.
Most models are equipped with two fans. You can choose from the following similar models:
— Cooler Master MasterLiquid Lite 240 MLW-D24M-A20PW-R1 ;
— Cooler Master MasterLiquid ML240L RGB MLW-D24M-A20PC-R1 ;
— Cooler Master MasterLiquid ML240R RGB MLX-D24M-A20PC-R1 ;
— Cooler Master MasterLiquid ML240P MIRAGE MLY-D24M-A20PA-R1 .
Also in the catalog there is one model with three fans — Cooler Master MasterLiquid ML360R RGB MLX-D36M-A20PC-R1 .