What is a workgroup and how is it set up?
Authenticating users in a computer network.
Employees in any organization, big or small, need to log in to their computers at the start of their work day. Logging in gives them access to shared files, folders, printers, critical applications related to work, as well as the internet. Organizations need to authenticate and verify the identity of each user before they gain access to these resources—but how?
The method you use to authenticate and verify users depends on the type of computer network setup in your work environment.
There are two major types of network setups:
- Workgroup environment: This environment is usually found in small offices and home offices.
- Active Directory environment: Larger offices (usually with more than 15 unique users) use Active Directory.
Here we will look at what a workgroup is, how to set one up, and how authentication is managed in a workgroup.
What is a Windows workgroup?
According to Techopedia, a workgroup is a peer-to-peer network setup using Microsoft Windows operating system. It’s a group of computers on a local area network that share common resources and responsibilities. You can easily create a workgroup by connecting two or more PCs without going through a separate server computer.
In a workgroup, each computer on the network is physically connected to a router or switch. Each computer that’s a member of a workgroup can access shared resources in the network, like files or printers, or share their own resources with the group. While a workgroup is a group of computers that are connected to a network, it’s not the same as a network. You can connect a computer to your network without making it a member of a specific workgroup. You can even have multiple workgroups in the same network.
How does a workgroup in a small office or home office work?
Let’s take an example of a small three-person office.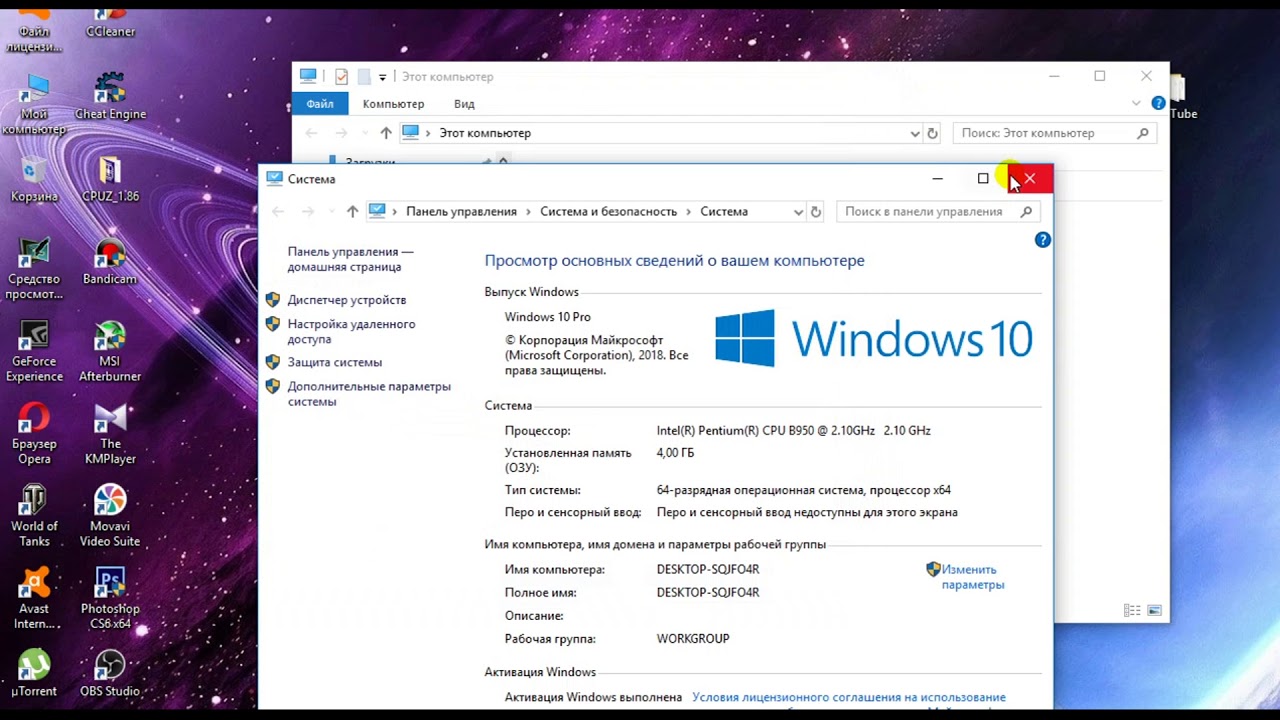 John, Amy, and Mark are this small office’s three employees. Every computer on this network will have its own database of usernames and passwords.
Essentially, a workgroup is “every man for themselves,” and there is no central control. Every PC in a workgroup is a server and a client at the same time. A PC will act as a client when it seeks to access a resource in another PC. The PC which needs to provide the access to its resources will act as a server during the process of authentication and authorization.
For instance, if Amy wants to use Mark’s computer, her username and password need to be created on Mark’s computer. And if Mark wants to use Amy’s computer, his username and password need to be created on her computer. If both Amy and Mark want to use John’s computer, both of their usernames and passwords need to be created on John’s computer.
How to set up a Windows workgroup
How to set up a Windows 10 workgroup?
Once you’ve set up your network in your small office, you can follow the steps below to connect all your devices to a single Windows workgroup:
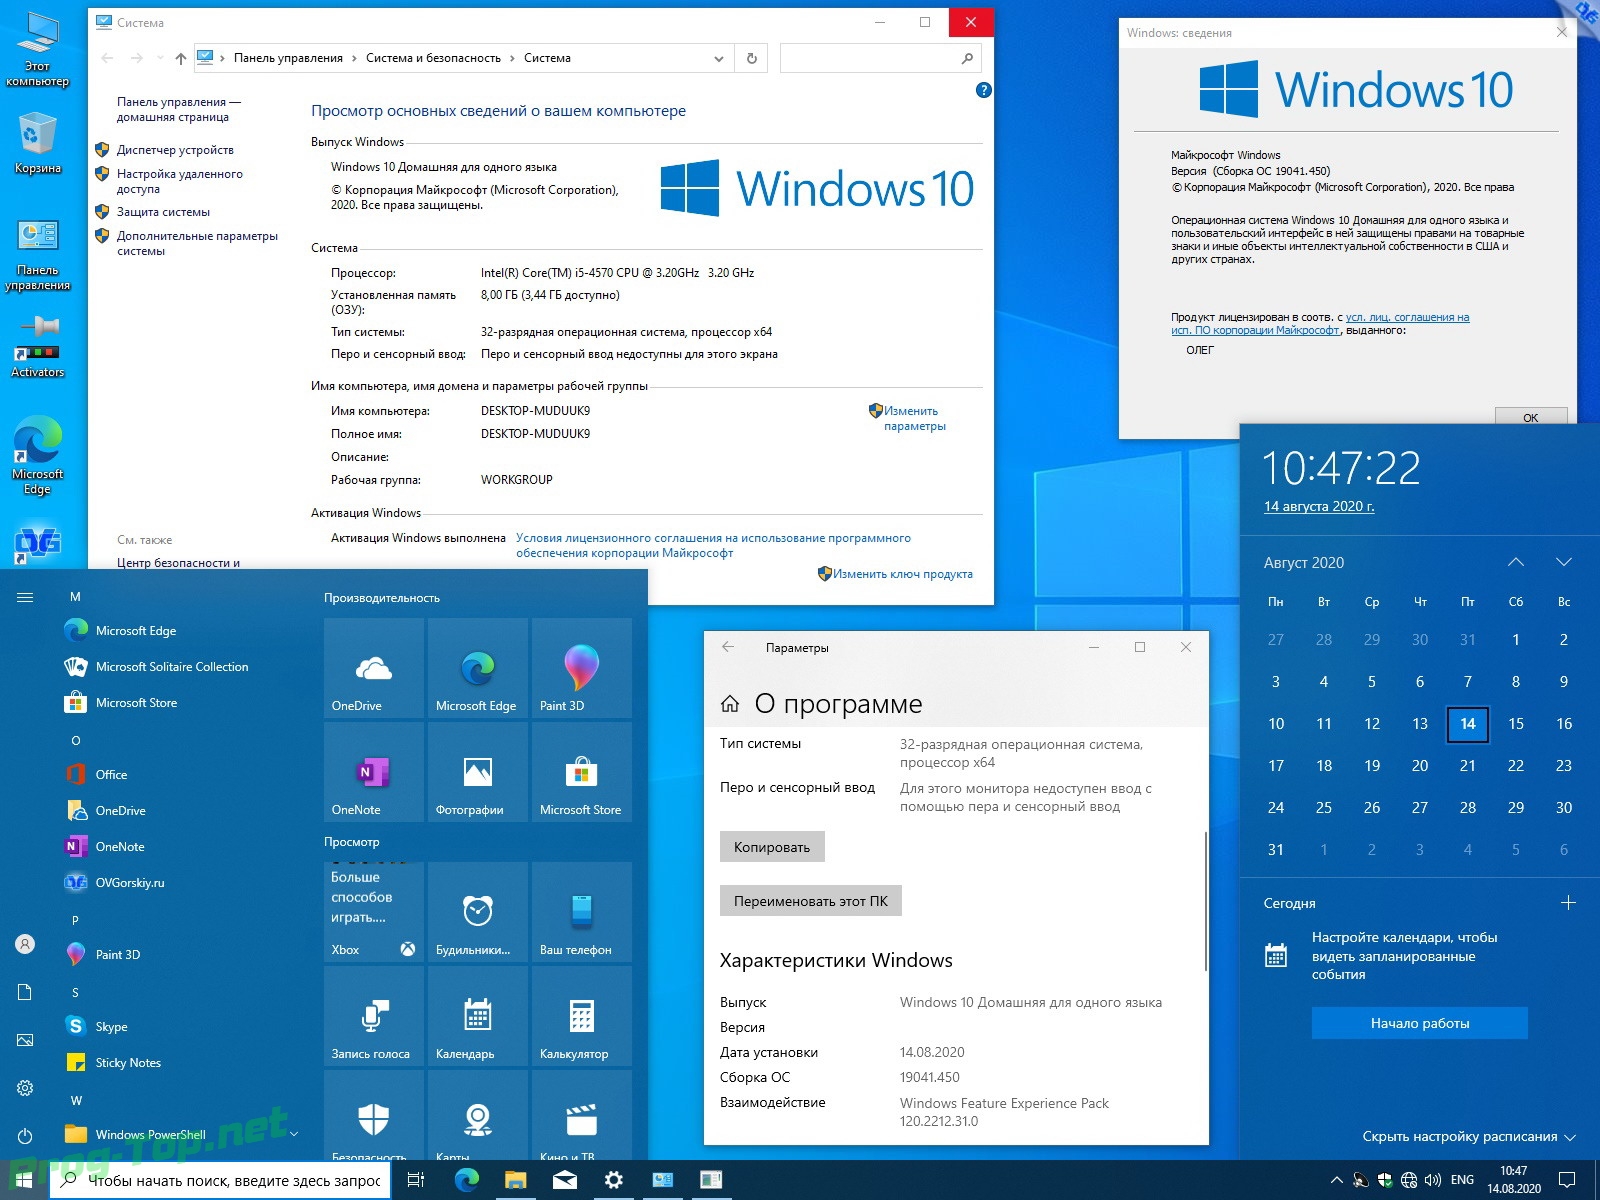
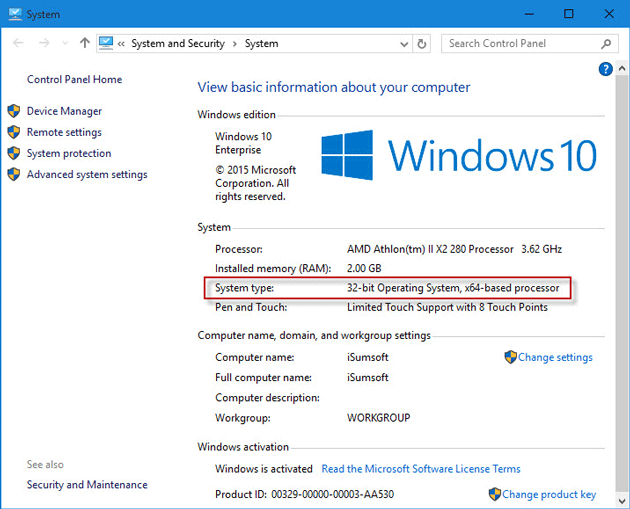
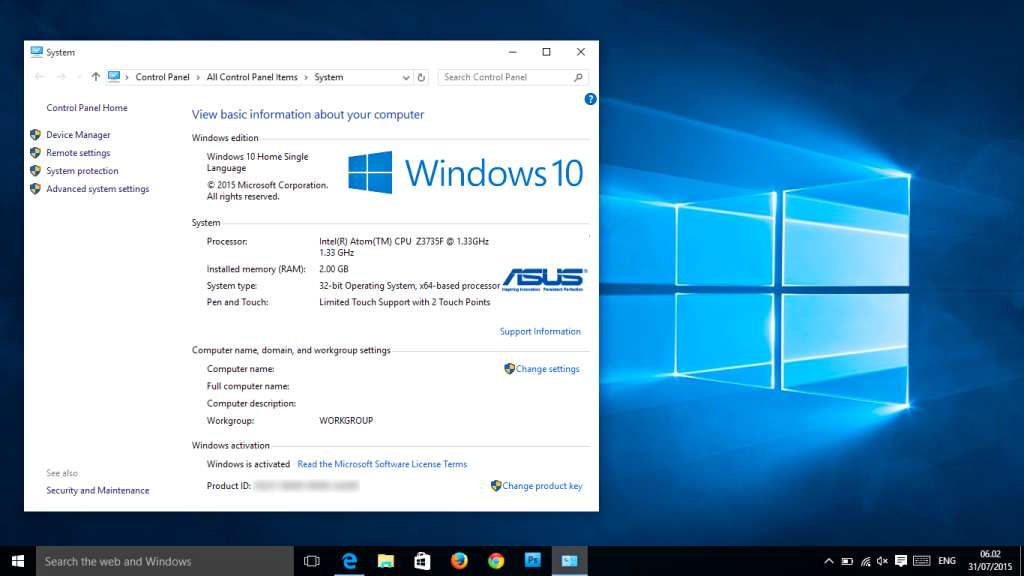
- Navigate to the Control Panel > All Control Panel Items > System.
 You will get to view basic information about your computer screen.
 - Click on Change Settings under Computer name, domain, and workgroup settings to arrive at the System properties pop-up.
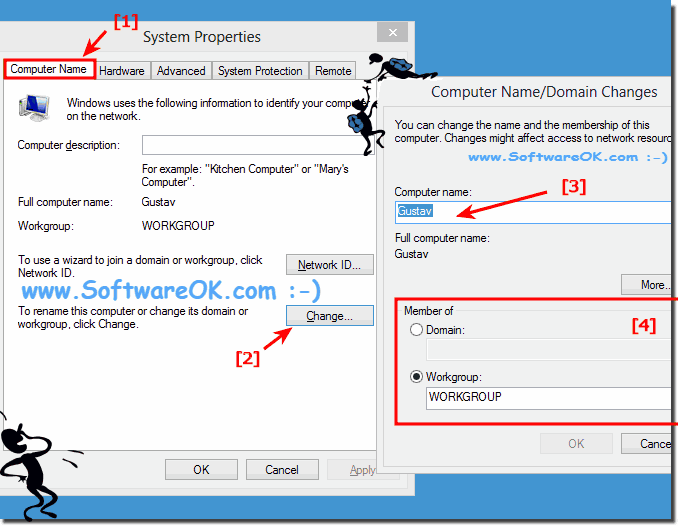
- Click on Change to rename this computer.
- Under the Computer Name/Domain Changes pop-up, you’ll have the option to join the workgroup of your choice. Ensure that all the devices you want in a particular workgroup are joined to that workgroup. In this case, the workgroup is named My Workgroup. The following image shows where you can enter the name of the workgroup you want to join.
Setting up a Workgroup
How do I share files and folders in a workgroup?
Now that you’ve set up a workgroup for your small office, let’s talk about how to share files and folders among different users in a Windows 10 workgroup. Let’s assume that you want to share the My Games folder under Documents.
Follow the steps below to share this folder:
- Right-click My Games.
- Click Properties.
- Click the Sharing tab.
- Click on Share
- Choose the people you want to share the folder with, and select the permission level. The following image shows the screen where you can grant access to other users in the workgroup.
- While granting access to other users, you’ll need to create their usernames and passwords on your own computer. This is the only way these users can be authenticated.
Sharing a folder with your workgroup
Workgroup challenges for large organizations and the need for Active Directory.
Workgroups are not suitable for larger work environments for two main reasons:
- They don’t scale well: If the network is small, it’s fairly easy to control a workgroup. However, imagine a scenario in which there are more than 15 computers. It would be time-consuming and tedious to create usernames and passwords by visiting each computer. Now imagine a corporation with more than 5,000 computers.
 It would be next to impossible to manage user accounts through a workgroup.
 - Passwords do not sync automatically: If a user has changed their password on their own computer, the change won’t be reflected in the other computers they may try to access on the network. When prompted to enter their username and password when trying to access other computers, they’ll then need to input the old username and password to gain access.
Workgroups are great for smaller networks, but they aren’t efficient for larger ones. For large networks, it’s vital to keep all the usernames and passwords in sync with each other. To do this, you need a centralized database that manages all usernames and passwords, called Active Directory.
Note: A client PC cannot belong to a workgroup and a domain at the same time. If a client joins a domain, its workgroup membership will be automatically removed. The reverse is also true.
Workgroup vs domain
Workgroups are great for small office networks with 15 or less computers. However, they aren’t ideal for larger companies with hundreds or thousands of users, as it will become difficult to access files and folders of one computer with another computer. Simply put, AD workgroups are fine for small offices, but they are not efficient in scaling to big organizations.
So, for big environments, we need to set up a client-server network environment. In Windows, this is achieved by setting up domains. The domain set up ensures better security as we can give varying degrees of permissions for different users or groups of users. Furthermore, we can deploy company-wide policies for easier administration in a domain than a workgroup.
How to change workgroup in Windows 10?
To change a workgroup in Windows 10 and make your computer a part of another workgroup, you can follow these steps:
- Right-click on Start, and click on System.
- Under Computer name, domain, and workgroup settings, select Change Settings
- Under the Computer Name tab in the System Properties window, click on the Change button.

- Under the Member Of tab, change the Workgroup name to the new one.
- Click on OK to confirm your action.
- Reboot your device when prompted.
You computer should now be part of the new workgroup.
Domain vs workgroup accounts in Windows 10
Computers have been categorized by a variety of user accounts for years, with Windows systems being no exception. Having different types of accounts makes computer management easier for administrators and basic computer users because it is unlikely that all computers with an organization should have the same access and privilege rights.
Likewise, not all organizations are the same in terms of size, scope and purpose. A “one-size-fits-all” approach may work for baseball caps, but not for user account needs.
This article will detail the two most popular user accounts in Windows 10, domain and workgroup accounts. We will explore what domain accounts are, what workgroup accounts are and when you should choose each of these accounts.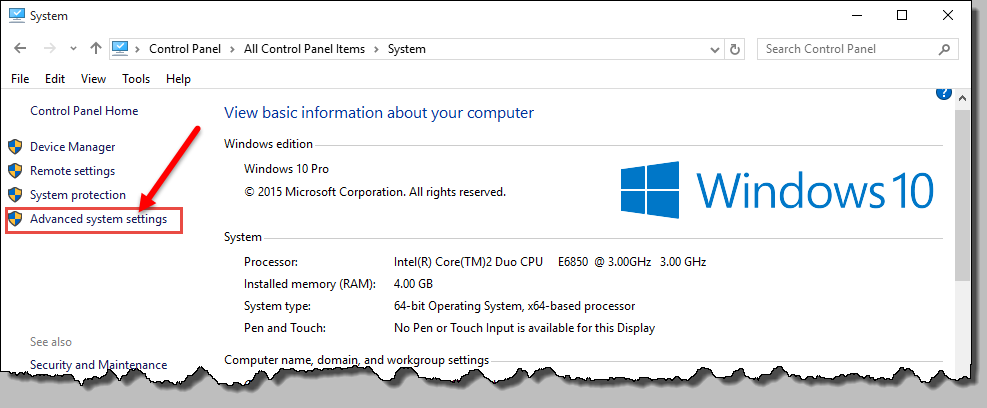
What are domain accounts?
Domain accounts are likely the type of account you are thinking of when you think of those used in organizations and enterprise in general. In fact, domain accounts were designed for the purpose of managing networks and resources on workplace networks. This type of account is the most tightly controlled of all Windows 10 accounts and is managed by a network administrator.
Characteristics of domain accounts in Windows 10
This type of account has been around for years in earlier versions of Windows, and although some slight changes have been made in Windows 10, the basics of the domain account remain the same. Domain accounts are controlled by servers, also known as domain controllers (DC). Network admins use DCs to manage security and permissions for all computers in the domain.
To be a domain account, an Active Directory account must be created for the domain account. Active Directory is hosted on a local server, normally one of the domain controllers.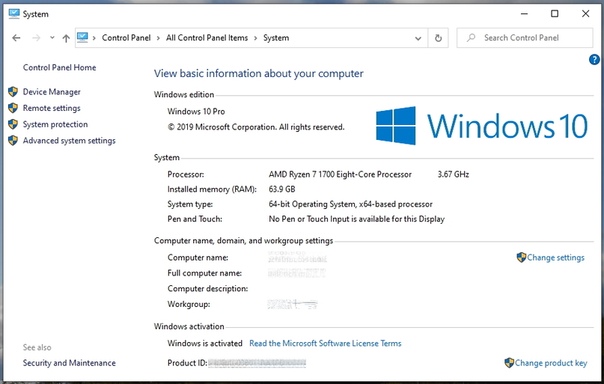 Windows 10 has added a new option for active directory — Azure Active Directory. With Azure Active Directory, credentials are managed in the cloud instead of a local server.
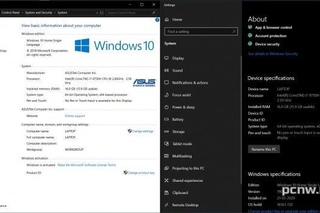
To be on a domain, a computer needs to join the domain. This can easily be performed by first navigating to Control Panel → All Control Panel Items → System, which will bring you to the basic information about your computer. Scroll halfway down the window and you will see “Computer name, domain, and workgroup settings.” Click on “Change settings”; within the tab “Computer name,” click Change. Click on the radio button next to Domain, specify your domain and click “OK.” Your computer is now on a domain.
Please note that like in previous versions of Windows, Windows 10 home computers cannot be joined to a domain and are in a workgroup by default.
There are six common characteristics of a domain account:
- Domain accounts need an account to log into a computer joined to the domain
- Domain controllers manage computers on the domain
- There can be potentially thousands of computers joined to a domain
- Computers on a domain can be on different local networks
- Domain accounts can log into any of the other computers on the domain by using their domain login credentials
- Only limited changes can be made by the domain account user — the bigger, important changes need to be made by the administrator
What are workgroup accounts?
Workgroup accounts are the default account for Windows 10 computers and belong to the most basic of network infrastructures.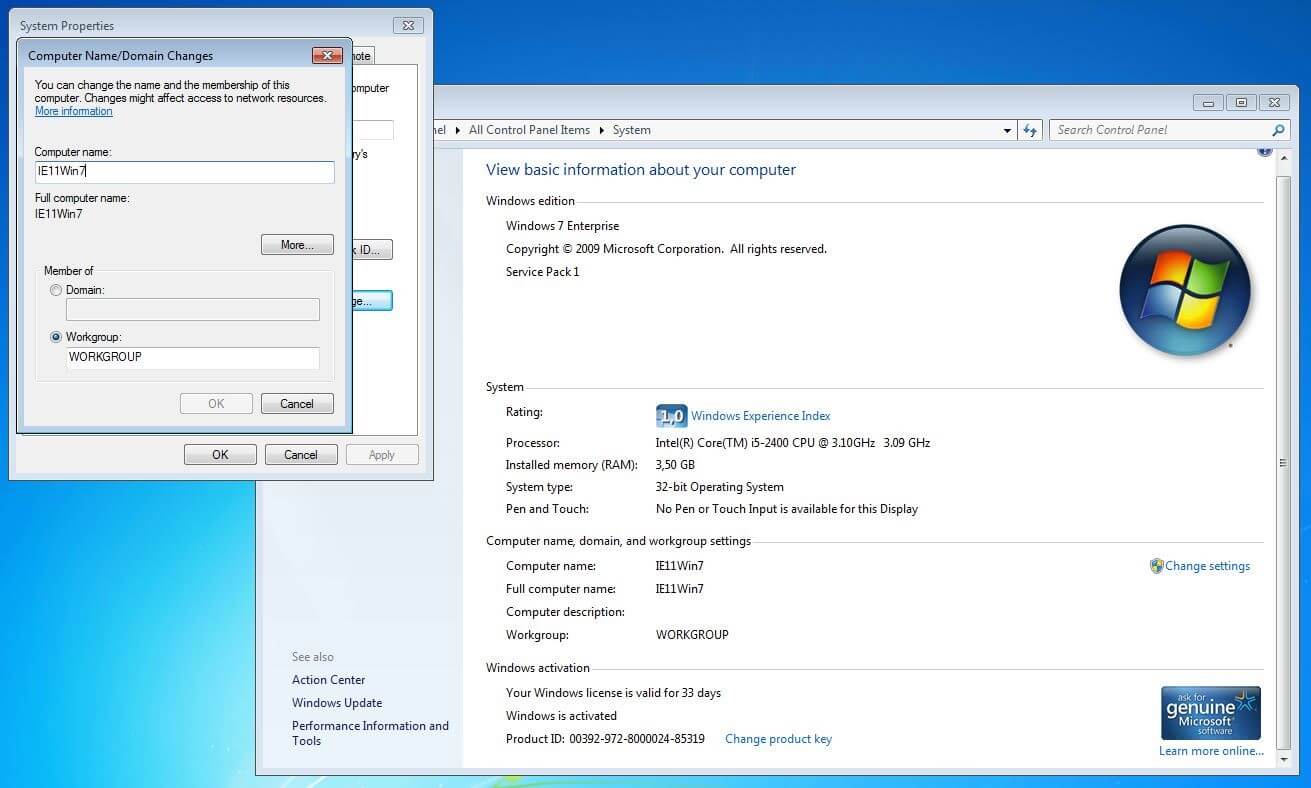 This means that unless you join a domain (or a homegroup), your account will remain in a workgroup.
Unlike domains, workgroups are not managed by a domain controller server. Rather, no computers in the workgroup have control over the others.
This type of account is suitable for home, small business, and clusters of computers that reside on the same local area network (LAN). The biggest benefit for the user with workgroup accounts is that users can make changes with local group policy that would be impossible in a domain without administrator credentials.
Common characteristics of workgroup accounts in Windows 10
- No computers in the workgroup has control over any other computer; rather, they are peer computers
- Each computer in the workgroup has multiple accounts associated with it. Each workgroup account can only log into the workgroup computer it belongs to
- Workgroup accounts are not password-protected
- Computers in a workgroup must all be on the same LAN or subnet
- The number of computers in a workgroup is far smaller than in a domain.
 This breaks down to an average of 20 computers for a workgroup
Which account type should you choose?
Domain and workgroup accounts are different accounts, but they both have their own distinct uses. Domain accounts should be set up when an organization is larger than 20 computers (just as a sort of numbers benchmark), with resources large enough to have at least one domain controller server (or cloud-based).
This account type is best suited to organizations where users have different privilege levels and where there is a need for at least some control of network resources. If your organization is an enterprise, school or other large organization, this is the account for you.
Workgroup accounts are best suited to home computers, small networks where all users have the same privileges, and for networks that do not have a domain controller server. The easiest part about the workgroup account is that you do not have to join it — you are part of the workgroup club right out of the box.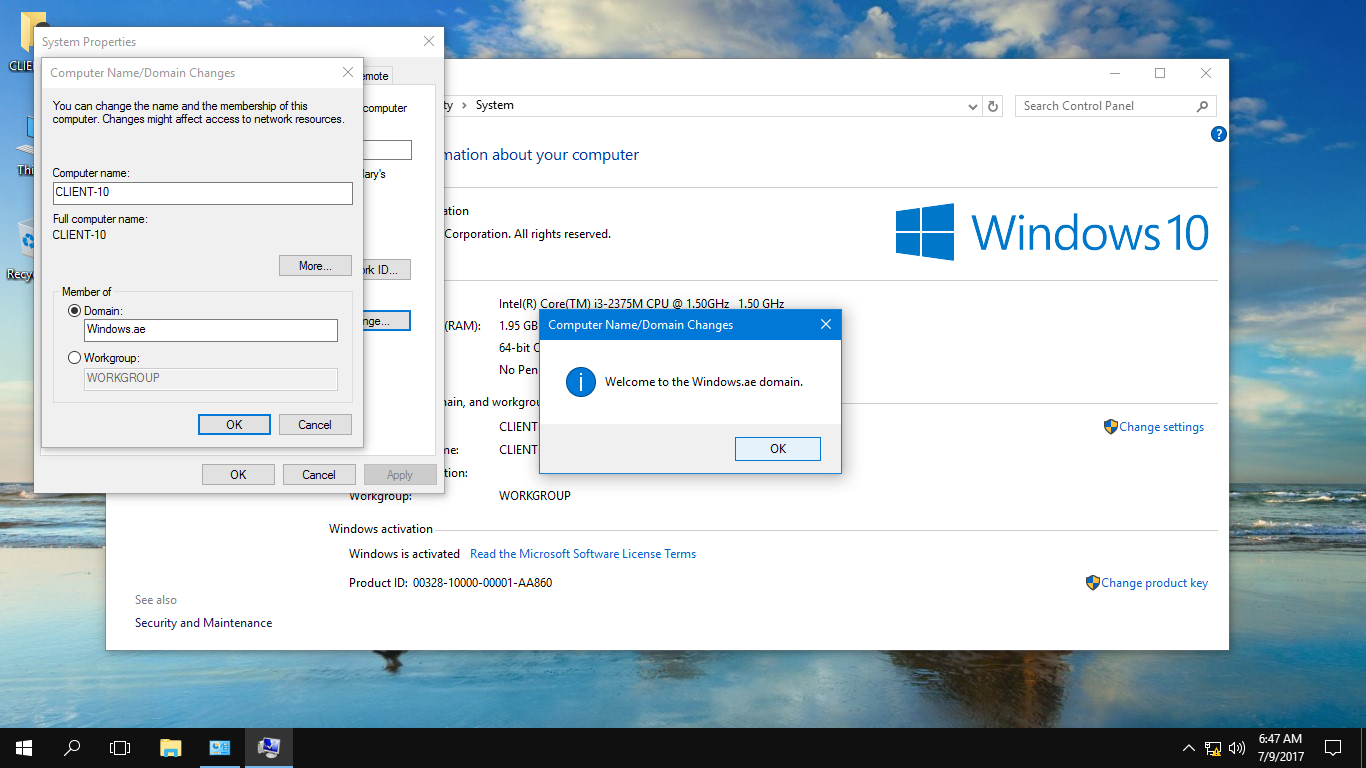
Conclusion
Windows 10 systems offer different accounts which are intended for different situations. Domain accounts are used by organizations with large networks that have users with different levels of privileges and access rights where control is centralized by a domain controller. Workgroup accounts are intended for small networks on a single LAN or subnet and offer its users greater control over their computer.
The account you choose should be based upon your needs and your organization’s needs.
Sources
- Windows 10 setup: Which user account type should you choose?, ZDNet
- Using Workgroups in Computer Networking, Lifewire
- What is a Windows Domain and How Does it Affect My PC?, How-To Geek
How to change the workgroup in Windows 10: 2 ways
Home » Miscellaneous tips for Windows
By default, the Windows 10 operating system for each computer on which it is installed automatically assigns the workgroup name WORKGROUP.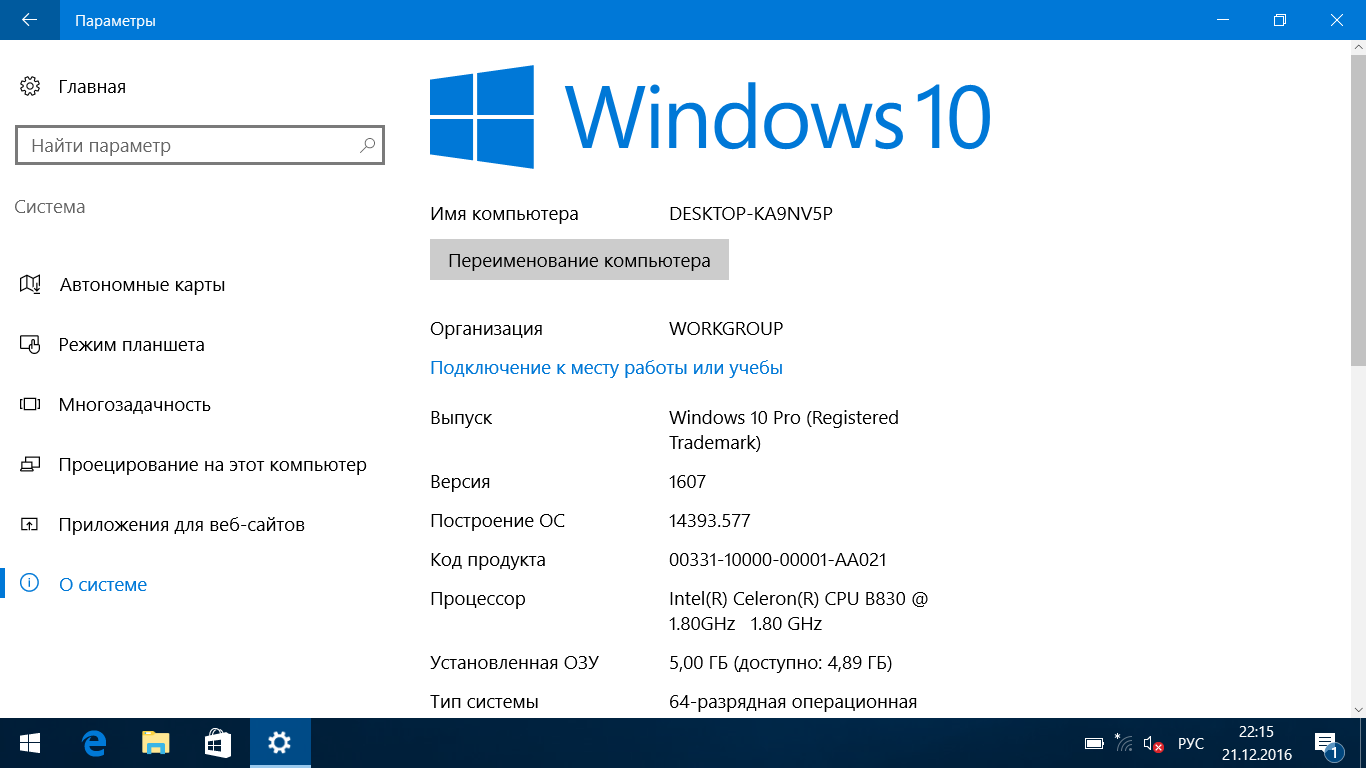 The name can be changed, and two or more computers with the same workgroup name can be combined into a small network.
Contents
- Features
- Name change
- Method 1: Via OS 9 interface0010
- Method 2: through the command line
- Opening access to shared printers and files
- Conclusion
- Ask the author of the article
Features
Simply, working A group is a set of network protocols through which they interact as at least two Windows machines on the same network.
Multiple Windows computers on a local network communicate better with network data in a home or workgroup. They are detected by devices on the network with the same operating system, are able to share files and use shared printers.
If your Windows computer is used in a school or large office and has network access, it is probably connected to a domain. You can choose whether a computer belongs to a workgroup or a domain in the settings. You can also change the workgroup in Windows 10 there. How to do it?
For clarity, we recommend watching a video about setting up a workgroup:
Changing the name
There are two ways to change the name: in the operating system interface and through the command line.
Method 1: through the OS interface
How to change the Windows 10 workgroup:
- Use the WIN + R combination to call the line and execute control system.
- On the right, select the line «Advanced system settings».
- In the new window, go to the Computer Name section.
- To rename, click the «Change» button.
- Here you can name the computer, choose between a group and a domain, and rename WORKGROUP to something else.
- For the changes to take effect, click OK and restart your computer.
In the name, you cannot use only numbers that are prohibited in Windows for the name of characters, and you cannot put spaces. If the name consists of two words, put an underscore between them.
Method 2: via the command line
Knowing one command, you can change the name via the command line:
- Right click on Start and select Command Prompt (Admin).
- If you have PowerShell (Administrator) written, select this shell, and then write cmd in it.
- Then run the command wmic computersystem where name=”%computername%” call joindomainorworkgroup name=”coolgroup”
- Replace coolgroup with your own name.
After renaming, restart the PC for the parameters just changed to take effect.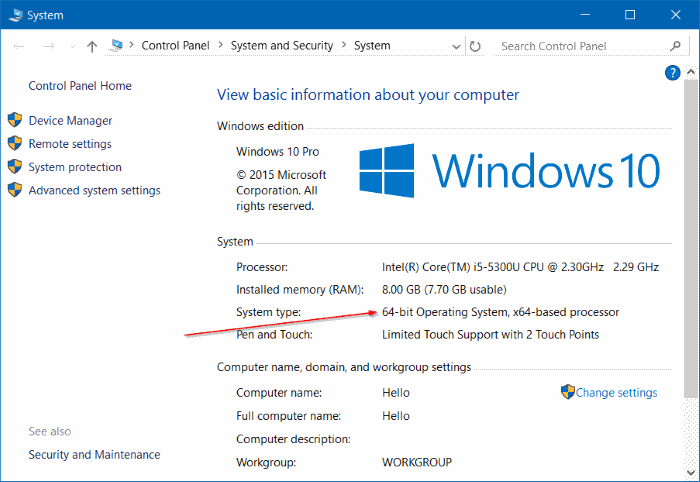
Opening access to shared printers and files
After specifying the same workgroup names on two or more computers, you can open their discovery on the local network. To do this:
- Press + R and run the command %windir%\system32\control.exe /name Microsoft.NetworkAndSharingCenter /page Advanced .
- Go to the «Guest Room…» section and check the box next to «Turn on file and printer sharing» and «Turn on network discovery».
- Do the same opening steps in all sections.
- Next, to grant access to the folder from other computers, right-click on it and select the last item «Properties».
- Open the «Access» section and click on «Advanced settings».
- Activate «Share this folder» and click «OK».
- Go to the «Security» — «Change» settings section.
- Then «Add».
- In the empty field, write «All» and click the «Check Names» button.
- Click OK, then next to the new group, check the boxes to allow «Full Control».
- Click «Apply» and enjoy public access on the local network.
Such settings must be made for each machine from which information is to be shared with other Windows computers.
Conclusion
The standard workgroup name in Windows 10 is — WORKGROUP. It can be changed to what you came up with in the system settings or through the command line. Then, in order to give access to data and printers over the network, you need to set permissive settings in the Windows network settings and set the necessary permissions for a specific shared folder.
Did this article help you?
51,010 4
Author of the article
Hamster 729articles
The world’s first hamster author.
Admin of our public VK.
The pet of the missing WiFi Guide and the owner of a large family.
Thrash, grain and AC/DC — no weakness.
How to change the workgroup name in Windows 10
This article will show you how to change the workgroup name in Windows 10, join an existing workgroup or create a new one. We will show two ways to change the workgroup name: using the system properties and using the command line.
When setting up a network, the system automatically creates a workgroup and names it WORKGROUP. At any time, you can join an existing network or create a new one. If your computer is connected to a large network at work or school, it most likely belongs to a domain. If your computer is on a home network, it belongs to a workgroup or homegroup. In a workgroup, it’s easier to share files between computers and use shared printers.
9& () = + [] {} | ; :’ «. <> /? and only contain numbers. The workgroup name can contain numbers, letters, and a dash.
Change the workgroup name in the system properties.
1. Go to the system properties: one way is to press the keys Win+R
) .
2. On the right side, click on “Change settings” or in the left column, select “Advanced system settings”;
3. On the Computer Name tab, click Change;
4. In the “Workgroup” field you need to write the name of an existing group to which you want to join this computer, or if there is no group yet and you want to create it, think of a name and write it. Then click «OK»;
5. In the window that appears, click “OK”;
6. You will be warned that you need to restart your computer for the changes to take effect. Click «OK»;
7. Click “Close”;
8. You will be prompted to restart the computer now or later, if there is something not saved on the computer, click “Restart later” => save everything you need, then restart the computer. If there is nothing you need open, click “Restart now”;
After rebooting, your computer will be in the group specified in the fourth paragraph.
Change the workgroup name using the command line.
1. Open a command prompt as an administrator: one way is to right-click on the “Start” menu and select “Command Prompt (Admin)” from the menu that opens;
2. At the command line, run the wmic computersystem where name=”%computername%” call joindomainorworkgroup name=”workgroup name” command. Instead of the name of the workgroup , write the name of the group to which you want to connect this computer, or the name of the group you are creating. In our example, we will create group dom . To do this, execute the following command wmic computersystem where name=”%computername%” call joindomainorworkgroup name=”Dom” and then press Enter.
After successful completion of the command, restart the computer.